Einleitung
In order to repair or replace most parts of your VTech Kidizoom Camera Connect you'll need to be able to open the device. This guide gives step by step instructions on how to carefully open the main body of the Kidizoom Camera Connect and replace the front case.
Werkzeuge
-
-
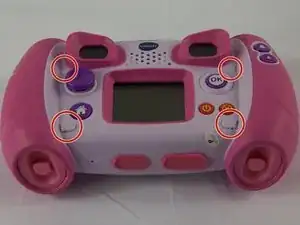
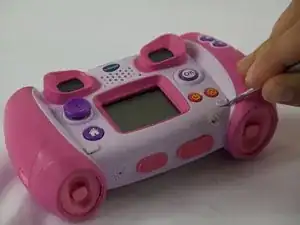
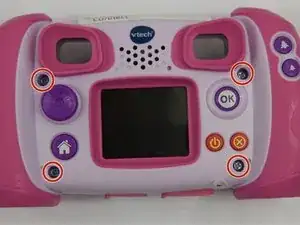
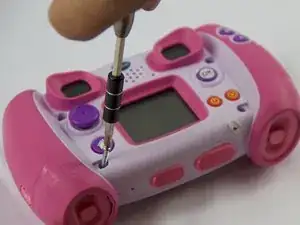
Locate the four plastic screw covers denoted by the markers and gently pry them up with the metal spudger.
-
-
-
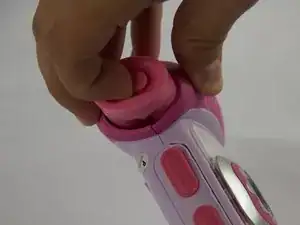
Remove the two battery cartridges located on the underside of the camera.
-
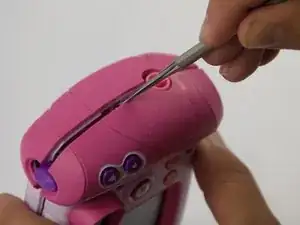
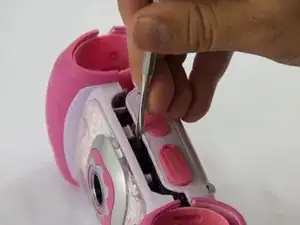
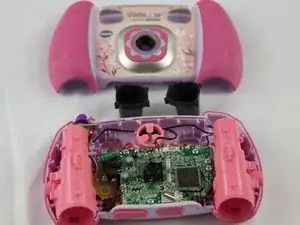
Once cartridges are removed, use the metal spudger to pry open the top, bottom, and both sides of the camera.
-
Abschluss
To reassemble your device, follow these instructions in reverse order.
