Einleitung
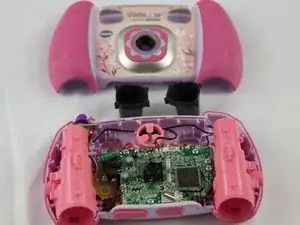
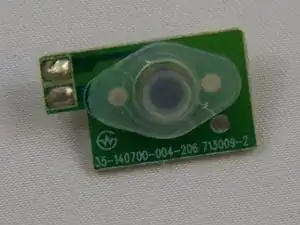
Use this guide to remove and replace the button and circuit board used for taking photos
Werkzeuge
-
-
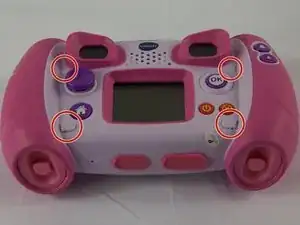
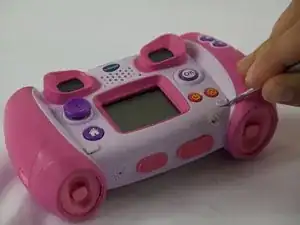
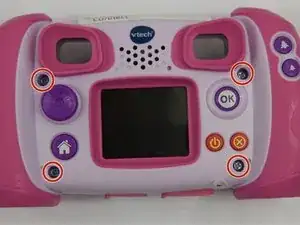
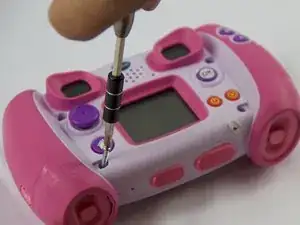
Locate the four plastic screw covers denoted by the markers and gently pry them up with the metal spudger.
-
-
-
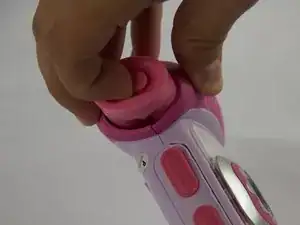
Remove the two battery cartridges located on the underside of the camera.
-
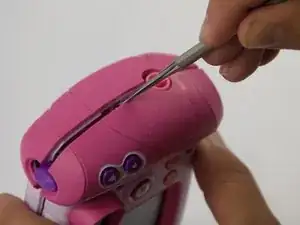
Once cartridges are removed, use the metal spudger to pry open the top, bottom, and both sides of the camera.
-
-
-
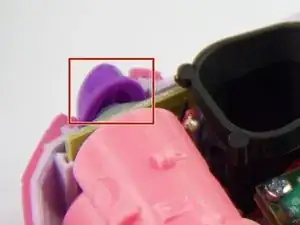
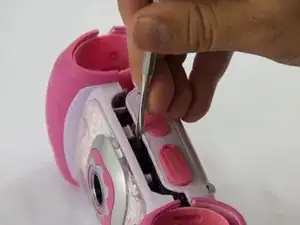
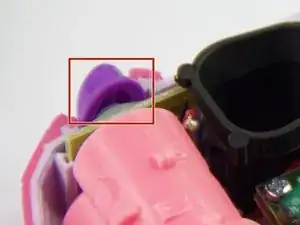
Remove the purple plastic that covers the button and circuit board. It should slide right out from the slot it sits in.
-
-
-
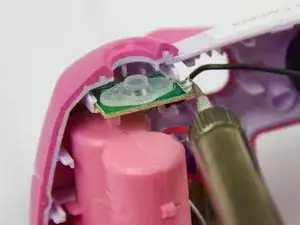
Unsolder wires connected to the right side of the circuit board. Pull the wires to the side.
-
-
-
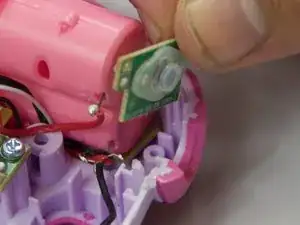
The button/circuit board should be loose now. Gently pull out the button/circuit board to remove it from the device.
-
To reassemble your device, follow these instructions in reverse order.
