Einleitung
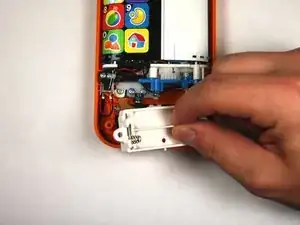
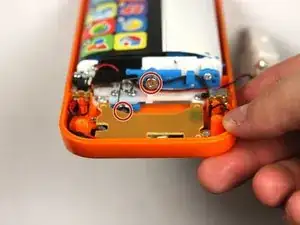
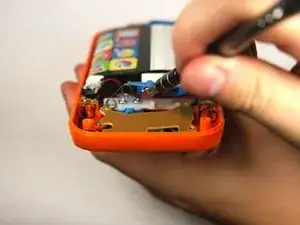
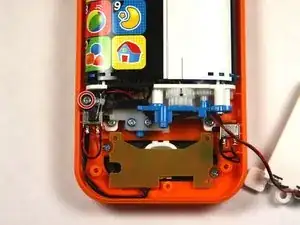
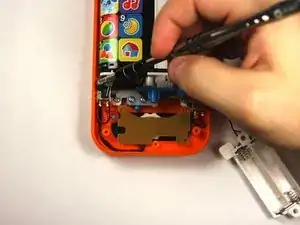
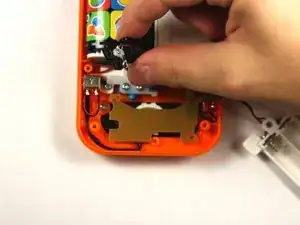
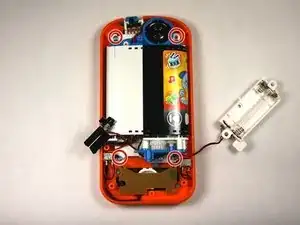
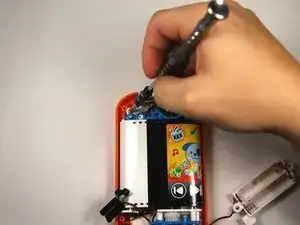
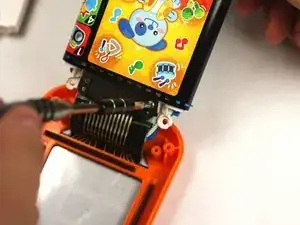
This guide will show the necessary steps to clear the touchscreen contacts on a VTech Touch and Swipe Baby Phone if it has become unresponsive. In order to clean the touchscreen, you will need to unscrew the battery casing and remove the display from the device. If cleaning the touchscreen contacts does not fix the problem, replace the touchscreen of the VTech Touch and Swipe Baby Phone. This guide will also teach you how to re-align the display.
Werkzeuge
-
-
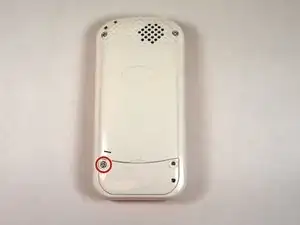
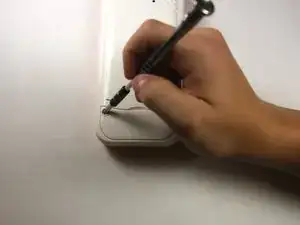
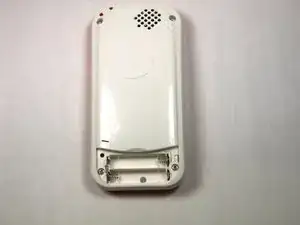
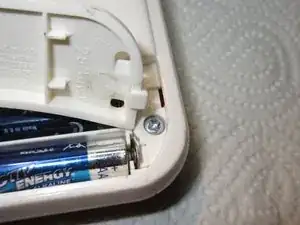
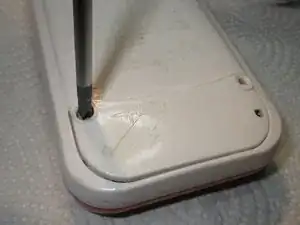
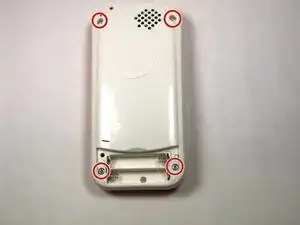
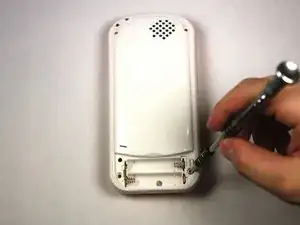
Using a Phillips #1 screwdriver, remove the 4.8mm screw on the battery cover by twisting the screwdriver counter-clockwise.
-
-
-
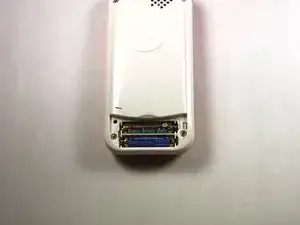
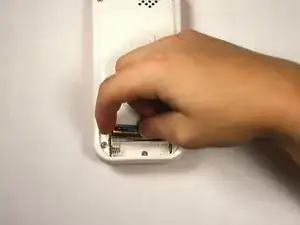
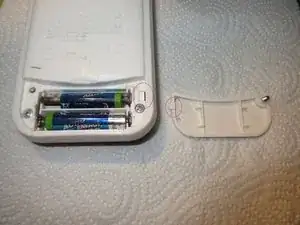
Remove the two AAA batteries by pulling on one end of the battery and lifting it straight out.
-
-
-
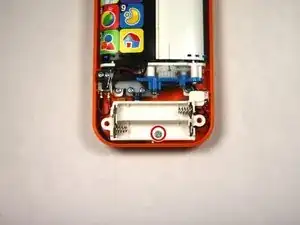
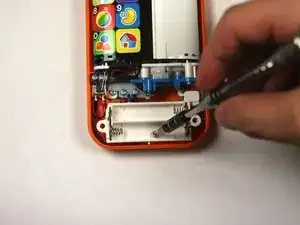
Remove a single 4.8 mm screw with a Phillips #0 screwdriver and lift away the battery pack being careful of the wires.
-
-
-
Remove the single 7.5mm screw with a Phillips #0 screwdriver.
-
Lift up the black plastic piece.
-
-
-
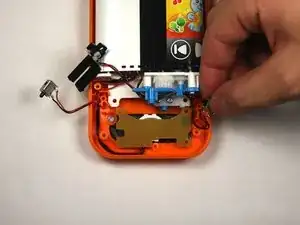
Lift the button board up and away to clear room for lifting the motherboard.
-
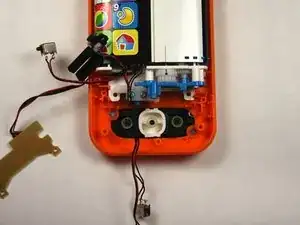
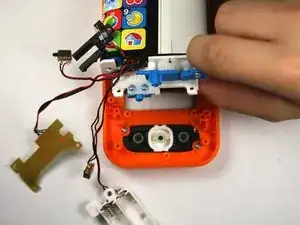
Tilt the assembly up but being wary that it is still attached to the front panel.
-
-
-
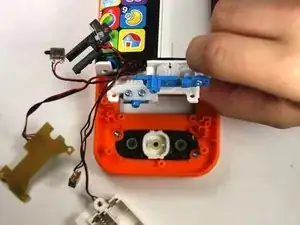
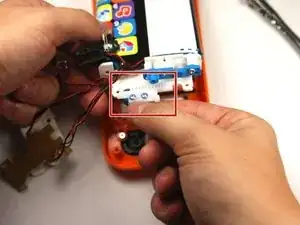
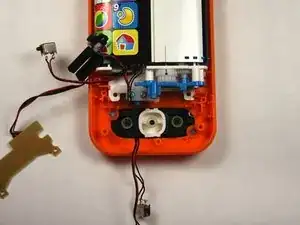
To reassemble, align the two black lines together by moving the belt back and forth.
-
Once aligned reinsert the toothed slider at the exact point shown.
-
-
-
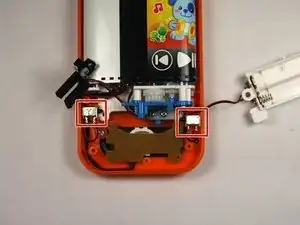
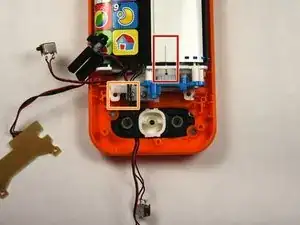
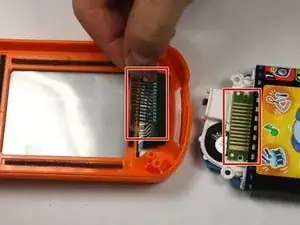
With the connector removed, clean both of the boxed sections with rubbing alcohol on a cotton swab. Allow a minute for the alcohol to dry before reassembling.
-
To reassemble your device, follow these instructions in reverse order.
3 Kommentare
Before I attempt this: Does this address the problem of the touch screen no longer responding and the device playing the same sound repeatedly?
Well, the answer to my own question is “no”.
What if the unit is only 1 week old. Unlikely to be contact cleaning issues

