Einleitung

This guide demonstrates a walkthrough of steps needed to completely remove the old ringer and put in a nice working new ringer.

  1. LOdGmvJSHoUepVTU
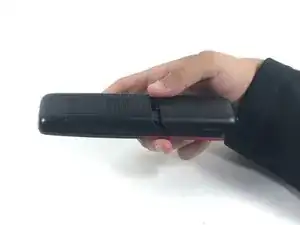
    • Remove sliding back cover from case.

  2. lgr2GNTnQKNNHRSN
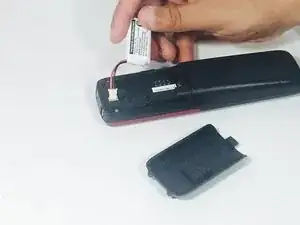
    • Lift the battery and unplug the two pin cable from phone base.

  3. qnsexVRwVjEdw3GL
    • Slide back cover off the phone

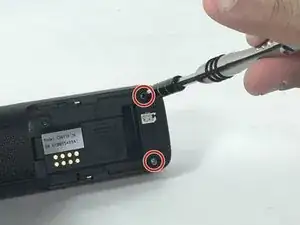
    • Located at the bottom of the frame are the two-10 mm screws.

    • Use a Phillips head screwdriver to remove both 10 mm screws.

    • It is recommended to use a magnetic mat or place the screws on an easy to see surface. They will be needed when the phone is reassembled.

  4. MpHOTj6FwJRtegSO
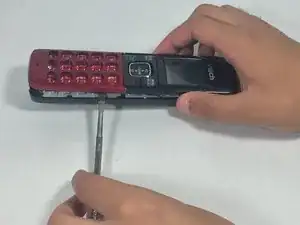
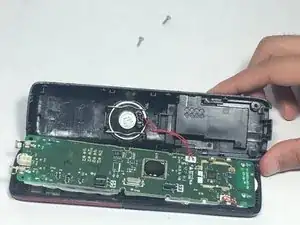
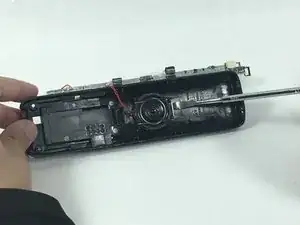
    • After removing the two screws from the back of the phone carefully use the metal spudger to lift along the edges and raise the phone case from the internal clips.

  5. KlCfbOcwVXSlZc5r
    • Once the case is lifted, the board should be freed except for the connection between the ringer and the case.

    • Be careful do not pull the case away from the phone in a jerking or aggressive motion.

  6. Ru3Yq6U3apsmqOqW
    • Using the spudger lift the latch over the ringer to release it.

    • When working with electronics, it's important to choose a tool that's ESD-safe to avoid accidental damage to the device. The metal spudger is great when you need serious prying power, but the regular black nylon spudger should be used whenever possible.

  7. flJnhXRMQVS4UxdV
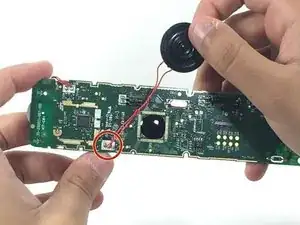
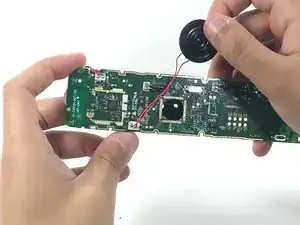
    • The last component of the latch is soldered to the circuit board. This will take some soldering expertise.

Abschluss

To reassemble your device, follow these instructions in reverse order.
Charles montes

Mitglied seit: 20/10/16

513 Reputation

0 Kommentare