Einleitung
In every tablet, the screen is the most vulnerable component of the device and is prone to damage. If the screen on your tablet is cracked or if the images aren’t properly showing up on your screen, then the screen needs to be replaced.
Werkzeuge
Ersatzteile
-
-
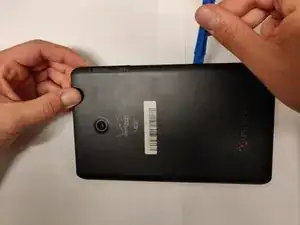
Using a plastic opening tool, slowly pry along the seam running along the edge of the device until the back case snaps free.
-
Remove the back case.
-
-
-
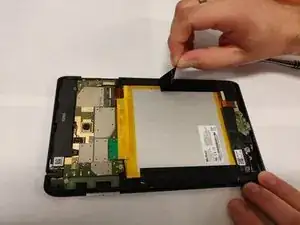
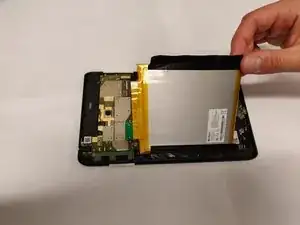
Once you remove the backing of the Verizon Ellipsis 8, gently use the spudger to lift one side of the tape. Once you have lifted the tape, slowly remove it until it is completely off the battery.
-
-
-
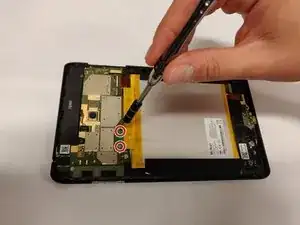
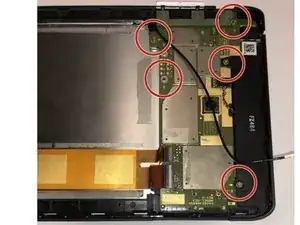
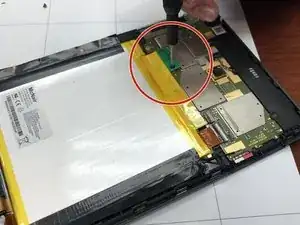
Remove all 5 screws from their respective holes using the Phillips #00 screwdriver.
-
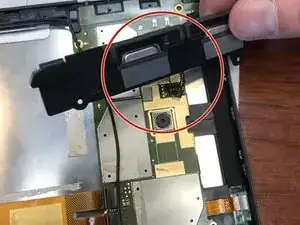
Remove the speaker from the device.
-
-
-
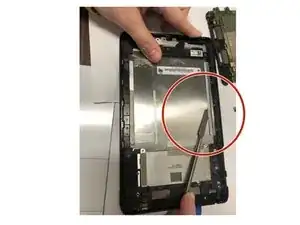
Using a guitar pick or a metal spudger, remove the old screen from the device from the back of the tablet.
-
To reassemble your device, follow these instructions in reverse order.
Add caution or some other bullets and say “you need to pull hard on the lid“.
Jack -