Einleitung

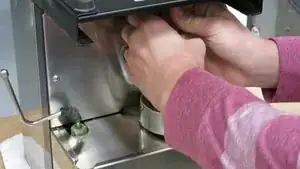
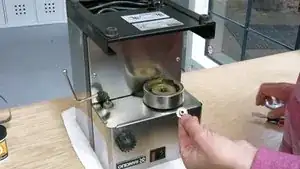
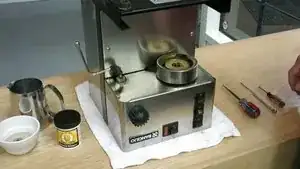
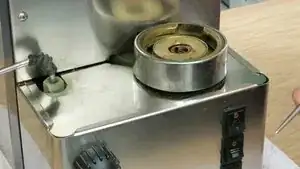
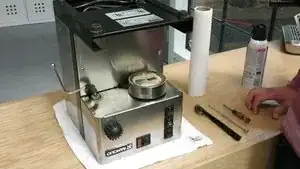
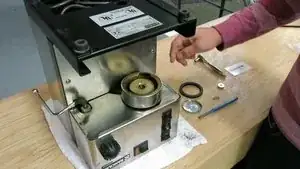
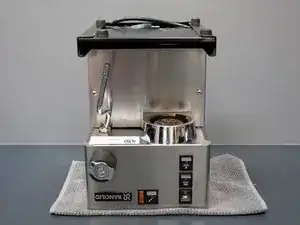
Learn how to remove the clogged old screen, deep clean grouphead and install new screen and gasket.

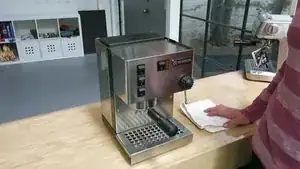
  1. Identification instructions.
    • Identification instructions.

  2. Remove water tank, hoses, and tuck them back in the machine.
    • Remove water tank, hoses, and tuck them back in the machine.

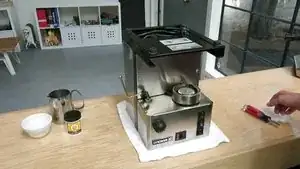
  3. Remove drip tray.  Flip the machine upside down.
    • Remove drip tray. Flip the machine upside down.

  4. Remove screen screw with flat head screwdriver.
    • Remove screen screw with flat head screwdriver.

  5. Remove old screen and diffuser.
    • Remove old screen and diffuser.

  6. Remove and soak diffuser in Joe Glo coffee cleaner.
    • Remove and soak diffuser in Joe Glo coffee cleaner.

    • On version 3 you will need to remove and soak the brass disc as well.

  7. Pry the gasket up with the sharp tip of the awl.
    • Pry the gasket up with the sharp tip of the awl.

    A common trick is to screw a screw into the gasket (not so far as to go all the way through the gasket into the metal) and then pull. You might only have to do this in one place or a few but it is quite easy.

    Brawndo -

  8. Carefully remove old gasket.
    • Carefully remove old gasket.

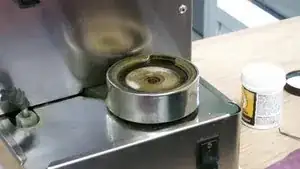
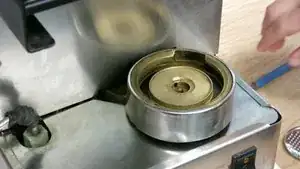
  9. Use Joe Glo coffee cleaner and hot water to soak the grouphead for 10-15 minutes.
    • Use Joe Glo coffee cleaner and hot water to soak the grouphead for 10-15 minutes.

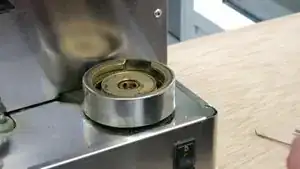
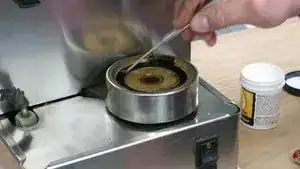
  10. A dental pick works great for cleaning the grouphead.
    • A dental pick works great for cleaning the grouphead.

  11. Use a small flathead to clean the bottom surface of the grouphead.
    • Use a small flathead to clean the bottom surface of the grouphead.

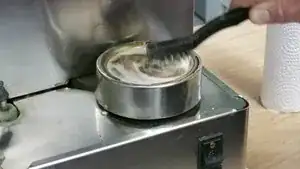
  12. A small stainless steel brush works well.  They can be found at your local hardware store.
    • A small stainless steel brush works well. They can be found at your local hardware store.

  13. Use a paper towel / regular towel to soak the dirty water from the grouphead.
    • Use a paper towel / regular towel to soak the dirty water from the grouphead.

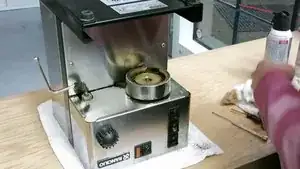
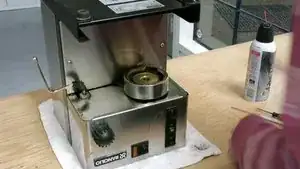
  14. Use the compressed air can to clean any excess water or coffee.
    • Use the compressed air can to clean any excess water or coffee.

  15. Last but not least, use the pick on the top and bottom rails to remove last bits of coffee debris.
    • Last but not least, use the pick on the top and bottom rails to remove last bits of coffee debris.

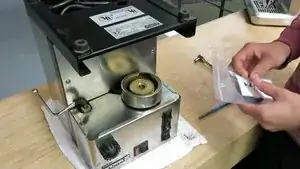
  16. Remove parts from bag.
    • Remove parts from bag.

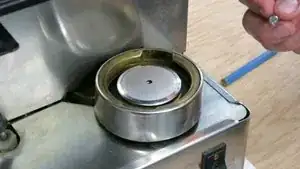
  17. Take the new gasket and install it with the lettering down.
    • Take the new gasket and install it with the lettering down.

    • Use a 1/4 inch flat punch to push down the gasket to ensure its nice and flat.

  18. Insert the diffuser with the water channels facing down.
    • Insert the diffuser with the water channels facing down.

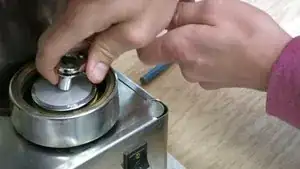
  19. Use an 8mm socket wrench to tighten the screw.
    • Use an 8mm socket wrench to tighten the screw.

  20. Careful not to over tighten and break screw.  It will be extremely difficult to remove.
    • Careful not to over tighten and break screw. It will be extremely difficult to remove.

Abschluss

To reassemble your device, follow these instructions in reverse order.

Samuel Kanenwisher

Mitglied seit: 12/08/12

1110 Reputation

7 Kommentare

Perfect - Just what I needed for my machine.

casper.svendsen -

Nice job! Made it easy to clean and install new partS.

Dan Myall -

very well done. going to do it with my silvia this weekend.
Tom Manaves -

Best version I’ve seen so far. Showing how it’s done on a dirty machine helps

Richard G -

Great!!! I’m assuming the fully assembled backflush procedure is unnecessary after this. But I was wondering if there are any hidden crevices that backflush would get to. This is more serious than you think in my case… I’m resurrecting a rarely used, 15 year old V1 that has NEVER been serviced.

Jeff Vandegrift -

Backflushing is still needed to clean internal parts and 3-way valve. I also recommend backflushing every 60 shots.

Kanen Coffee -

Very nicely done! Thank you so much for the detailed breakdown.

Vincent G -