Einleitung
Werkzeuge
-
-
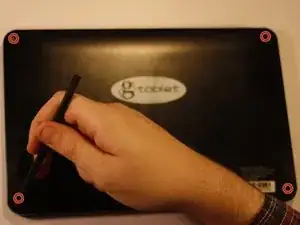
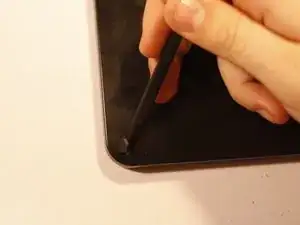
Using your spudger or metal tweezers, work the rubber screw covers out of their sockets, found on each of the four corners of the back cover.
-
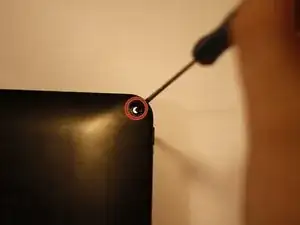
Using a PH00 screwdriver, remove the 5.8mm screws found beneath each rubber cover (4 total).
-
-
-
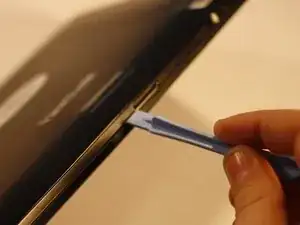
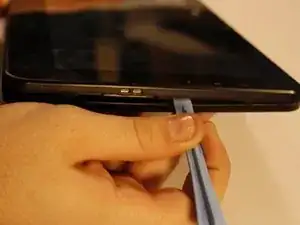
Using the flat end of your prying tool, work the back cover away from the rest of the gTabet.
-
Starting near the charging port, work in one direction around the perimeter of the device.
-
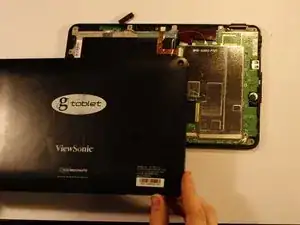
Lift off back cover to reveal the interior of the device.
-
-
-
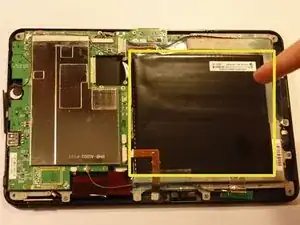
The battery is the large black square that dominates much of the device interior.
-
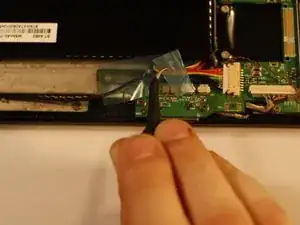
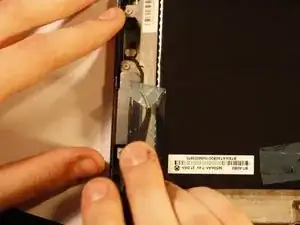
There is tape holding several wires in place. This must be removed before the battery can be removed. Peel it gently; you will want to use it later.
-
-
-
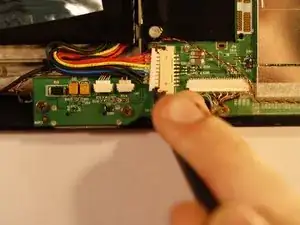
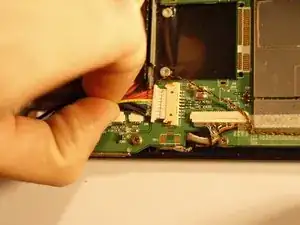
Using a PLASTIC tool of your choice, push both ends of the power cable connector, one at a time, away from its housing. This will slowly wiggle the connector out of place.
-
-
-
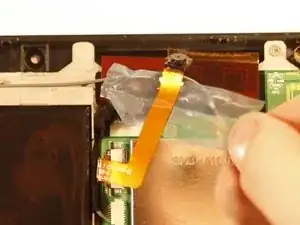
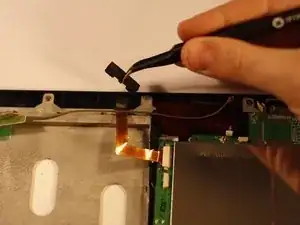
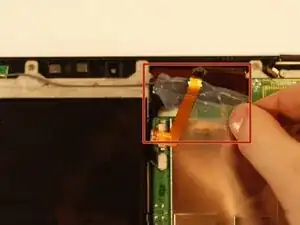
Using tweezers, remove the protective foam backing arch from the front-facing camera.
-
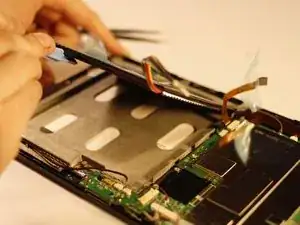
Pull the camera out of its housing and move it aside.
-
Gently lift the battery up and away from the rest of the device and set it aside.
-
-
-
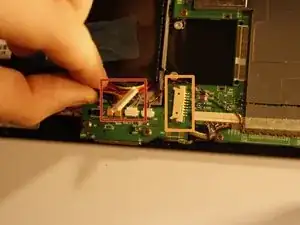
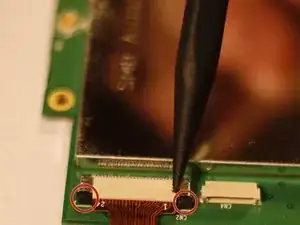
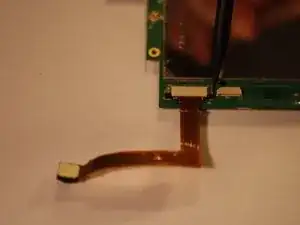
The front-facing camera is held in by a tricky connector. It cannot be removed unless the two black tabs shown here are lifted. Once the tabs are lifted, you may gently pull the connector out with tweezers.
-
Replace the camera by reversing these steps.
-
To reassemble your device, follow these instructions in reverse order.
