Einleitung
Werkzeuge
-
-
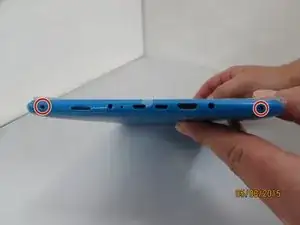
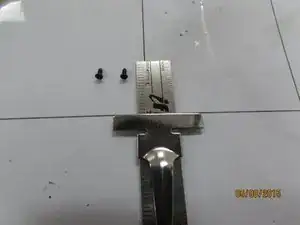
Remove the 3mm screws from bottom of tablet with the precision screwdriver and place on magnetic mat. label where they came from.
-
-
-
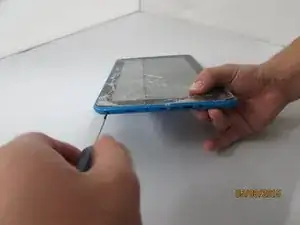
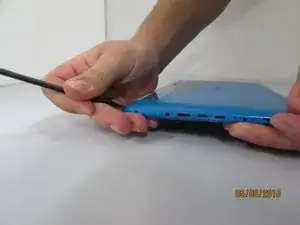
Using the spudger, create a small opening to be used to open the back case.
-
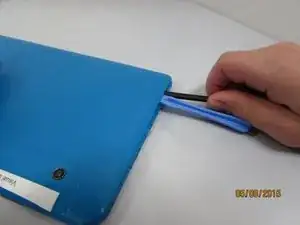
While holding the case open, insert the plastic opening tool to get a larger opening.
-
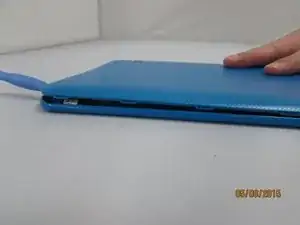
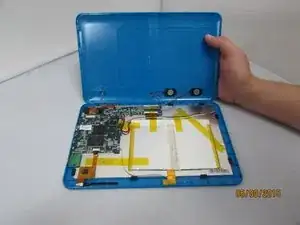
Once you have a slight opening, insert the spudger and work around the edges, separating the back plate from the front.
-
-
-
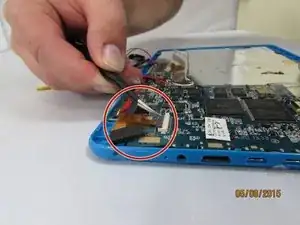
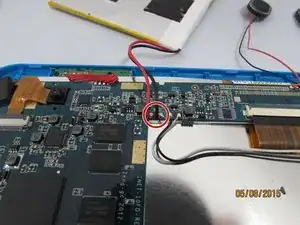
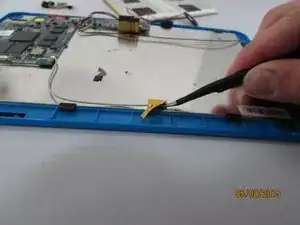
Locate the Camera Housing. Gently grip and lift the small black tab until you feel an audible click.
-
Gently remove the connector by pulling straight out, gripping the black connector head or as close as possible.
-
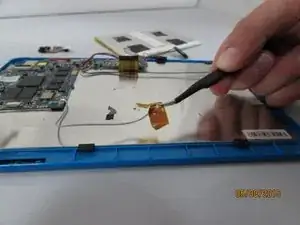
Gently grip and pull up the front camera, covered by protective adhesive foam.
-
Set aside the Camera housing.
-
-
-
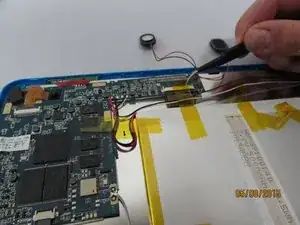
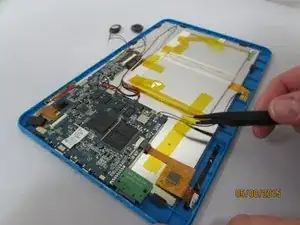
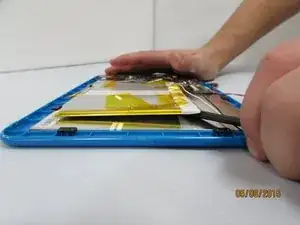
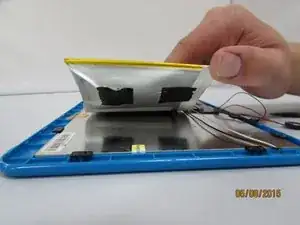
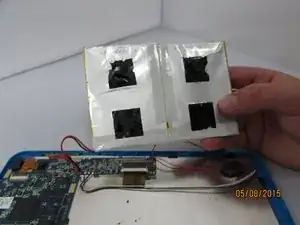
insert the spudger and gently work around and underneath the battery.
-
With the battery separated from the LCD Display, set it aside.
-
-
-
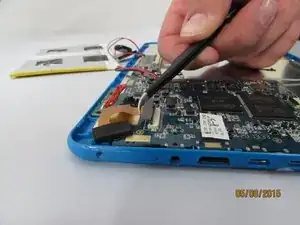
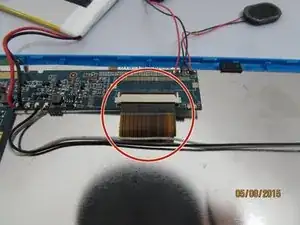
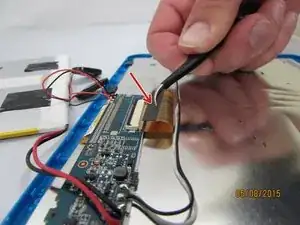
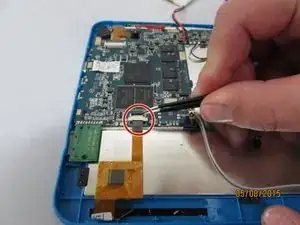
Locate the LCD Connector.
-
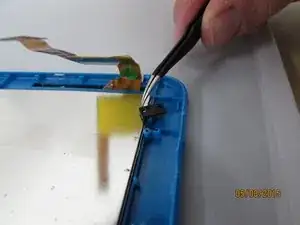
Using tweezers, grip the small black tab connected to the white plastic.
-
Gently lift the tab towards you until it clicks.
-
Remove the connector by pulling straight out, gripping the black connector head.
-
-
-
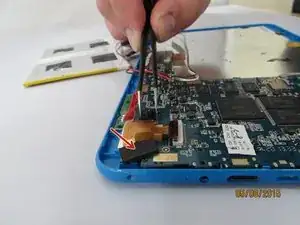
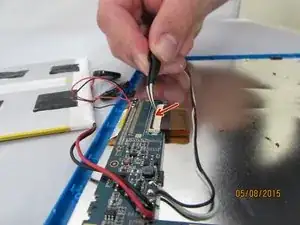
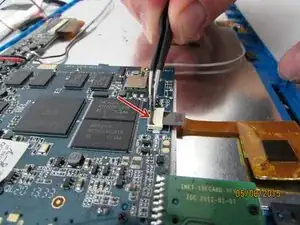
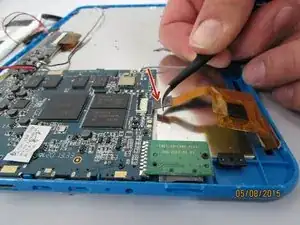
Locate the Touchscreen connector and grip the forward-most black tab with the tweezers.
-
Lift the tab towards you until you feel an audible click.
-
Gently remove the connector by pulling straight out, gripping the black connector head.
-
-
-
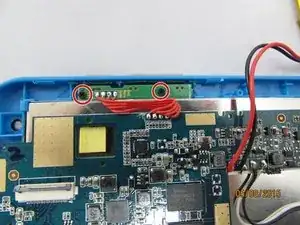
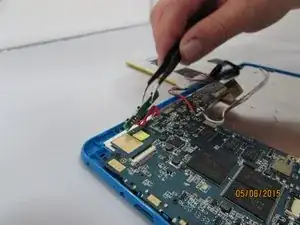
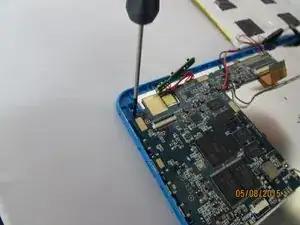
Locate and remove the screws holding the volume and hold button controller. Set screws aside on magnetic mat and label them.
-
Gently lift up on the controller and leave it hanging loose.
-
-
-
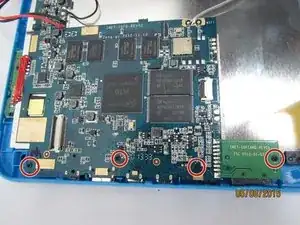
Remove screws located on motherboard.
-
Place on magnetic mat and label them
-
Gently remove the Motherboard and any wires connected to it and set it aside on a static free surface.
-
-
-
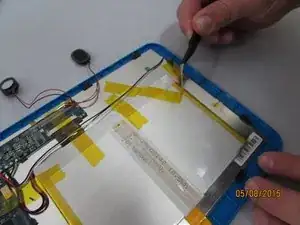
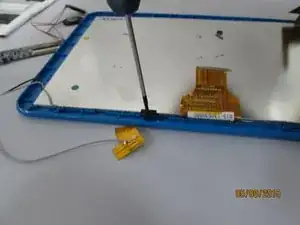
Remove the screws and plastic tabs holding the LCD Display and place them on the magnetic mat. Label them.
-
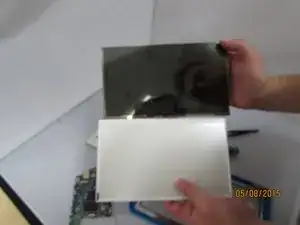
Gently remove the LCD Display and backlight by lifting up the LCD Connector with your fingers.
-
Set aside the LCD Assembly.
-
To reassemble your device, follow these instructions in reverse order.
