Einleitung
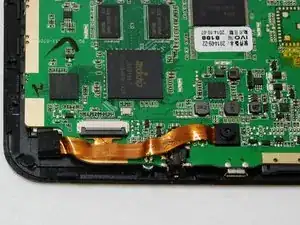
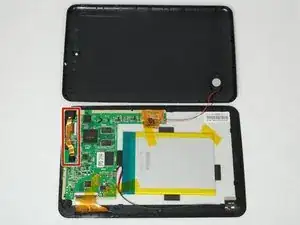
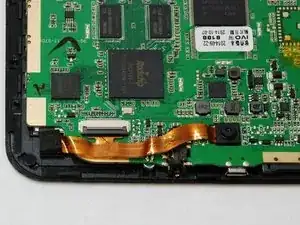
This guide demonstrates the proper way to remove the cameras in order to reconnect or replace them. This requires no soldering or screws.
Werkzeuge
-
-
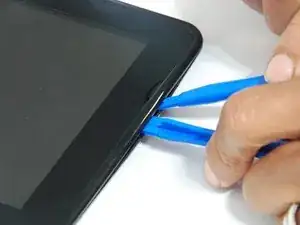
Using the large plastic opening tool, start along a side of the device and apply light pressure in the seam between the top and bottom outer covers.
-
Maneuver the smaller plastic opening tool at the spot of the large opening tool and slowly slide along the edge.
-
-
-
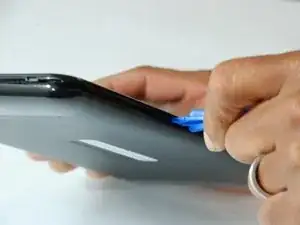
Move tool around each connection, and continue around the device until all connections have been loosened.
-
-
-
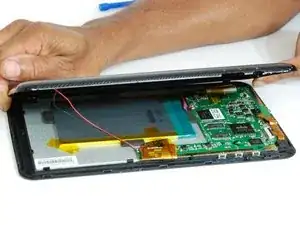
Once all connections have been loosened and using a soft surface, place the device onto its screen.
-
-
-
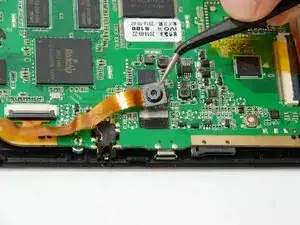
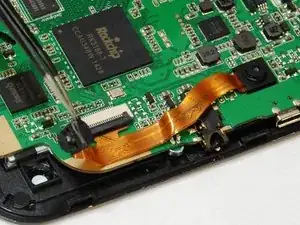
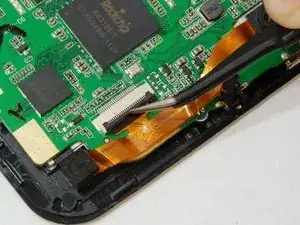
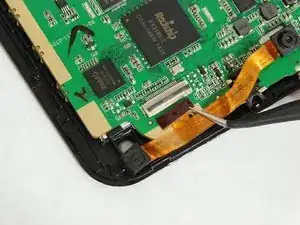
Maneuver the hook tweezers to flip up the black hinged ZIF connector to disconnect camera module.
-
After ZIF connector is flipped up, the camera module may be removed.
-
To reassemble your device, follow these instructions in reverse order.
