Einleitung
This guide will walk you through the simple steps to replacing the front-facing camera.
Werkzeuge
-
-
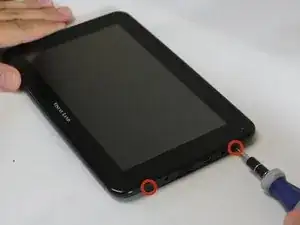
Unscrew the two 4.0mm Phillips head screws found near the ports at the bottom of the device using a PH #00 screwdriver.
-
-
-
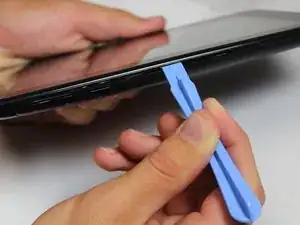
Slide the plastic prying tool in between the front and back panel and pry them apart on all 4 sides.
-
It may be easiest to start on one of the sides, and work your way around the device. The bottom, with the ports, is the most difficult side and can be saved for last.
-
-
-
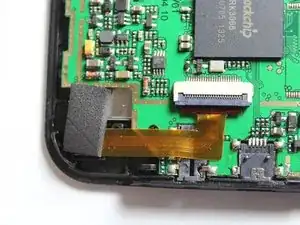
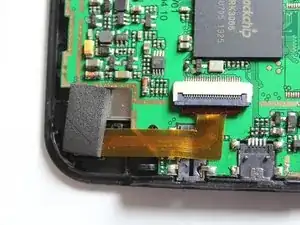
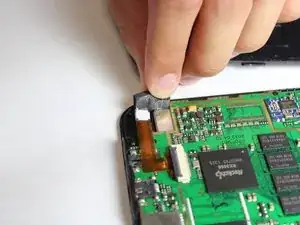
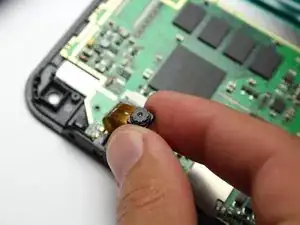
With the bottom of the device facing away from you, pull the camera out of its black housing.
-
-
-
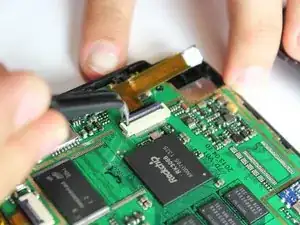
Use the tweezers to lift the grey connector, connecting the camera ribbon to the circuit board, up from the beige housing. It should rotate up, and allow you to slide the ribbon out from under the connector.
-
To reassemble your device, follow these instructions in reverse order.
