Einleitung

If you have trouble powering on or keeping a charge with your SmartCast Crave 360 (model SP50-DP), use this guide to replace its battery. The battery will hold a certain amount of charge in order to turn the speaker on. If your speaker is not fully charged, refer to the troubleshooting page as the battery may still be working. If the battery is completely dead and will not charge, this guide will show you how to replace it so you can continue using your speaker.

  1. YyaPKqqeM1OgZEXe
    YyaPKqqeM1OgZEXe
    meTOgMabDVlUFLTH
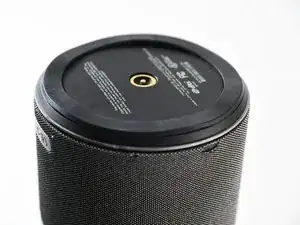
    • Orient the speaker so that the bottom faces up.

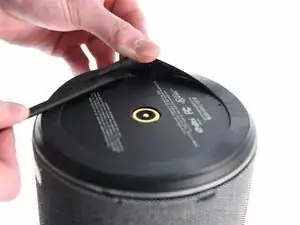
    • Peel the rubber ring off of the bottom using the spudger.

  2. q1tgdQrsEBXKBYPK
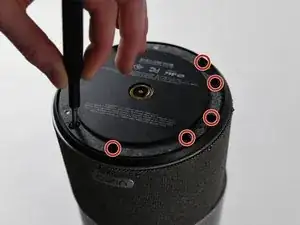
    • Remove the eight 5 mm screws connecting the bottom panel to the gray power port using a Phillips #000 screwdriver.

  3. BlPB5NSOSsdLBGuq
    BlPB5NSOSsdLBGuq
    tyYtSaVCUrnOEkEw
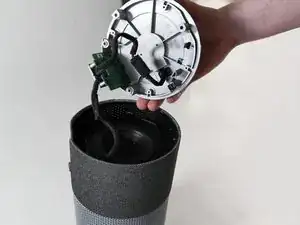
    • Lift the gray power port and move it to the side to reveal the bass.

    • Do not touch the wire that runs from the power port to the bottom of the bass component.

  4. ZxUoFJ6XmoNSm3FZ
    ZxUoFJ6XmoNSm3FZ
    6XTB1A1sruAC2pTr
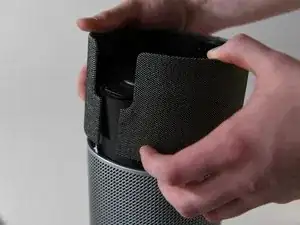
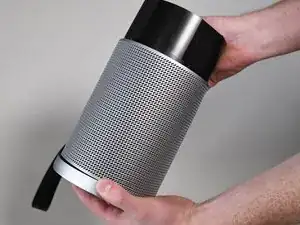
    • Remove the collar that wraps around the bass component.

    • Once the collar is removed, the speaker should appear similar to the speaker shown in the second photo.

  5. gPTHfldhZEGHtVao
    gPTHfldhZEGHtVao
    eeCVuGYARcUQwaZC
    gQAWojMRlZwrGKbx
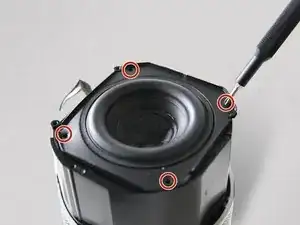
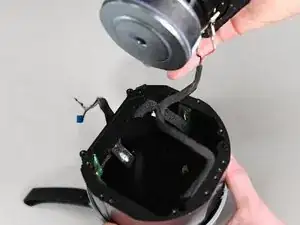
    • Remove the four 10 mm screws with that connect the bass to the rest of the speaker using a Phillips #000 screwdriver.

    • Take the bass component out of the speaker.

    • Disconnect the wiring that runs into the bass component.

    • The bass is now removed.

    Is it possible to fix motherboard?

    Beuran -

  6. PhPPIb4M4TWucwh2
    PhPPIb4M4TWucwh2
    nFTdHpuVuNFaDGC1
    • Flip the speaker to access the top.

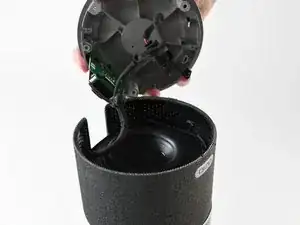
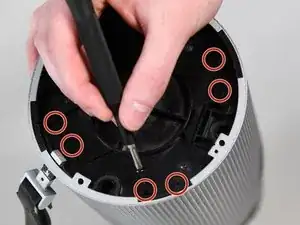
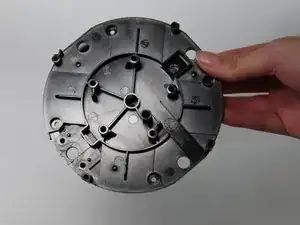
    • Remove the eight 10 mm screws from the plastic disc inside the grey speaker cage using a Phillips #000 screwdriver.

    • Remove the plastic disc from the speaker cage.

  7. qdArGlTmbhFSWRoR
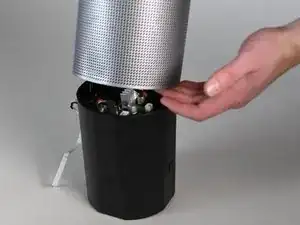
    • Lift the grey speaker cage to reveal a black plastic cylinder that contains the battery.

  8. tpyU5QsEXh3SL3wL
    tpyU5QsEXh3SL3wL
    sbfLY2xKmmWl1VQU
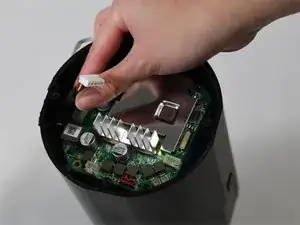
    • Disconnect the wire that connects the motherboard to the battery.

  9. yQTAgFHSwJR2H3uh
    yQTAgFHSwJR2H3uh
    bepIAjGMrZHGFXg3
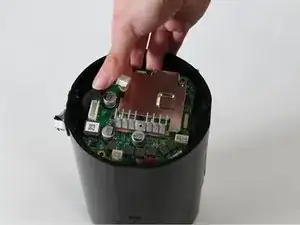
    • Remove the motherboard and battery from the plastic cylinder.

  10. Qe2XQw56cYTWqbl3
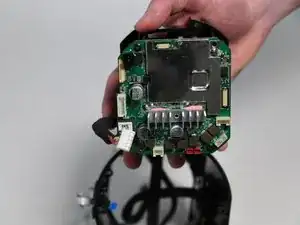
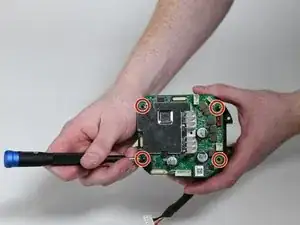
    • Remove the four 5 mm screws from the motherboard using a Phillips #000 screwdriver.

  11. xvwGs6maN2S6gYWd
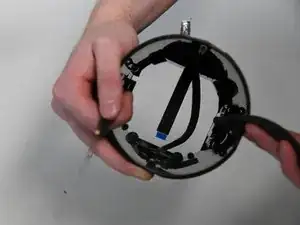
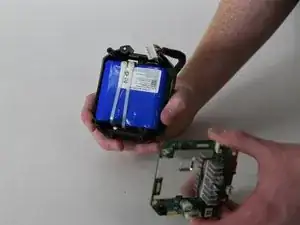
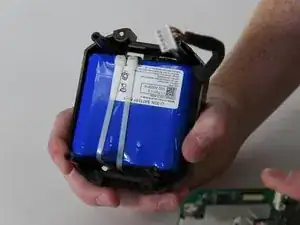
    • Remove the motherboard from the battery.

Abschluss

To reassemble your device, follow these instructions in reverse order.
Pavani Lopez Leon

Mitglied seit: 06/09/22

415 Reputation

0 Kommentare