Einleitung
Over time, the Micro USB charging port may become worn out or defective. Here is a guide on how to replace this part. During step 1, take special care to the black ribbon as it can be easily damaged.
Werkzeuge
-
-
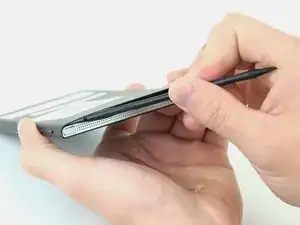
Obtain the black plastic spudger tool from the iFixit toolkit. Position the device as shown in the picture. Insert the flat end of the spudger directly in the space above the power button between the back cover and front screen.
-
-
-
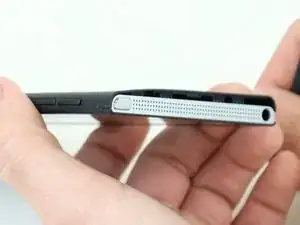
Gently pry up on the plate with the spudger. You may hear some cracking noises as you work the spudger around your device, this is normal.
-
-
-
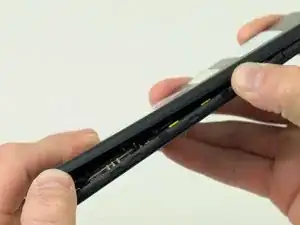
Pry around the edges of the tablet with your fingers until you have successfully removed the back of the device.
-
-
-
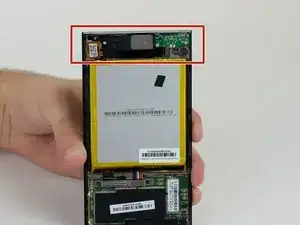
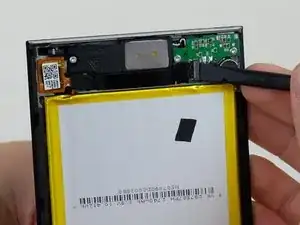
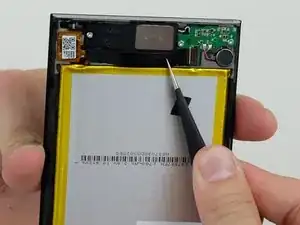
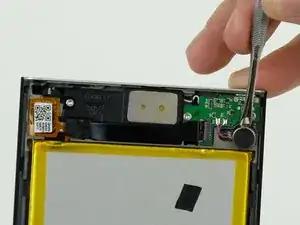
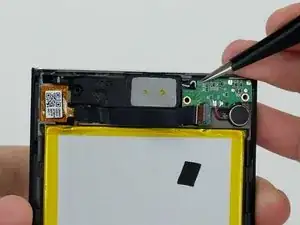
Place the flat end of the black plastic spudger under the black plug and pry up to release the black ribbon. Using the metal tweezers, pull the black ribbon out of the plug.
-
-
-
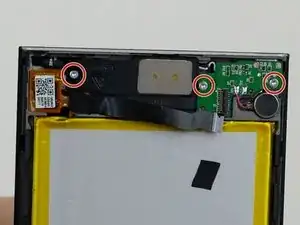
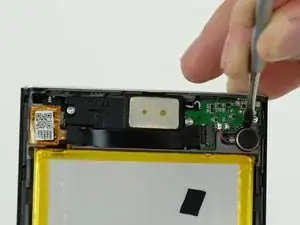
Place the shovel end of the metal spudger under the speaker and pry upwards to remove the speaker from the device.
-
-
-
Using the tweezers, grab a hold of the Micro USB assembly and gently remove it from the device.
-


To reassemble your device, follow these instructions in reverse order.