Einleitung
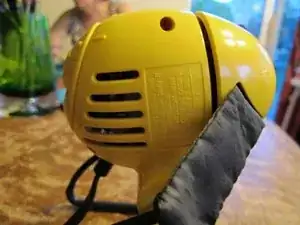
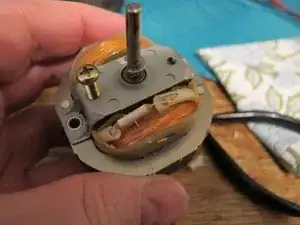
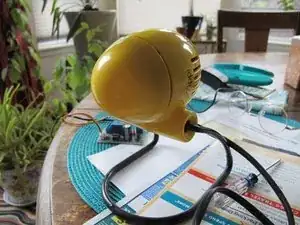
My Zippi fan stopped working after it fell over and its blades were held so that they could not rotate. The fan thus overheated and caused the thermal cutout to fail. This series shows how I opened the fan and replaced the thermal cutout.
Werkzeuge
-
-
There are two obvious screws on the sides of the fan. These are of the "Phillips" variety and need to be removed.
-
Remove the wire base by simply pulling each side out of the plastic housing. They are only held in place by the springiness of the wire base.
-
-
-
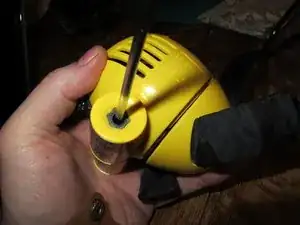
All of the screws are of the "Phillips" variety. It takes a bit of fiddling to get the screwdriver blade to engage with the screw but then it backs right out. Just leave the screw behind the rubber bit as it would be a nightmare to get it out and we will need it there for reassembly anyway.
-
-
-
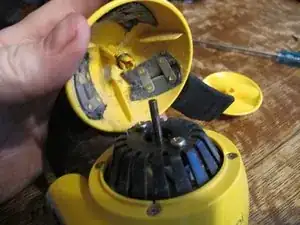
Be careful not to ding up the plastics. I had to use quite a bit of force to get the propeller off.
-
-
-
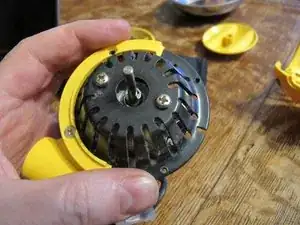
After pulling away both sides of the plastic case, remove the black plastic housing by removing the two screws that hold it in place.
-
-
-
Use a razor knife and carefully cut away the silicon insulation around the thermal cutout.
-
Note that the cutout is a 115 degree C 2 amp device. I replaced it with a Panasonic EYP-2BN110 which is available from DataAlchemy on Amazon Marketplace.
-
Clip the old unit out and melt a blob of solder on the wires that stick out. Then clip short the leads of the new thermal cutout so that they just reach the exposed wires.
-
Hold the thermal cutout as far away from the device as possible with needle-nose pliers as a heatsink so that the soldering iron doesn't blow the fuse and quickly solder the fuse in place.
-
Now thread a bit of electrical insulation around the cutout to cover the exposed wires. Do not use more than a layer or the cutout may not operate when it is needed.
-
-
-
Now simply put all of the pieces back together in the reverse order that you took them apart. Here is my Zippi, good as new and ready for the hot summer.
-
To reassemble your device, follow these instructions in reverse order.
2 Kommentare
Thank you, my thermal was fine but my zippi was making an annoying clicking sound - just the disassembly, lubrication of the motor shaft with PTFE and putting it back together fixed it and it's running at a nice white noise hum right now better than ever.
Thank you very much! I thought the motor had burnt out!
Idmi -
