Einleitung
Is your InnoTab 3S screen cracked? This guide will walk you through replacing the screen of the Vtech InnoTab 3S.
Werkzeuge
-
-
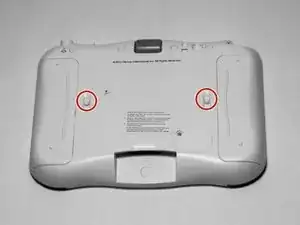
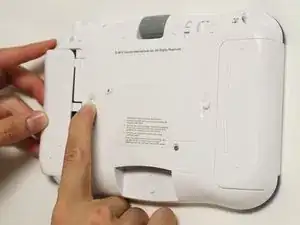
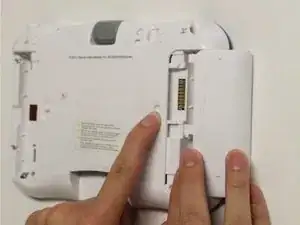
While holding the battery compartment locks down, slide the two battery doors outwards from the sides of the device.
-
Remove the batteries from the device.
-
-
-
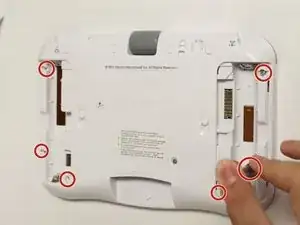
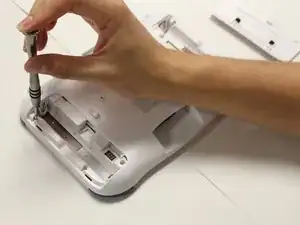
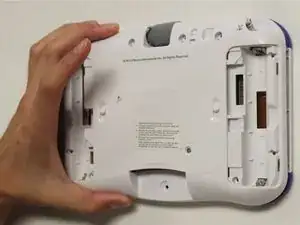
Remove six 7 mm screws from the interior of the battery compartment using a Phillips #1 screwdriver.
-
-
-
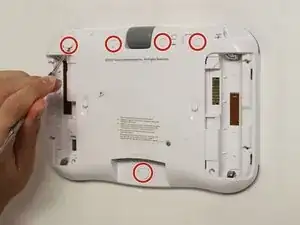
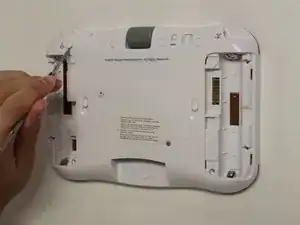
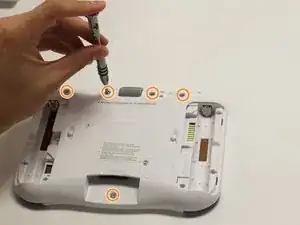
Using a nylon spudger, remove the five caps that hide the screws.
-
Remove the five 5 mm Phillips #1 screws from the rear panel of the device.
-
-
-
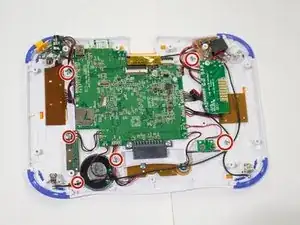
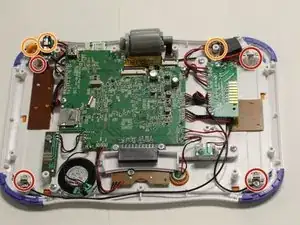
Remove the six screws that secure the motherboard to the front panel of the device using a Phillips #1 screwdriver.
-
Remove the other 5mm screws that secure the charger port and the buttons to the inside of the front panel.
-
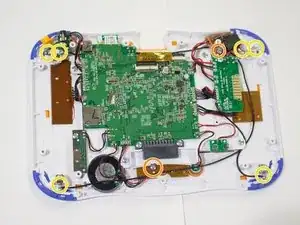
Remove the six 3 mm screws securing the battery clip.
-
-
-
Using the tweezers, remove one battery clip from each corner (four total) of the Vtech InnoTab 3s.
-
With the tweezers, unsecure the charging port, headphone port, and the light switch button from the front panel of the device.
-
-
-
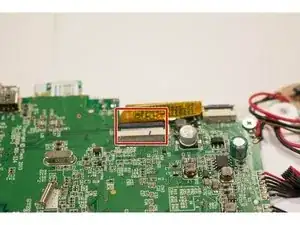
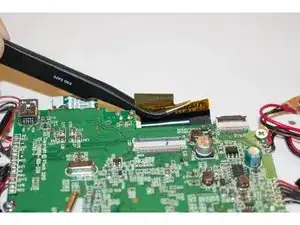
Open the clip holding the screen plug with the yellow film.
-
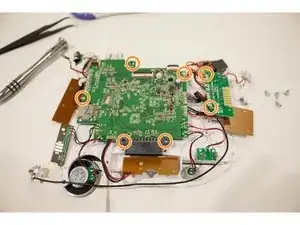
Remove all seven of the 5mm screws on the motherboard to separate the motherboard from the screen.
-
-
-
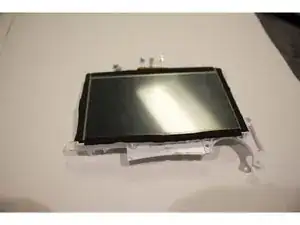
Carefully separate the motherboard from the device screen. Replace the damaged screen with an operational one.
-
To reassemble your device, follow these instructions in reverse order.
4 Kommentare
What is the part number for the screen. Where can I buy one. Thank you.
what is the size of the screen
My grandson dropped his innotab 3 and now the screen is all scrambled. Can this be fixed? It did not crack the screen.
