Einleitung
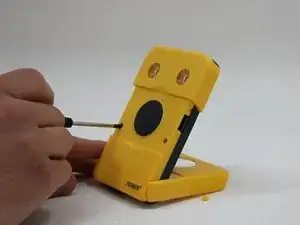
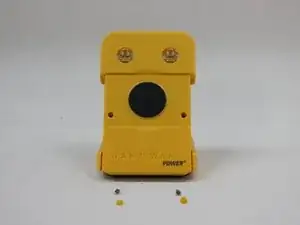
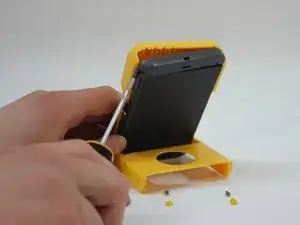
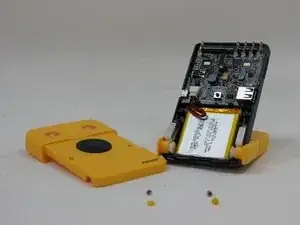
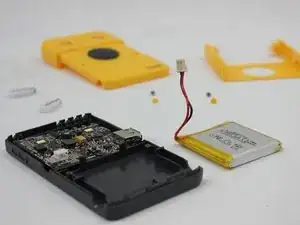
Replacement guide for the solar panel of the Waka Waka Power Plus. If this guide is only followed up to the PCB, this guide could also be applied to the replacement of the PCB.
Werkzeuge
-
-
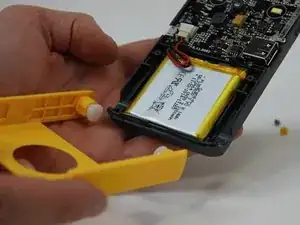
Now is a good time to remove the light conductor.
-
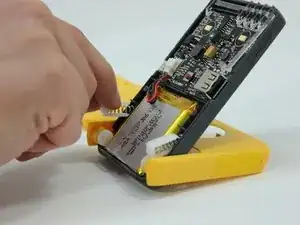
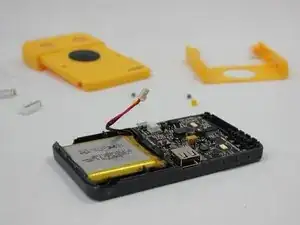
Pull out the connector, be careful and only pull the connector and not the wires to avoid damaging them in the process.
-
-
-
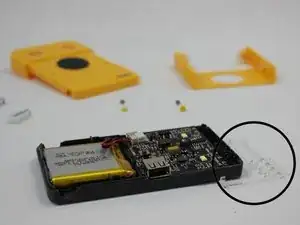
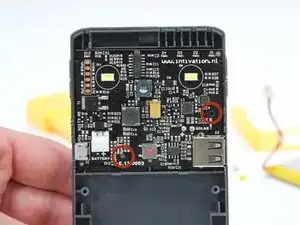
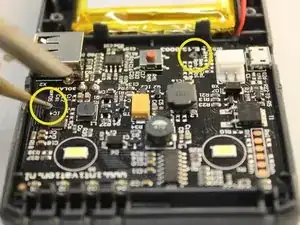
There are two plastic pins holding the PCB in place. You will have to break them. Try to damage them as little as possible, this may allow you to re-use them with a little trick we show later on.
-
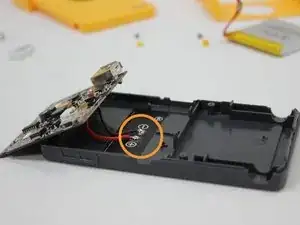
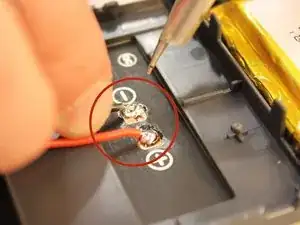
You will need a soldering iron to undo and later on redo the connections between the solar panel and the PCB.
-
-
-
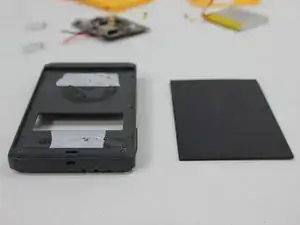
Use a flat object like a bank card to avoid bending the solar panel.
-
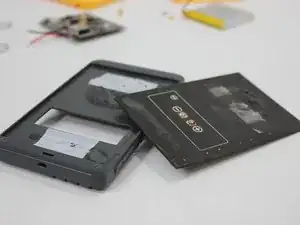
This Waka Waka has been opened up previously. Since the solar panel was originally glued in place, the solar panel was re-attached using double sided tape. When putting your Waka Waka back together, you could either choose glue or double sided tape. Both work fine.
-
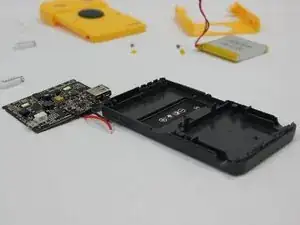
Now replace the solar panel and rebuild the Waka Waka in reverse order. Useful tips for re-assembly will be given in the next step.
-
-
-
You had to break the plastic pins that hold the PCB in place earlier in this repair guide. You can fix them reasonably well by holding a semi-hot soldering iron on them so they melt and once again hold the PCB into place.
-
To reassemble your device, follow these instructions in reverse order.
