Einleitung
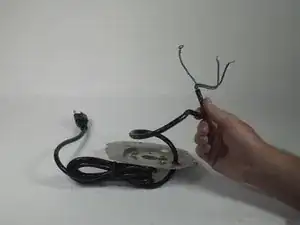
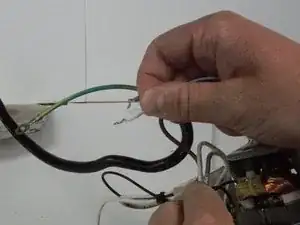
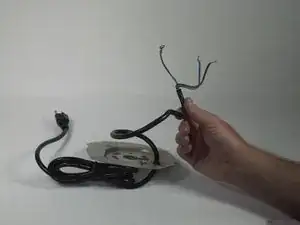
The power cord is what provides power to the motor, once its plugged in. Sometimes these can become stripped and worn down, therefore they may need to be replaced. Following this guide will give you detailed instructions on how to remove the power cord.
Werkzeuge
-
-
Turn the blender on its side so the bottom panel is facing you.
-
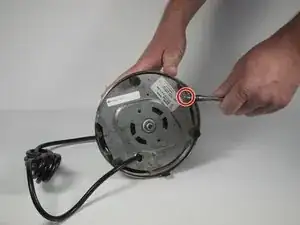
Unscrew the 22mm Phillips #1 screw on the indent of the panel.
-
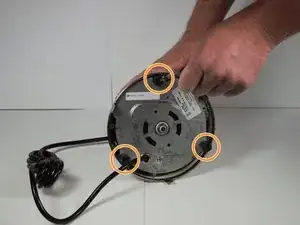
Unscrew the 3 screws in the rubber holes.
-
-
-
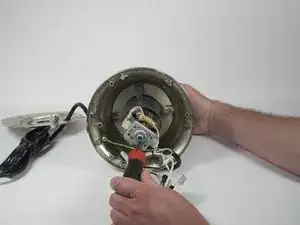
Unscrew this screw while holding the coupling with your other hand and not allowing it to rotate.
-
-
-
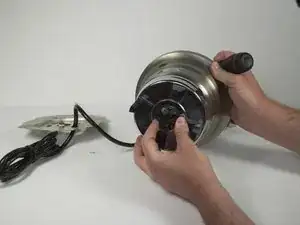
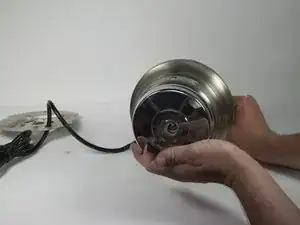
Once the coupling mechanism has been loosened all the way, gently pull it off the top of the blender.
-
-
-
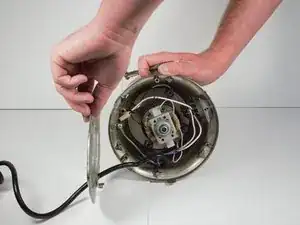
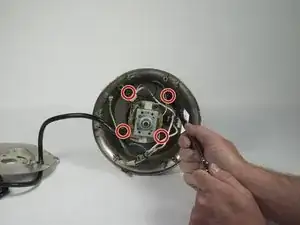
Unscrew the four nuts in the bottom of the motor cavity.
-
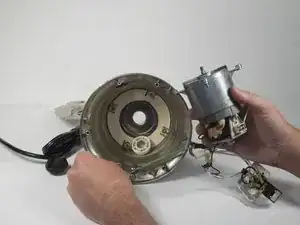
Wiggle the motor until it is free and you can remove it.
-
-
-
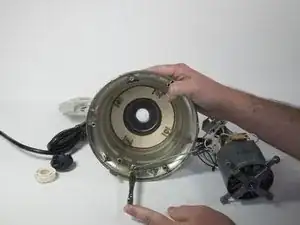
Once motor is pulled out, unscrew the 8 mm screw for the green wire from the base of the blender.
-
-
-
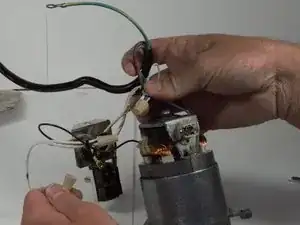
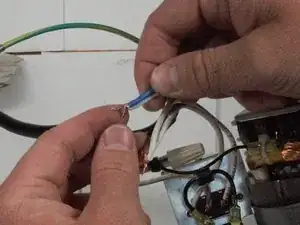
Unscrew each white wire cap in order to free the motor from the power cord.
-
Once wire caps are removed, separate wires carefully.
-
To reassemble your device, follow these instructions in reverse order.
