Einleitung
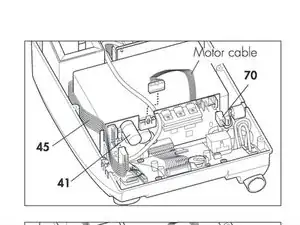
Follow this replacement guide to replace your power board. You will need to replace the power board if there is no running noise and displays will not show up or, when in automatic mode, the device cannot be switched on by a breath being taken in. For this guide, you will need a 3mm Allen Key. Be cautious when disconnecting items so that you no not accidentally break them and remember where you pulled them out so that reassembly is easy. The steps are not difficult but should be performed carefully.
For more information on replacing the power board, please refer to page 34 in the service manual.
-
-
Open the Device by following these steps:
-
Place the device on a non-slip surface with the top facing downwards.
-
Remove the filter cassette from the top part of the housing
-
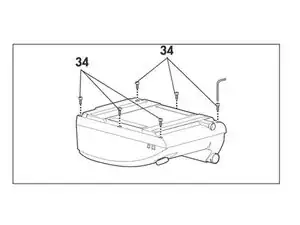
Undo and remove the 6 screws (34)
-
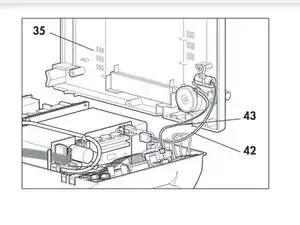
Open the bottom part of the housing (35) away to the side.
-
Undo the connecting cables for the humidifier (42) and the alarm (43)
-
You can now put the bottom part of the housing (35) to one side.
-
-
-
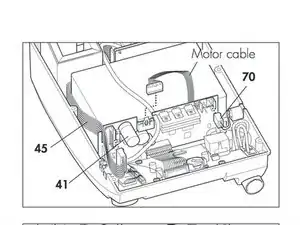
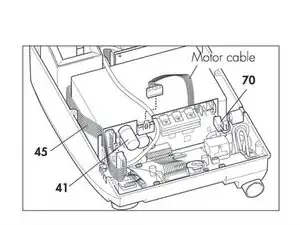
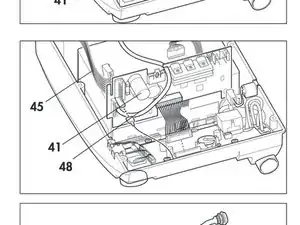
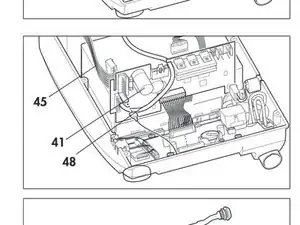
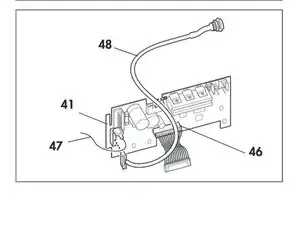
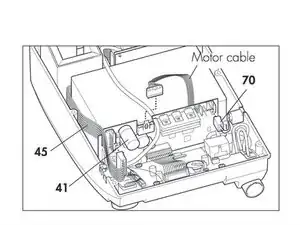
Take the rechargeable battery connecting cable (48) out of the groove and disconnect it from the power board (41).
-
-
-
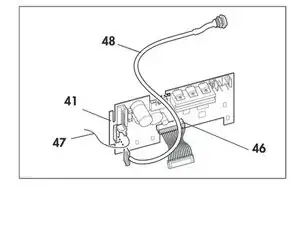
Disconnect the cables of the old power board and plug them into the appropriate slots of the new power board 41:
-
–power board/control board connecting cable (46)
-
–rechargeable battery connecting cable (48)
-
–earth cable (47)
-
To reassemble your device, follow these instructions in reverse order.
