Einleitung

This guide will show you how to remove the plastic casing so that it can be replaced.

  1. PcjWeVNMNMBa6wUT
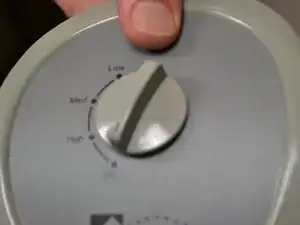
    • Locate the knob at the top of the fan.

  2. UyfIJBdqC5i3almA
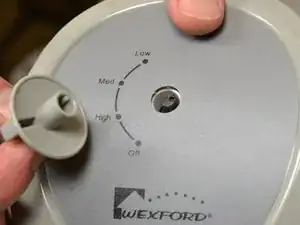
    • Remove the knob by gripping it and pulling straight up. Use a spudger if it is difficult to grip.

    • When reassembling, be sure to align the bottom of the new knob and the turning mechanism in the fan before pushing down.

  3. SdiFOZ3Nc3Rd46cH
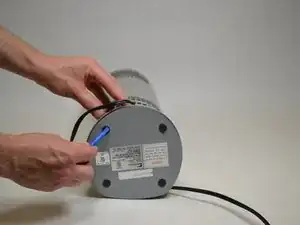
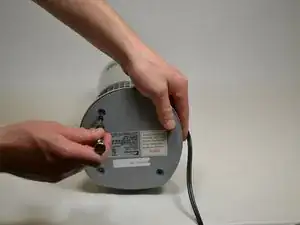
    • Using the plastic opening tool, turn the device over and remove the black plastic covers over the four screw holes.

  4. YxuMCu3hKBsmpYgH
    YxuMCu3hKBsmpYgH
    kNgLSGOyGfYl4lC3
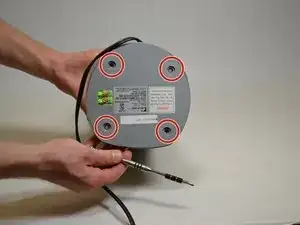
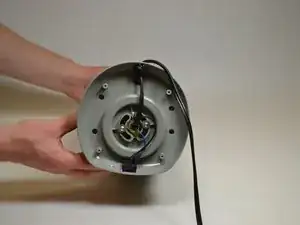
    • Remove the four screws underneath the plastic covers.

  5. 5MCymnWNsOMEDEDn
    5MCymnWNsOMEDEDn
    DE3GXAeItaRmQb6V
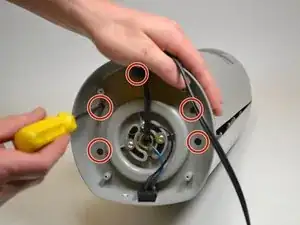
    • Remove 5 smaller screws visible through small holes between the base and the casing.

  6. tGJAmBCGDt5nHaPG
    tGJAmBCGDt5nHaPG
    1LDs2ZUKM6mGGMPu
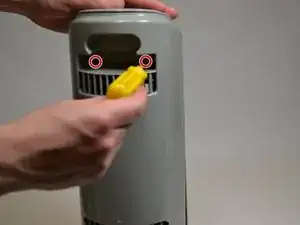
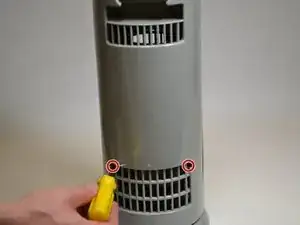
    • Remove four screws on the back, two near the top and two near the bottom.

  7. LQxoqnUYxwFHMFVc
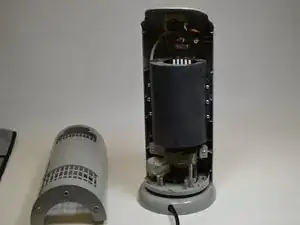
    • Pull off the back casing.

  8. QJVxtjbaV2pSSDZD
    QJVxtjbaV2pSSDZD
    1whpWpJCDIdaTpQu
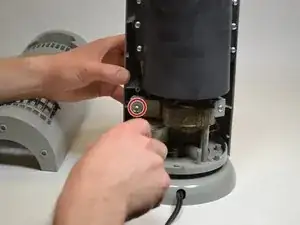
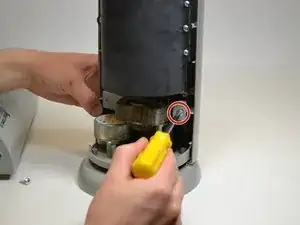
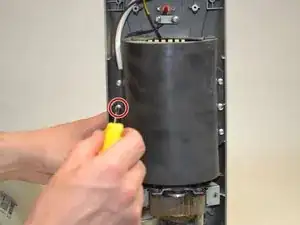
    • Remove the 2 screws that attach the front part of the casing to the motor.

  9. fDUAYW4XG4ZXPLZk
    fDUAYW4XG4ZXPLZk
    XBGoIHSeFLeJNdYx
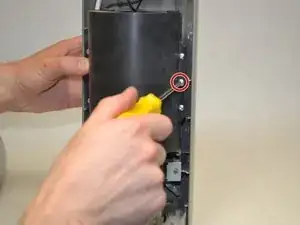
    • Remove the two middle screws attaching the black plastic cover to the front .

  10. XbBRLBHKJuZkW1kf
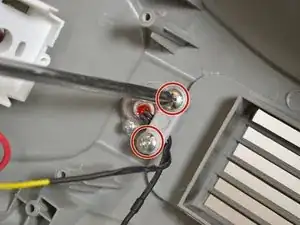
    • Remove the two screws attached to the white bar near the red light on the top of the front casing.

  11. gjcKiQOSof1dyILh
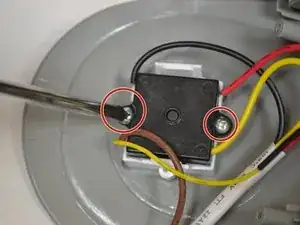
    • Remove the two screws keeping the button attached to the top of the casing.

Abschluss

To reassemble your device, follow these instructions in reverse order.

Cameron Mattson

Mitglied seit: 05/04/17

101 Reputation

0 Kommentare