Einleitung
Use this guide to replace a worn out or dead battery in your Xbox Elite Wireless Controller Series 2.
For your safety, discharge the battery below 25% before disassembling your controller. This reduces the risk of fire if the battery is accidentally damaged during the repair. If your battery is swollen, take appropriate precautions.
-
-
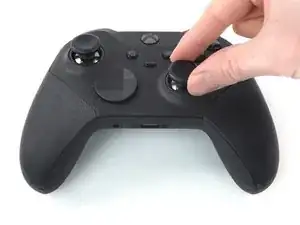
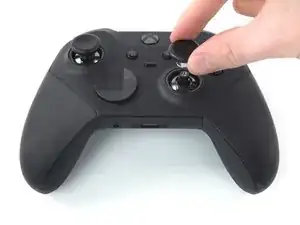
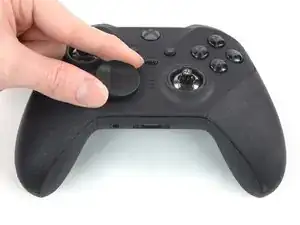
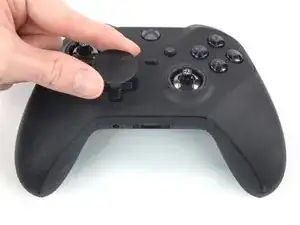
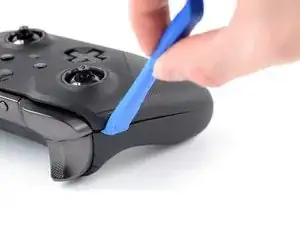
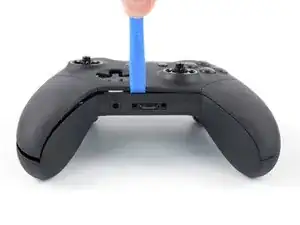
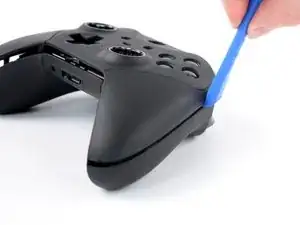
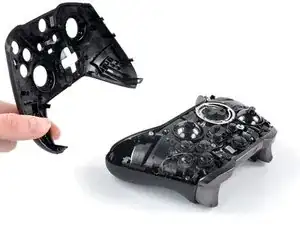
Insert an opening tool between the left bumper and the top housing.
-
Pry up the top housing to release the top left clip.
-
-
-
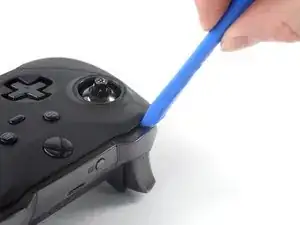
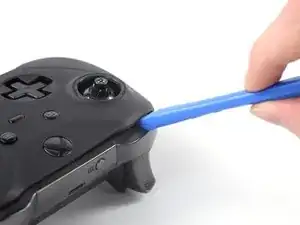
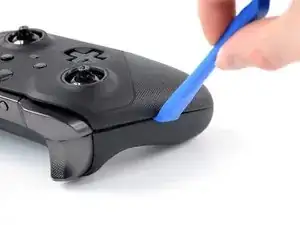
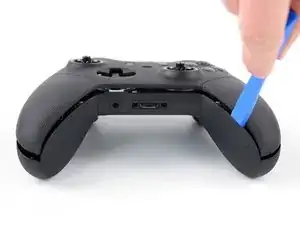
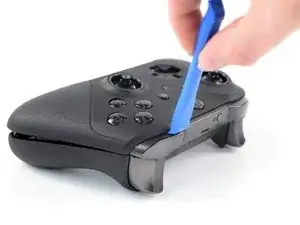
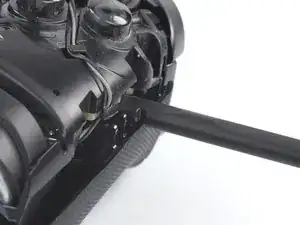
Insert an opening tool into the seam between the two housings on the controller’s left edge.
-
-
-
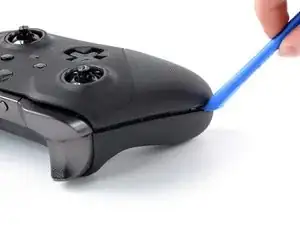
Slide the opening tool along the left edge and pry up intermittently to release the plastic clips.
-
-
-
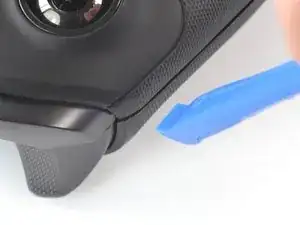
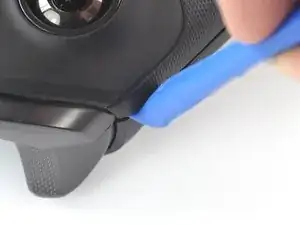
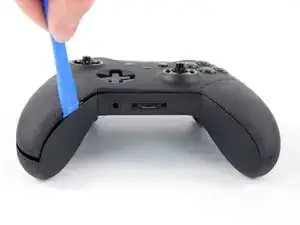
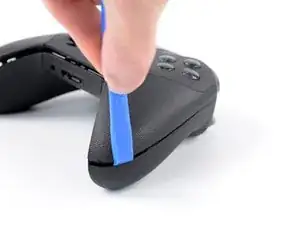
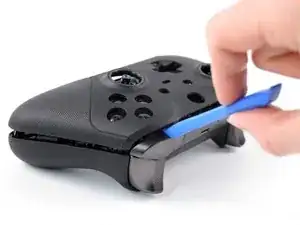
Insert your opening tool into the seam between the two housings on the inner left edge.
-
Slide the opening tool along the bottom edge and pry up intermittently to release the plastic clips.
-
-
-
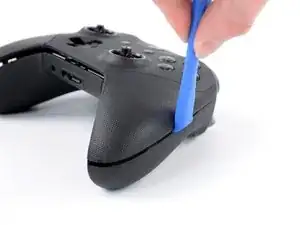
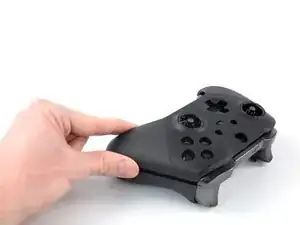
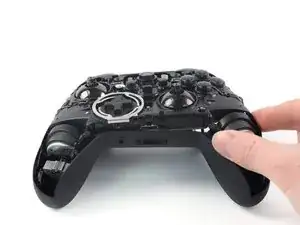
Insert your opening tool into the seam between the two housings on the controller’s right edge.
-
Slide the opening tool along the right edge and pry up intermittently to release the plastic clips.
-
-
-
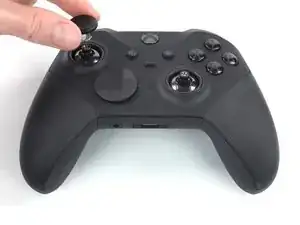
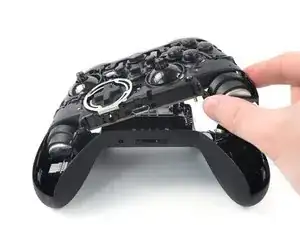
Insert your opening tool between the right bumper and the top housing.
-
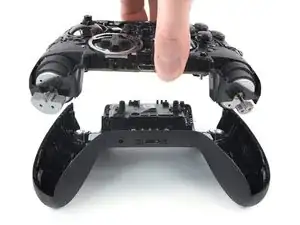
Pry up the top housing to release the remaining plastic clips.
-
-
-
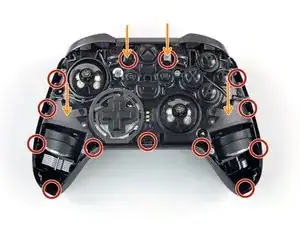
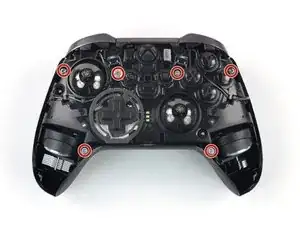
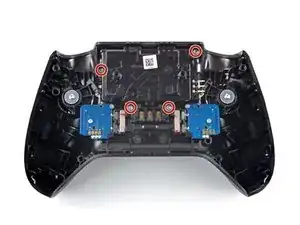
Use a Torx T8 Security screwdriver to remove the six 9 mm-long screws securing the midframe assembly.
-
-
-
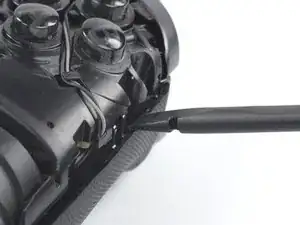
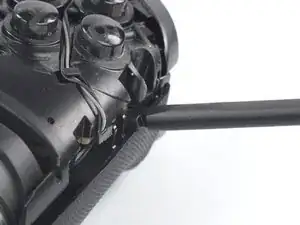
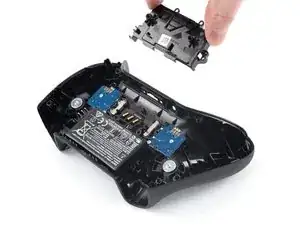
Insert the flat end of a spudger under the top right edge of the midframe, just above the clip.
-
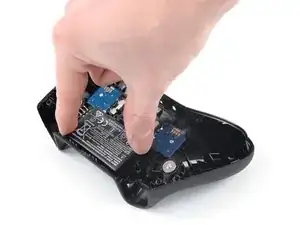
Pry up the midframe assembly to release the clips securing it.
-
-
-
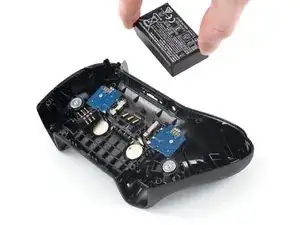
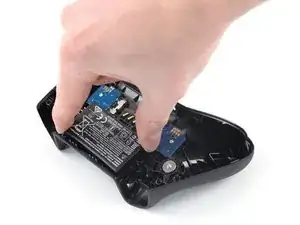
Use a Torx T6 screwdriver to remove the four 6.9 mm-long screws securing the battery cover.
-


To reassemble your device, follow these instructions in reverse order.
For optimal performance, calibrate your newly installed battery after completing this guide.
Take your e-waste to an R2 or e-Stewards certified recycler.
Repair didn’t go as planned? Check out our Answers community for troubleshooting help.
