Einleitung
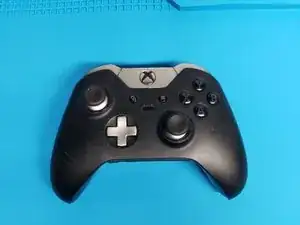
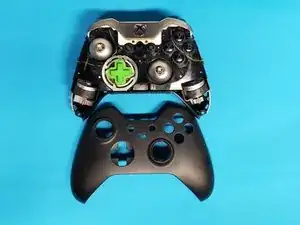
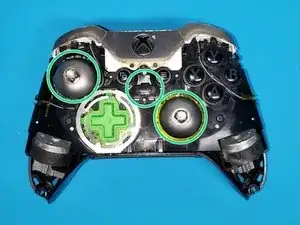
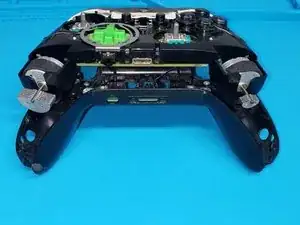
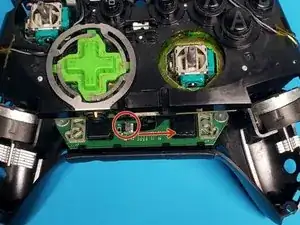
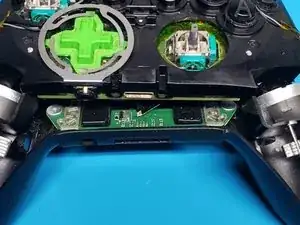
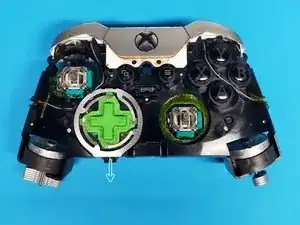
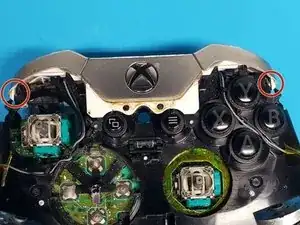
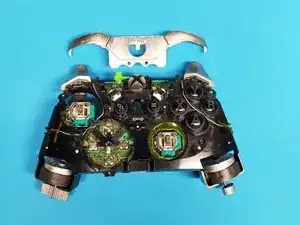
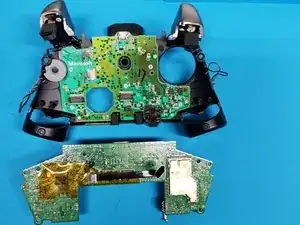
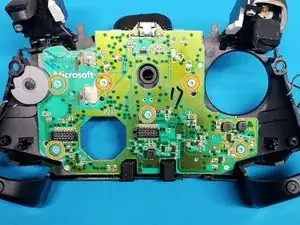
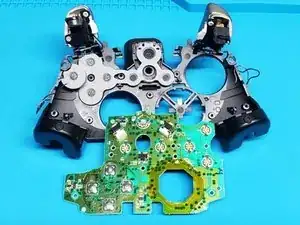
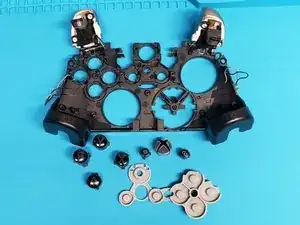
This guide walks people with a hobbyist-level skill and interest in electronic repair through the steps necessary to tear down and clean an Xbox series 1 Elite controller. The colored bullet points in the steps are associated with the matching colored circles in the accompanying visuals.
Werkzeuge
-
-
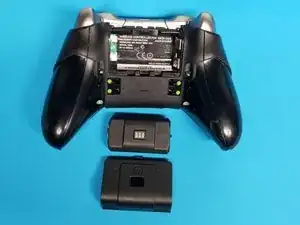
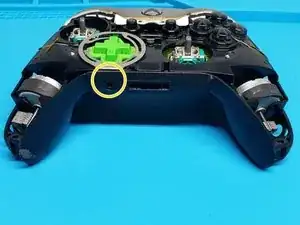
Expel the remaining electricity by pushing and holding the home button down for several seconds once the battery has been removed.
-
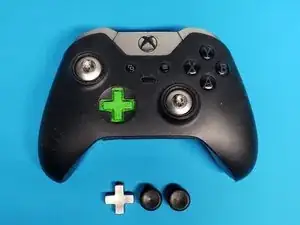
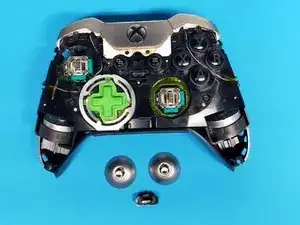
Removing the thumbsticks and D-pad will make the rest of the teardown smoother.
-
-
-
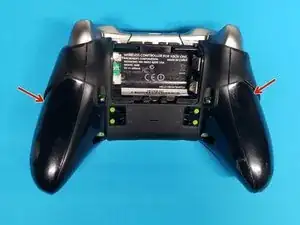
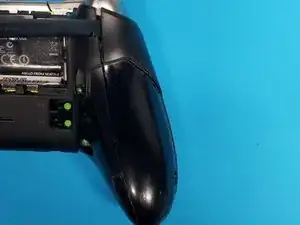
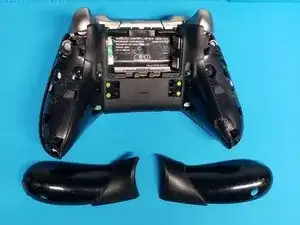
Using a soft pry tool, start from the top near the triggers and work your way down prying, and loosening the grips until they are removed.
-
-
-
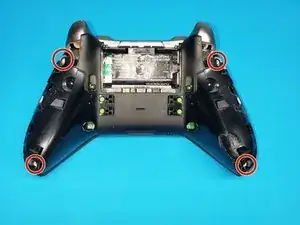
Remove the 4 T8 screws that were covered by the rear grips.
-
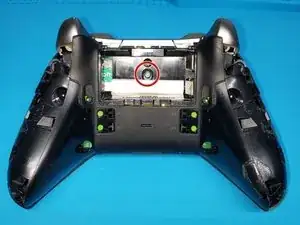
Remove the T8 screw behind the sticker in the battery compartment.
-
If done slowly and carefully, the sticker won't be deformed. Allowing it to be replaced by sliding a finger from the bottom part of the sticker still attached to the rear housing and moving upward during reassembly.
-
Wiggle the edges of the front housing shell to work it free. It will then come off with ease.
-
-
-
The audio input jack catches on the rear housing shell. Lightly pry the shell around the jack while pulling up on the midframe to remove it.
-
-
-
Remove the retaining ring and the D-pad.
-
The retaining ring is clipped in. Lightly pull back and up to remove.
-
Remove the bumpers by pushing down on the ends and lifting outward to unclip them. Then holding from the middle, wiggle the rest free while pushing the home button down.
-
-
-
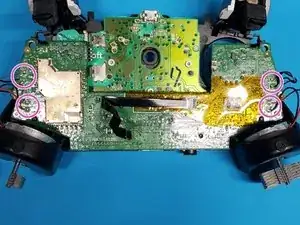
Desolder both sets of rumble motor wires and trigger wires from the back of the daughter board.
-
Remove the 2 T6 screws from the back of the daughterboard
-
Slowly and carefully work the pry tool evenly around the daughterboard, and between the midframe Lightly pulling out on it until it disconnects.
-
Set the audio input jack aside
-
-
-
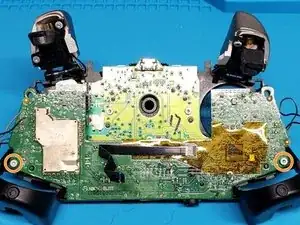
Remove the 6 T6 screws from the main board.
-
Once the screws are removed, the board can be pulled straight out and set to the side.
-
Remove the grey rubber button backing and remove the buttons, and move them to the side.
-
