Einleitung
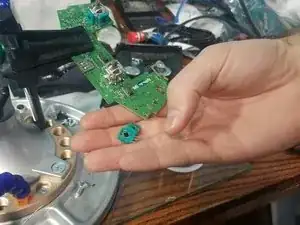
Wenn der Joystick deines Controllers drittes und du nicht auf Maximaleinstellungen gehen kannst oder der Joystick nicht mehr richtig klickt, dann hilft vielleicht ein Austausch des Potentiometers.
Werkzeuge
Ersatzteile
-
-
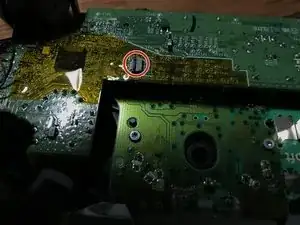
Du kannst den Stecker abziehen, dann geht das Flachbandkabel leichter ab.
-
Das Flachbandkabel.
-
-
-
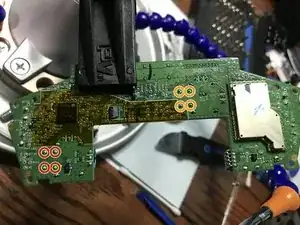
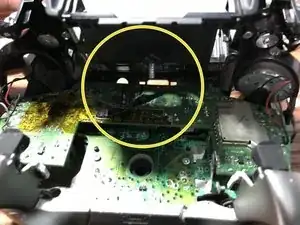
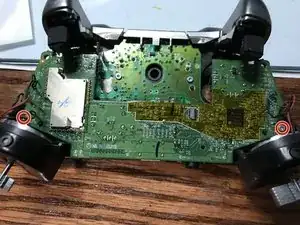
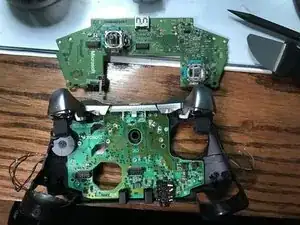
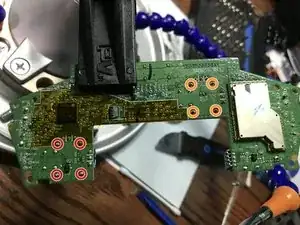
Löte vier Drähte an jeder Seite ab, sie verbinden die Vibrationsmotoren und die RT LT Tasten.
-
-
-
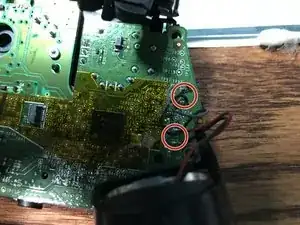
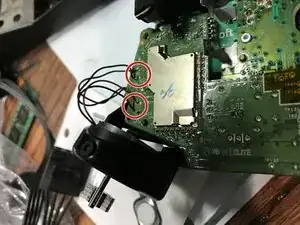
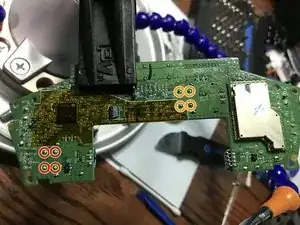
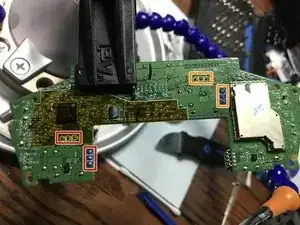
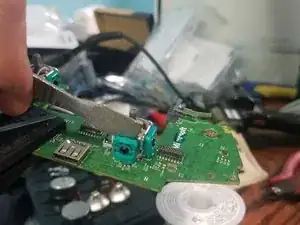
Entlöte die vier Lötstellen am linken Joystick.
-
Entlöte die vier Lötstellen am rechten Joystick.
-
-
-
Wenn es Probleme beim Ablöten gibt, kannst du zwei Dinge tun:
-
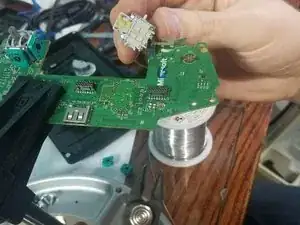
Du kannst die Widerstände mit einem Schraubendreher von der Platine abnehmen, im besser an die Masseanschlüsse heranzukommen.
-
Dann kannst du mit einem Seitenschneider die Kontakte abzwicken. Entlöte dann die Drahtreste vorsichtig.
-
Um dein Gerät wieder zusammenbauen, folge den Schritten in umgekehrter Reihenfolge.
35 Kommentare
I’ve replaced a thumbstick sensor on one of these controllers recently, and it doesn’t register movement like the other, original one. It can be described as the entire intended range of movement being compressed down into a very narrow band over the travel of the stick. The deadzone is quite large now, relatively speaking. Can this kind of behavior be attributed to a bad soldering job (all directions are recognized during tests), or is it perhaps just a bad sensor?
Brandon -
Bad solder job is unlikely, i’d assume the new joystick doesn’t have the same specs as the old one.
i cant get the module out. I desoldered the pins but it seems like the module is glued onto the board? Tutorials doesnt show that part
It is just soldered in, hold the soldering iron the the pins and pull gently. If you pull too hard you might damage a solder pad, although it is unlikely.
I have a desolder vacuum gun and I still have the issue you are describing I'll be fixing an elite controller tomorrow so I'll record that and take more pictures to update this.
@easyasabc
Would be great if you could do that :)
