Einleitung
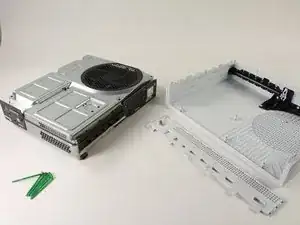
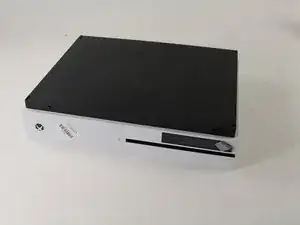
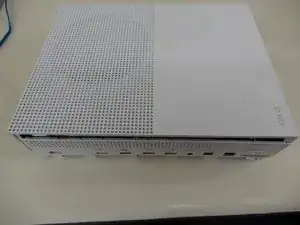
Hier wird der Austausch des Gehäuses gezeigt.
Werkzeuge
Ersatzteile
-
-
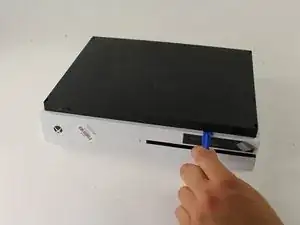
Fange auf der Rückseite des Gehäuses an, wo das Garantiesiegel klebt. Setze ein Plastiköffnungswerkzeug in den Spalt zwischen Boden und der Oberseite. Suche die Rasten, welche die Teile zusammenhalten.
-
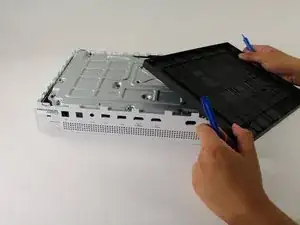
Löse die Rasten mit dem Werkzeug. Am einfachsten geht es, wenn du das schwarze Gehäuse weg vom Boden hebelst.
-
-
-
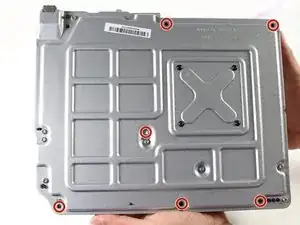
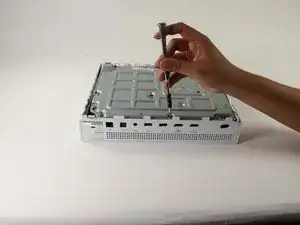
Drehe die sechs grünen 50 mm langen Torx T10 Schrauben vom Metallgehäuse heraus. Sie sind mit F1 bis F6 markiert.
-
-
-
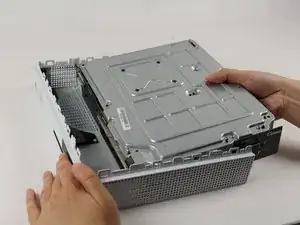
Trenne vorsichtig mit der geeigneten Methode das innere Gehäuse vom weißen Außengehäuse.
-
Drücke die weißen Seitenteile hinten nach außen, so dass sie sich vom I/O-Panel ablösen.
-
Um dein Gerät wieder zusammenzusetzen folge den Schritten in umgekehrter Reihenfolge.
5 Kommentare
I struggled with the retention tabs the first time I opened the Xbox S. I dabbed a little Armor All on a Qtip and coated both sides of tabs with a little. Popped right open the second time, wiped Armor All on the fan blades as well to minimize dust collection.
Hi!
Great review of the process! I have a question, having stripped down an rebuilt an XBox One S to extract a 500 yuan note and two peties my 7 year old inserted in the CD/DVD slop, as well as a DOA DVD drive the power switch is not working. It works if I short the contact but there appears to be a square hole in the back of the power switch (the x box logo)
Should there be a conducting contact in the back of the switch and if so, is it simply a square lump of steel or is it tapered? Would like the dimensions please.
Many thanks for taking time to reply!
Dr B
Dr John C Bullas
Southampton UK
Hi can u fit a core i5 apple gen in Xbox one s case
