Einleitung

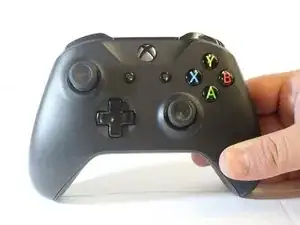
If your Xbox One Wireless Controller (model 1697) Directional-pad (D-pad) is not working when your thumb presses the button, then use this guide to replace the D-pad. The D-pad is the raised, “plus-sign” looking button that is located between the left and right thumb sticks that helps the user adjust the focus or other controls of a specific Xbox One game. Before removing the D-pad, make sure to power off your Xbox One controller completely.

  1. NkRiDdPIK5IBgYMr
    NkRiDdPIK5IBgYMr
    rdmbtkbKqAfV1gI4
    qDkWZUsNwLpZ5auZ
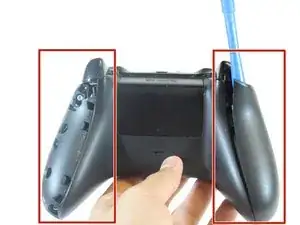
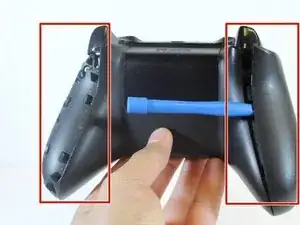
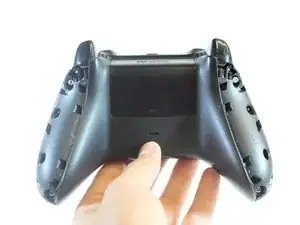
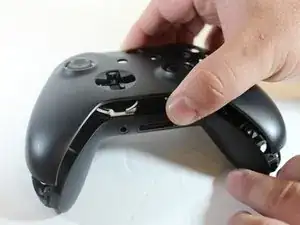
    • Remove the side handles with the iFixit plastic opening tool by wedging it around the seam of the handles.

    • Be careful not to break the clips when removing the handles.

  2. BMgsdWCY53bRqKvU
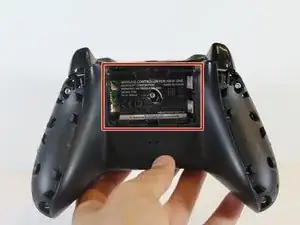
    • Remove the battery cover and the batteries by sliding the cover up.

  3. uuoO6teKcRvlW1Ku
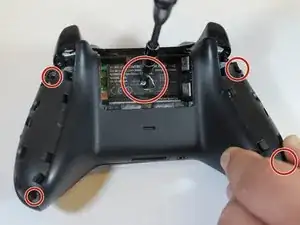
    • Remove the two screws (four total screws) on the top and bottom of each controller handle and one screw underneath the battery pack using the T9 Torx screwdriver.

    • The screw underneath the battery pack is located under the sticker.

    There’s a total of five screws you must take out. One behind the battery, as shown in the above photo. the other four are under the side covers that you took off in step 1.

    You Name It -

  4. uPrGxvnomMiGgoES
    uPrGxvnomMiGgoES
    3FVmDgLluUW6m5fA
    RLIfrLF616wptgrH
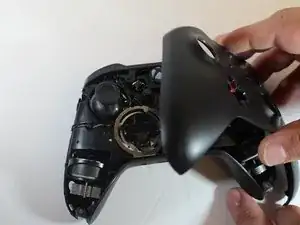
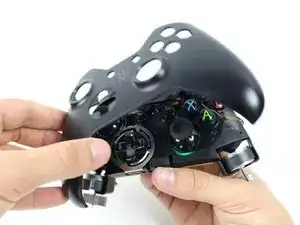
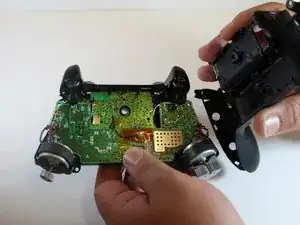
    • Remove the front cover of the controller. using the spudger.

  5. O6wJAUlOdEYMwwXI
    • Remove the back cover of the controller using the spudger.

  6. PECmiQATJBNBkxWH
    PECmiQATJBNBkxWH
    DNksnZ2JVR5hKQZP
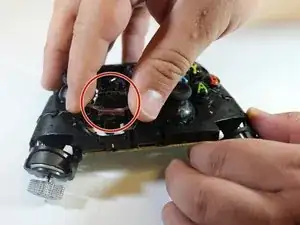
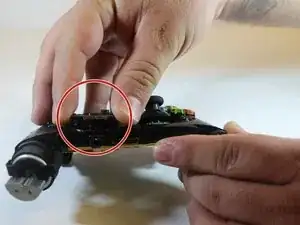
    • Remove the metal ring surrounding the D-pad.

  7. 62VAuZVZ6MxV2jcT
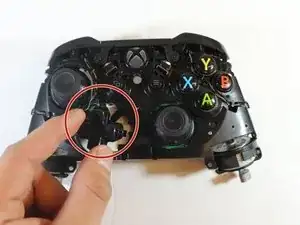
    • Remove the D-pad from the device.

Abschluss

To reassemble your device, follow these instructions in reverse order.
Ethan S

Mitglied seit: 07/10/19

317 Reputation

0 Kommentare