Einleitung

This guide provides step by step instructions to replace your controller's thumbstick successfully.

  1. FCNPfIhvwiihu5Ma
    • Slide the battery pack cover toward the top of the controller to remove it.

    • Remove batteries.

  2. JBBHRZxqx3AVNDfF
    JBBHRZxqx3AVNDfF
    kpWU4MOgq1D1HMKU
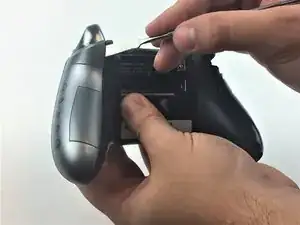
    • We recommend using a plastic spudger to prevent damage to your controller. However, using a metal spudger, as shown in the picture, makes the work easier.

    • Hold firmly the controller, place the spudger into the top seam of the controller and carefully work all the way to the bottom.

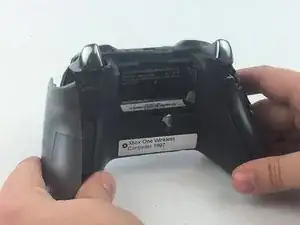
    • Pry the side of handle away from the controller by moving the spudger back and forth around the side handle's seam.

    • Repeat this process for both side handles.

  3. SlsWPxXpYJ31UBDD
    SlsWPxXpYJ31UBDD
    2Em4ksJfaxxJlPnK
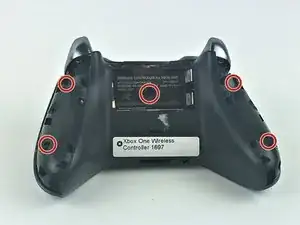
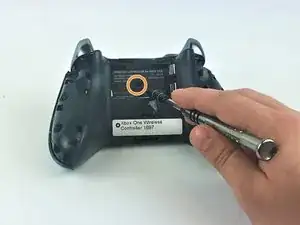
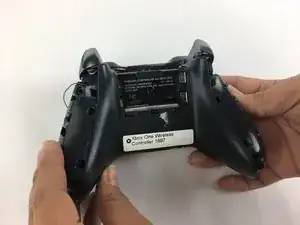
    • Using the T8 Security Torxs screwdriver, remove the five 10mm screws from the back of the controller.

    • One of the screws is hidden behind the label.

    • You can punch a hole using a screwdriver or peel off the label.

  4. dLQJeqaGg3VZGVYv
    dLQJeqaGg3VZGVYv
    olAHMlhtqPXKjMC3
    YibUNab6VMYKOMZd
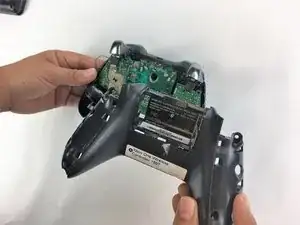
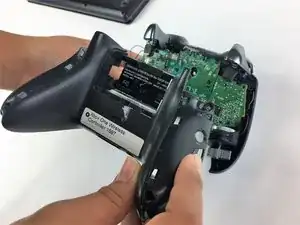
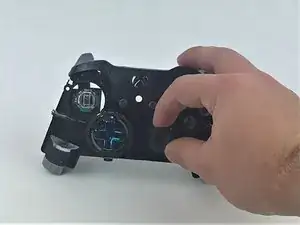
    • Remove the back plate.

  5. 11ZZSou4cTKLLGEM
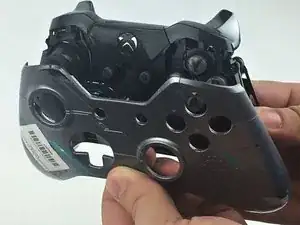
    • Remove the faceplate

  6. 4qQPIZMv54wG6XxB
    4qQPIZMv54wG6XxB
    mSQW4XVVCBgi3dbJ
    UkNRkDVqGINHdE2r
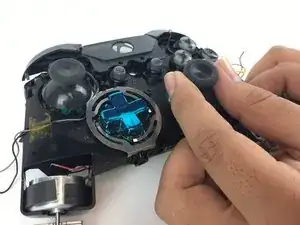
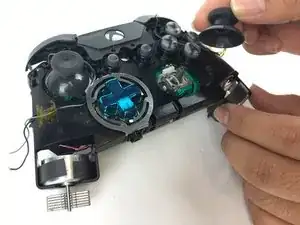
    • Select the thumbstick that you want to replace and pull it off its pole.

    Where would we find the best replacement thumbsticks

    Apex -

Abschluss

To reassemble your device, follow these instructions in reverse order.
Emely

Mitglied seit: 27/09/17

749 Reputation

0 Kommentare