Einleitung
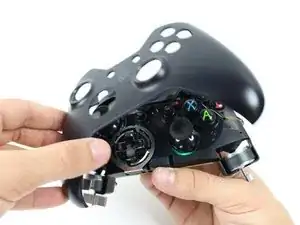
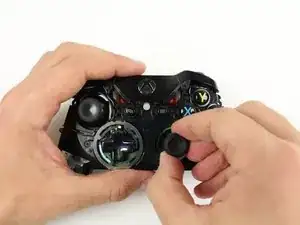
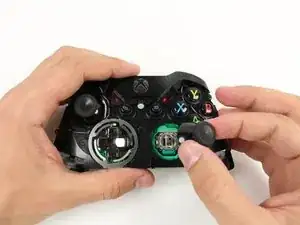
Diese Anleitung wird dir helfen den Joystick deines Controllers auszutauschen. Somit steht dem nächsten Level nichts mehr im Weg!
Werkzeuge
Ersatzteile
-
-
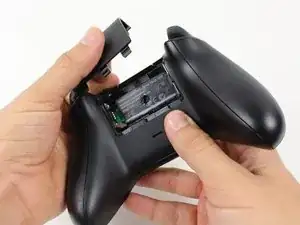
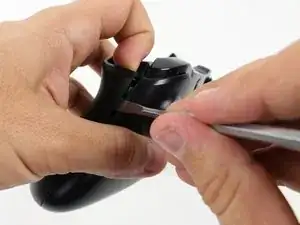
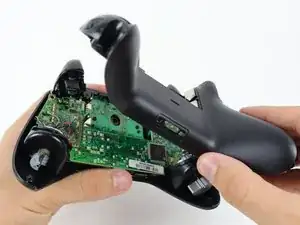
Nimm den Controller fest in die Hand um die Seitenteile abzunehmen. Heble mit einem Spudger in die Naht zwischen Front- und Seitenteil.
-
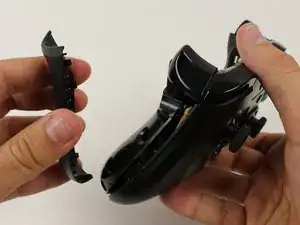
Ziehe das Seitenteil ab indem du den Spudger vor und zurück bewegst. Das musst du entlang der ganzen Naht durchführen.
-
-
-
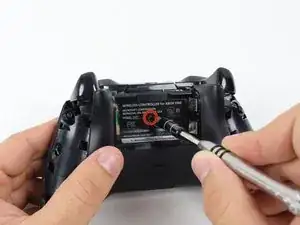
Mit einem Schraubendreher kannst du ein Loch direkt in die Mitte des Aufklebers stoßen.
-
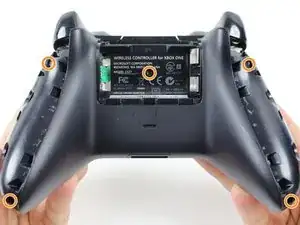
Entferne die fünf 10 mm Schrauben auf der Rückseite mit einem T8 Schrauber.
-
Um das Gerät wieder zusammenzubauen, folge den Anweisungen in umgekehrter Reihenfolge.
30 Kommentare
Is there any advice for a controller that has had this repair, but continues to drift? I have done this repair successfully many times, and now i have a controller that (with 2 different replacement parts) continues to drift.
Is there a reset or config I can do?
Jim -
Drift issues are a different problem you would need to solder a new joystick box to fix that this is for loose or damaged thumb sticks
I used a cotton ball on my Xbox one Elite to fix drifting issues.
ajcroyle -
Does anyone know the correct SKU for the joystick box for the Model 1537 in particular? And any link to purchase it. Thanks
ZuYao -
Can i apply 2 thumbsticks off the xbox 360 controller when i removed them?
You can try to solder the connections on, but I wouldn't put it past Microsoft to make different connections. You can try it, let us know how it works out if you do.
Alec -
Any luck with the 360 component transplant?
Hi I also have a drifting issue with my Xbox one controller & I was wondering is some lubrication on the joy stick would fix the problem

