Einleitung
The camera on this table is a simple device and has no moving parts. If the camera must be removed for servicing, the process to do so is fairly simple and does not involve de-soldering or soldering. Care must be taken, however, because the parts being handled are very small and made of plastic so are easy to break. Be patient, move slowly, do not apply large amounts of force when removing parts.
Werkzeuge
-
-
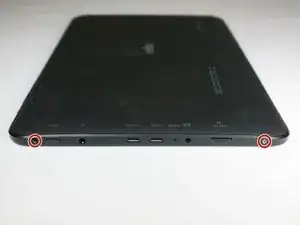
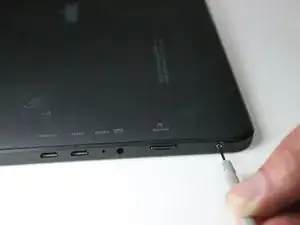
With a Phillips #0 screwdriver, remove the two 3 mm retaining screws from the side of the tablet.
-
-
-
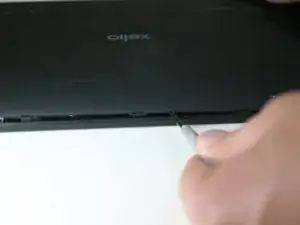
Using the plastic opening tool, disengage the securing tabs that are along the two long sides of the tablet, four on each side.
-
Slowly rotate up the side of the tablet opposite from the control buttons.
-
-
-
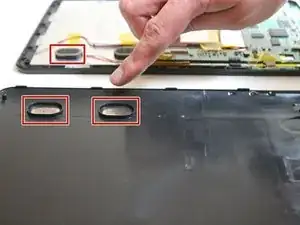
If they are, the shell half can be fully separated from the front shell half.
-
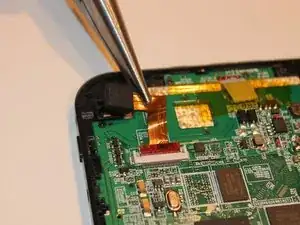
If they are still in their sockets, gently pry them loose with the plastic opening tool.
-
-
-
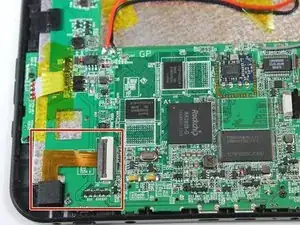
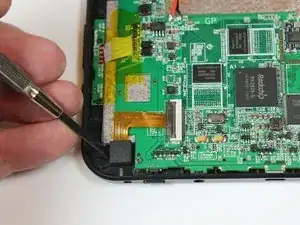
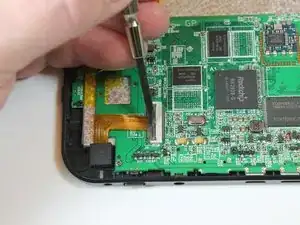
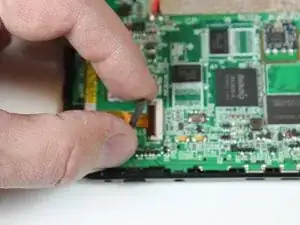
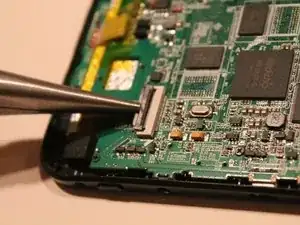
If there is still no picture, remove the securing tab on the ribbon connector by inserting the plastic opening tool between the tab on the ribbon cable connector body.
-
Slowly twist the opening tool to loosen the tab. Move the screwdriver to different parts of the tab to move it a little bit at a time.
-
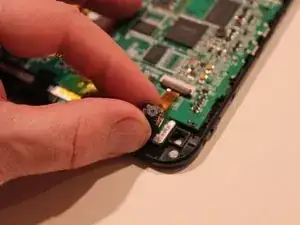
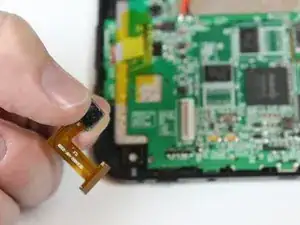
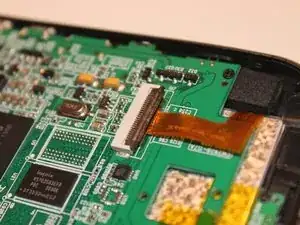
Once the tab is loose, remove it then slide the ribbon cable from its connector and remove the camera from the tablet
-
-
-
To install a new camera, slide the ribbon cable back into its connector
-
Reinstall the ribbon cable securing tab
-
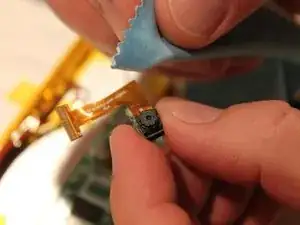
Install the camera in its retaining socket
-
To reassemble your device, follow these instructions in reverse order.
