Einleitung
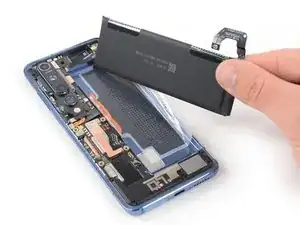
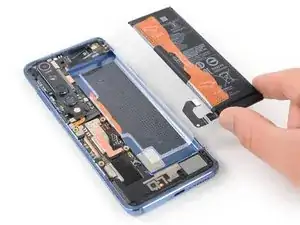
Use this guide to replace a worn-out or dead battery in your Xiaomi Mi 10.
If your battery is swollen, take appropriate precautions. For your safety, discharge your battery below 25% before disassembling your phone. This reduces the risk of a dangerous thermal event if the battery is accidentally damaged during the repair.
You’ll need replacement adhesive to reattach components when reassembling the device.
Werkzeuge
-
-
Before you begin, switch off your phone.
-
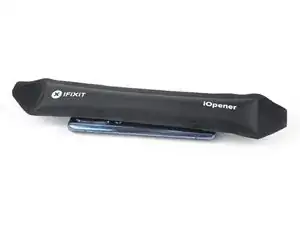
Apply a heated iOpener to the back of the phone to loosen the adhesive beneath the back cover. Apply the iOpener for at least two minutes.
-
-
-
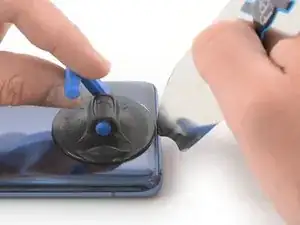
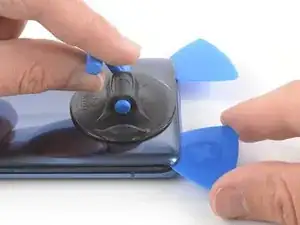
Secure a suction handle to the bottom of the rear glass, as close to the edge as possible.
-
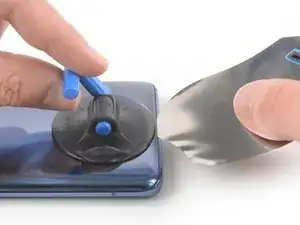
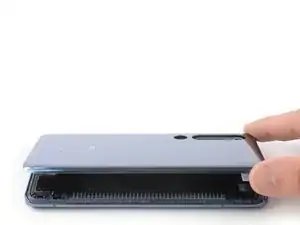
Lift the rear glass with the suction handle to create a small gap between the glass and the frame.
-
Insert the iFlex into the gap and leave it in place to prevent the adhesive from resealing.
-
-
-
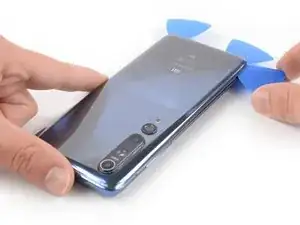
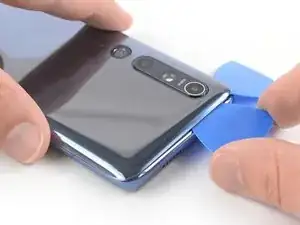
Insert an opening pick into the gap you created with the iFlex.
-
Slide the opening pick to the bottom right corner.
-
-
-
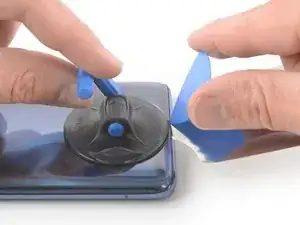
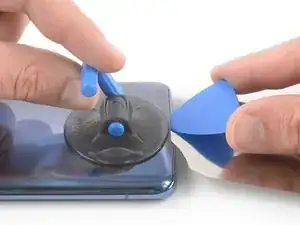
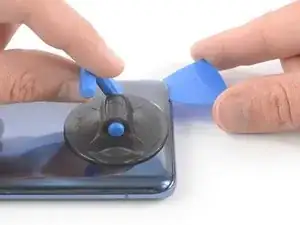
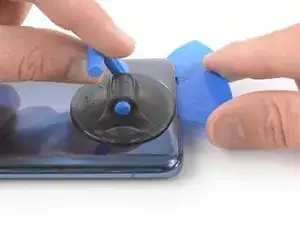
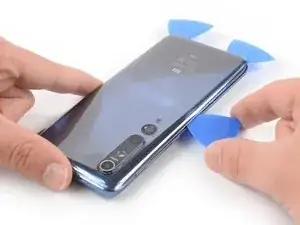
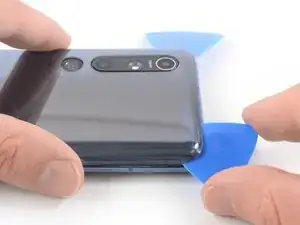
Insert a second opening pick and slide it to the bottom left corner to cut the adhesive.
-
Leave the opening picks in place to prevent the adhesive from resealing.
-
-
-
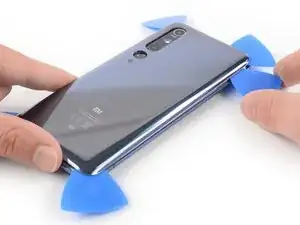
Insert a third opening pick at the bottom left corner.
-
Slide the tip of the opening pick from the bottom left corner along the side of the phone to cut the adhesive.
-
Leave the opening pick in its place at the top left corner to prevent the adhesive from resealing.
-
-
-
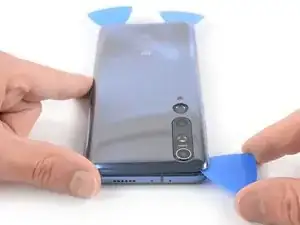
Insert a fourth opening pick under the top left corner of the rear glass.
-
Slide the opening pick along the top edge of the phone to cut the adhesive.
-
Leave the opening pick in the top right corner to prevent the adhesive from resealing.
-
-
-
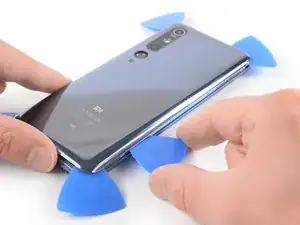
Insert a fifth opening pick at the top right corner of the phone.
-
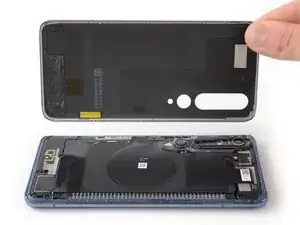
Slide the opening pick along the right side to cut the remaining adhesive.
-
-
-
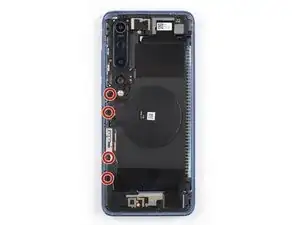
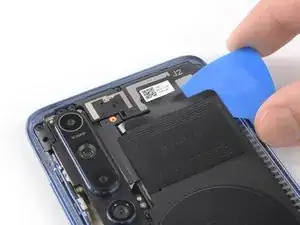
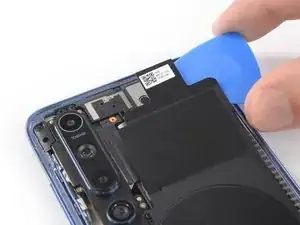
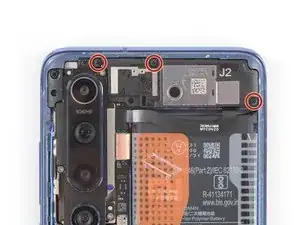
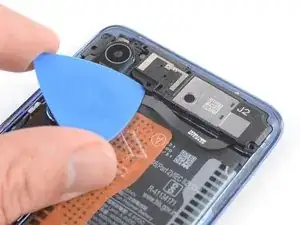
Use an opening pick to slice the adhesive underneath the black protective mat covering the upper loudspeaker assembly.
-
-
-
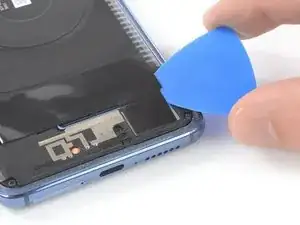
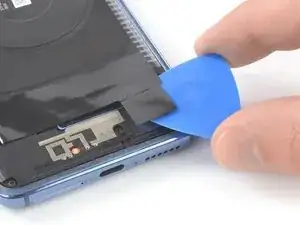
Use an opening pick to slice the adhesive underneath the black protective mat covering the bottom loudspeaker assembly.
-
-
-
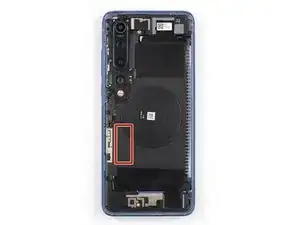
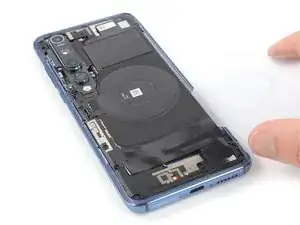
There is a small piece of protective copper foil underneath the NFC and charging coil assembly. Avoid damaging it during the following procedure.
-
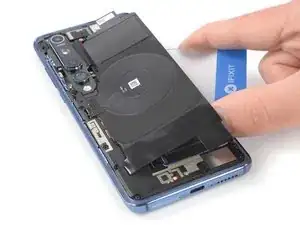
Slide a plastic card or playing card underneath the NFC and charging coil assembly.
-
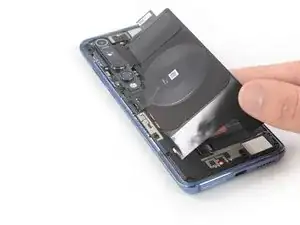
Use the card to carefully loosen the adhesive underneath the left edge of the assembly.
-
-
-
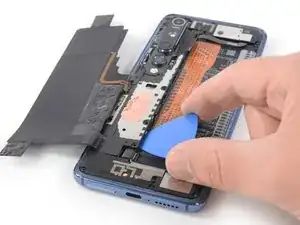
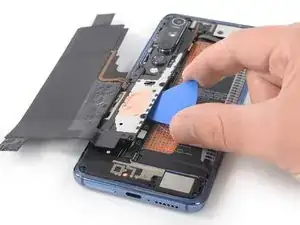
Slide an opening pick underneath the bottom right edge of the motherboard cover.
-
Use the opening pick to pry up the motherboard cover.
-
-
-
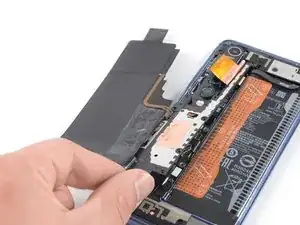
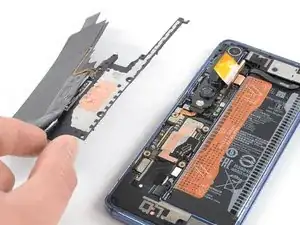
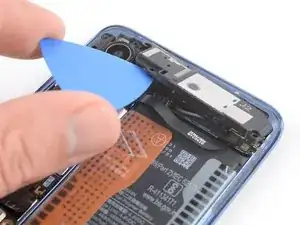
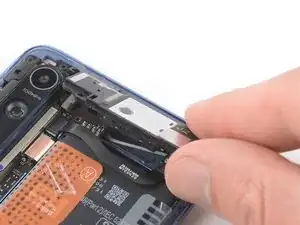
Insert an opening pick underneath the bottom left edge of the upper loudspeaker assembly.
-
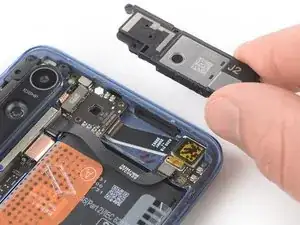
Use the opening pick to pry up the loudspeaker assembly.
-
-
-
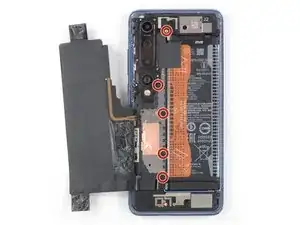
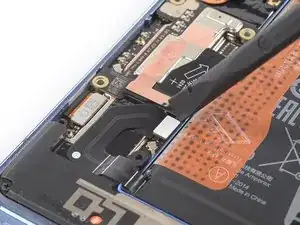
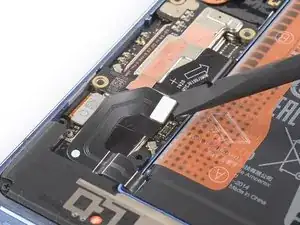
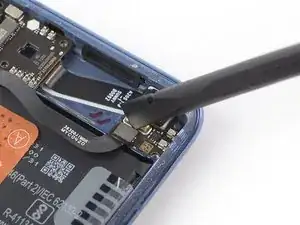
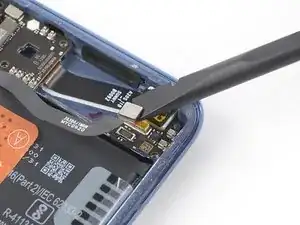
Use the flat end of a spudger to pry up and disconnect the interconnect cable covering the top edge of the battery.
-
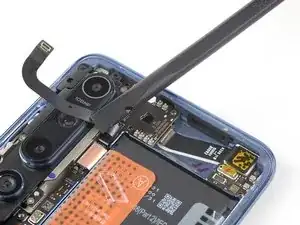
Fold the interconnect flex cable to the left side of the phone to get free access to the battery.
-
-
-
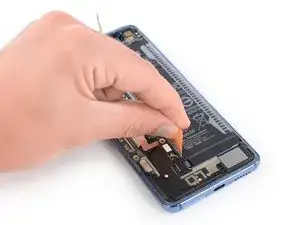
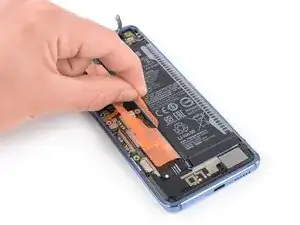
Use your fingers to peel both ends of the orange pull tab marked A off the battery.
-
Peel the smaller tab marked B off the battery.
-
-
-
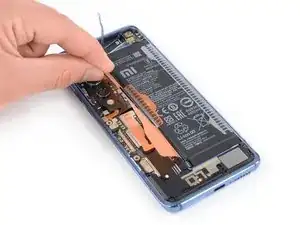
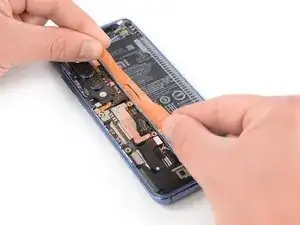
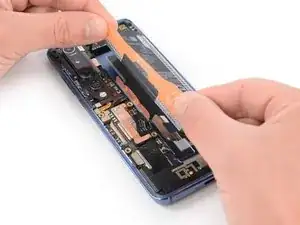
Grasp both ends of the orange pull tab A.
-
Pull upwards to lift the battery out of its recess.
-
-
-
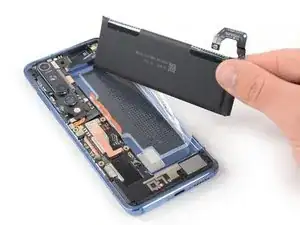
Peel the battery off of the adhesive pad.
-
Remove the battery.
-
Temporarily reconnect the battery connector to the motherboard socket. This ensures that the battery is properly aligned in its recess.
-
Adhere the battery, disconnect it, and continue reassembling your device.
-
If possible, turn on your device and test your repair before installing new adhesive and resealing.
Secure the new battery with pre-cut adhesive or double-sided adhesive tape. In order to position it correctly, apply the new adhesive into the device at the places where the old adhesive was located, not directly onto the battery. Press the new battery firmly into place.
To reassemble your device, follow these instructions in reverse order. Apply new adhesive where necessary after cleaning the relevant areas with isopropyl alcohol (>90%).
For optimal performance, calibrate your newly installed battery.
Take your e-waste to an R2 or e-Stewards certified recycler.
Repair didn’t go as planned? Try some basic troubleshooting, or ask our Answers community for help.
Ein Kommentar
Thanks , great guide.👌
