Einleitung
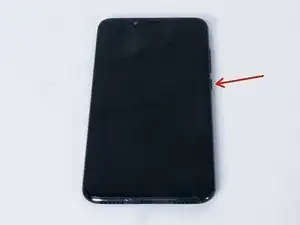
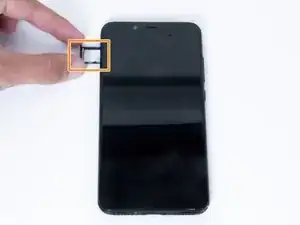
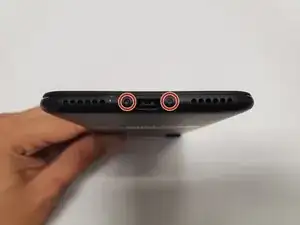
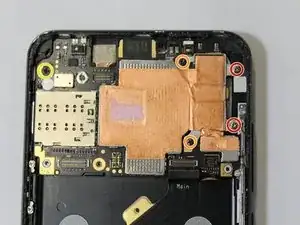
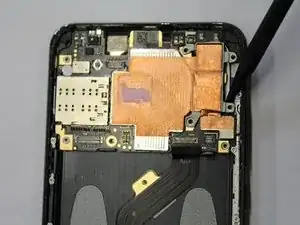
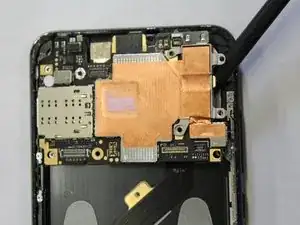
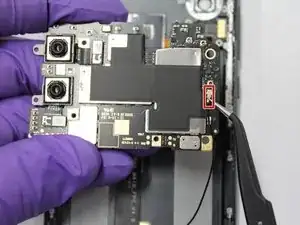
This guide will show how to access and replace the motherboard on the Xiaomi Mi A2. Before replacing the motherboard remember to be very careful and organized with each step it takes to remove the pre-existing motherboard.
Werkzeuge
-
-
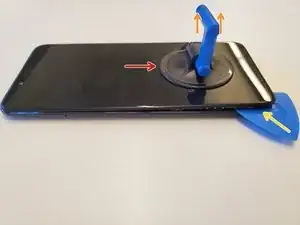
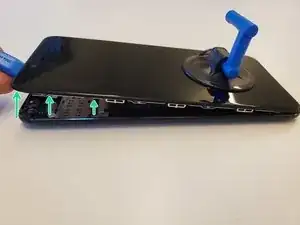
Grab a suction cup tool and place it near the bottom of the phone.
-
Pull up on the suction cup to slightly lift the LCD Panel from the body of the phone.
-
Starting from the bottom, slide in a plastic opening tool between the gap of the LCD and the phone.
-
Using a combination of the plastic opening tool and picks, slide around the gaps to unhook the clips, unhinging the panel from the body of the phone.
-
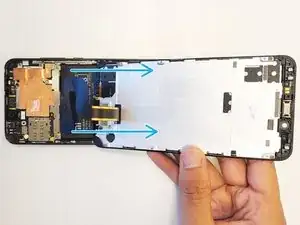
Flip the phone screen towards the bottom of the device and lay the screen facing down.
-
-
-
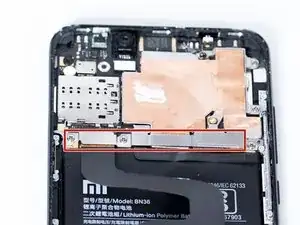
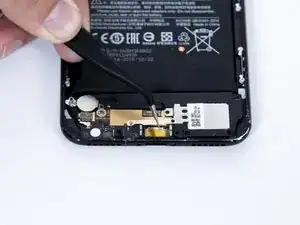
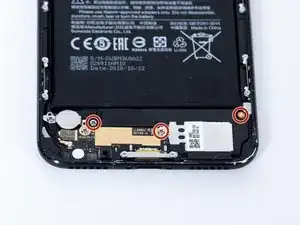
To access the ribbon cable connectors we must remove the metal bracket.
-
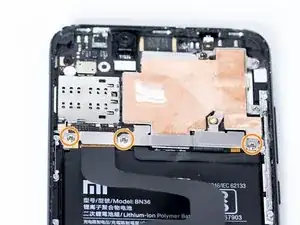
Remove the three 2.4mm Philips #0 screws that hold the panel down.
-
-
-
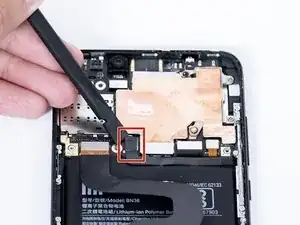
Using a plastic spudger remove the battery connector ribbon cable by getting underneath the connector and gently lifting it off.
-
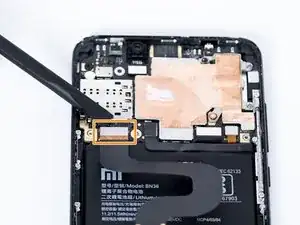
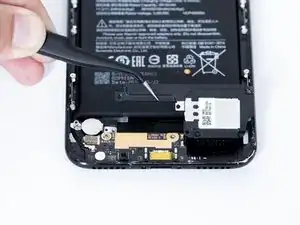
Using a plastic sudger remove the screen connector ribbon cable by lifting from the underneath.
-
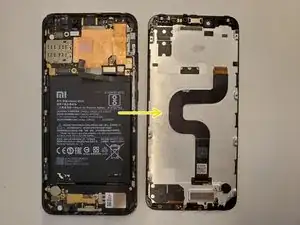
After you remove the ribbon cable the panel should be free to remove and replace.
-
-
-
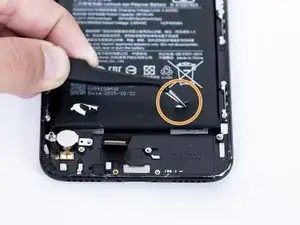
Remove the loud speaker. There are three 2.4mm Phillips #0 screws you need to remove, and one (upper right) is underneath the Xiaomi water sticker.
-
-
-
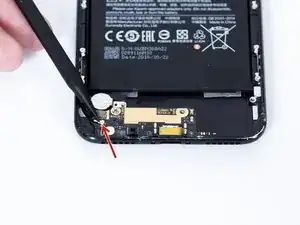
Unplug the antenna wire with a spudger tool.
-
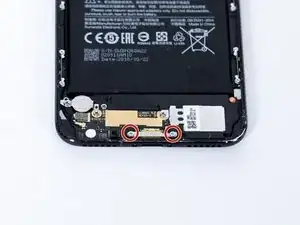
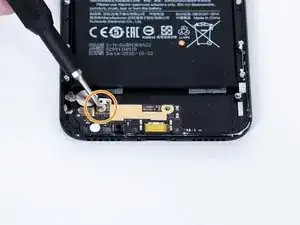
Remove another 2.4mm Phillips #0 screw near vibration motor.
-
-
-
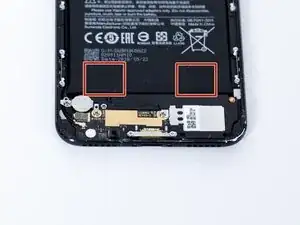
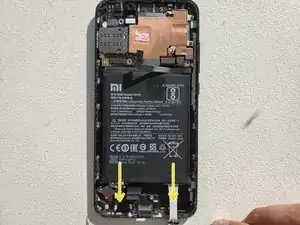
On the bottom of the battery are two pull tabs. They are glued on to the battery similarly like a sticker.
-
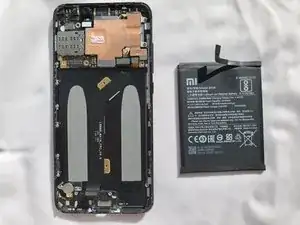
To remove the battery pull these pull tabs downwards. WARNING: proceed with extreme caution, avoid bending or puncturing the battery.
-
You can use tweezers to lift the pull tabs from the battery. Pull downwards and the adhesive will slowly be removed from the battery.
-
-
-
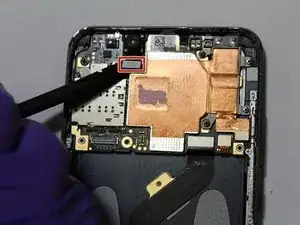
Using a plastic spudger, gently separate the front camera ribbon cable from the motherboard.
-
-
-
Gently use the plastic tip tweezers to remove the front camera from the back housing of the phone.
-
-
-
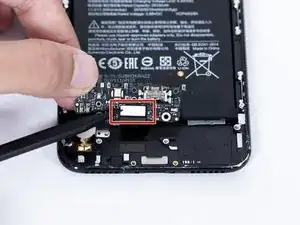
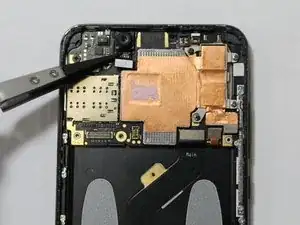
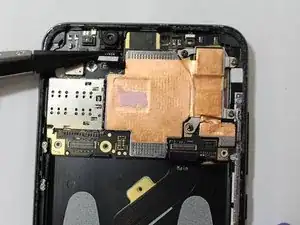
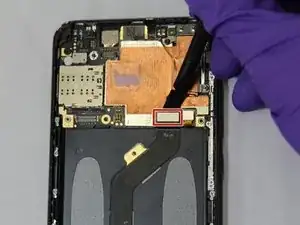
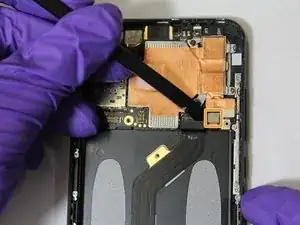
Using a plastic spudger, gently disconnect the Motherboard to SUB board flex connector from the motherboard.
-
Using a plastic spudger, gently disconnect the fingerprint sensor connector from the motherboard.
-
-
-
Remove the two 2 mm Philips #0 screws from the motherboard.
-
Remove the two 2.5 mm Philips #0 screws from the motherboard.
-
Remove the one 1.5 mm Philips #0 screws from the motherboard.
-
-
-
Using the pointed end of plastic spudger, pry the motherboard away from the back housing.
-
-
-
Using the fine tipped tweezers, remove the network antenna wire from the back of the motherboard.
-
-
-
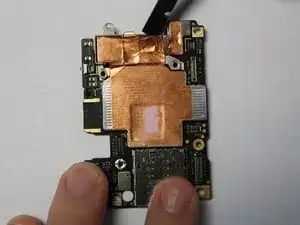
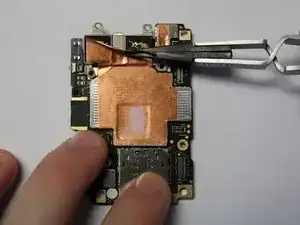
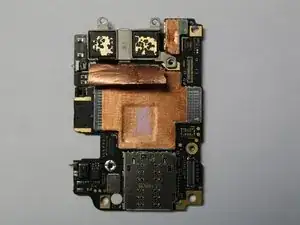
Using a plastic spudger and plastic tipped tweezers, carefully peal back the adhered copper sheeting from the back of the rear cameras.
-
-
-
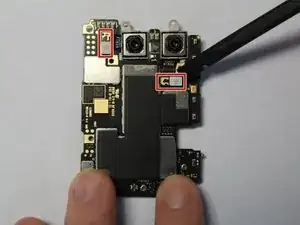
Using a plastic spudger, gently separate the two rear camera ribbon cables from the motherboard.
-
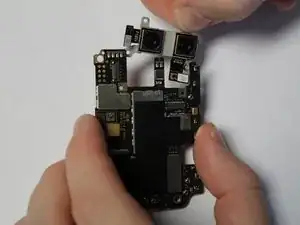
Gently remove the rear cameras from the motherboard.
-
To reassemble your device, follow these instructions in reverse order.

