Einleitung
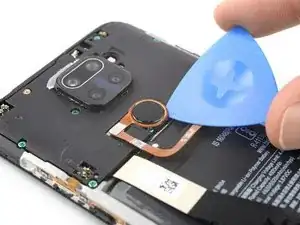
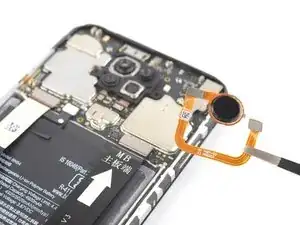
Use this guide to replace a broken fingerprint sensor on your Xiaomi Redmi Note 9.
Before you begin this procedure, be sure to have a set of replacement adhesives for both the back cover and the fingerprint reader.
Werkzeuge
Ersatzteile
-
-
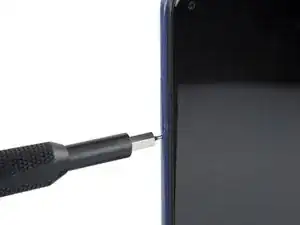
Insert a SIM card eject tool, a SIM eject bit, or a straightened paper clip into the hole on the SIM tray located at the left edge of the phone.
-
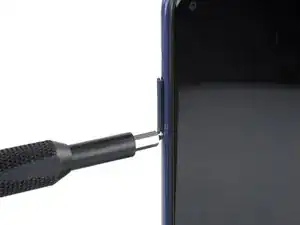
Press directly into the hole to eject the SIM card tray.
-
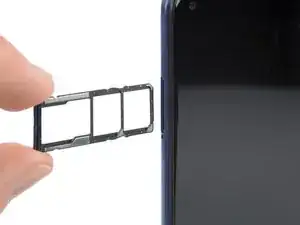
Remove the SIM card tray.
-
-
-
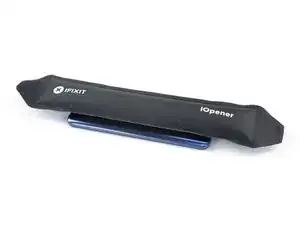
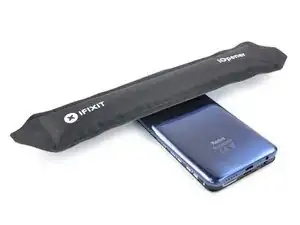
Prepare an iOpener and apply it to the back cover for at least two minutes to loosen the adhesive underneath.
-
-
-
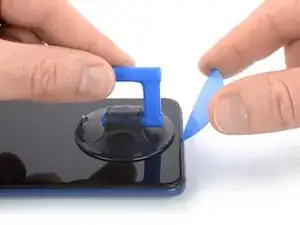
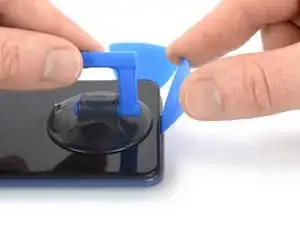
Secure a suction handle to the bottom edge of the screen, as close to the edge as possible.
-
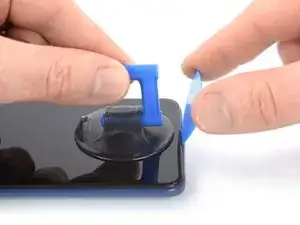
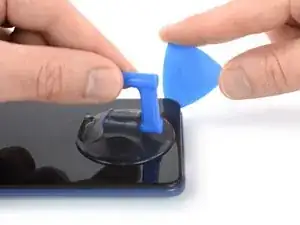
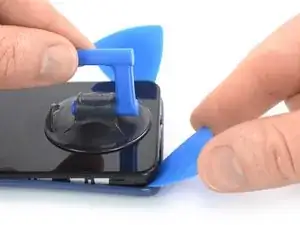
Lift the screen and phone assembly with the suction handle to create a small gap between the assembly and the back cover.
-
Insert an opening pick in a steep angle into the gap you created. This might require some force.
-
Slide the opening pick to the bottom right corner to slice the adhesive and release the plastic clips holding the back cover in place.
-
-
-
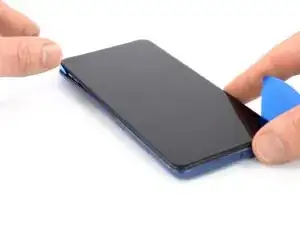
Insert a second opening pick in a steep angle at the bottom edge of your phone.
-
Slide the opening pick to the bottom left corner to release the plastic clips and to slice the adhesive.
-
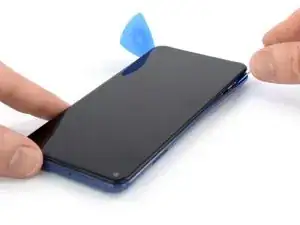
Leave the opening picks in place to prevent the adhesive from resealing.
-
-
-
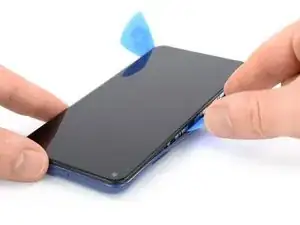
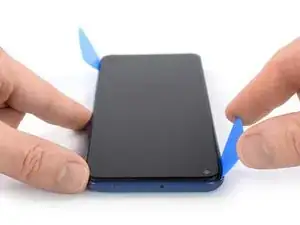
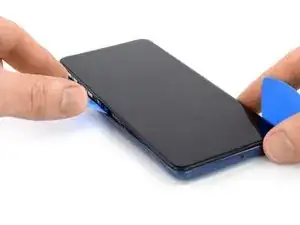
Slide the bottom left opening pick along the left edge of your phone to release the plastic clips and slice the adhesive.
-
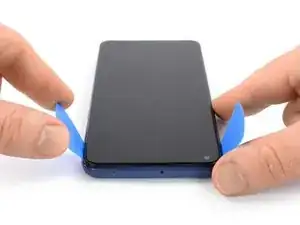
Leave the opening pick in the top left corner to prevent the adhesive from resealing.
-
-
-
Slide the bottom right opening pick along the right edge of your phone to release the plastic clips and slice the adhesive.
-
Leave the opening pick in the top right corner to prevent the adhesive from resealing.
-
-
-
Prepare an iOpener and apply it to the back cover where the fingerprint reader is located for at least two minutes to loosen the adhesive underneath.
-
-
-
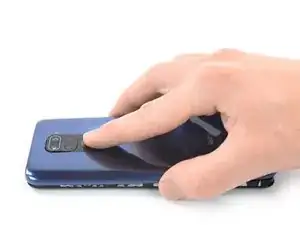
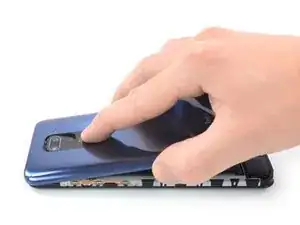
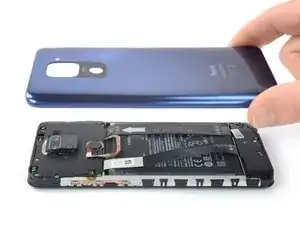
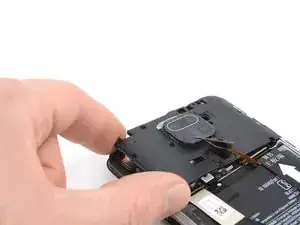
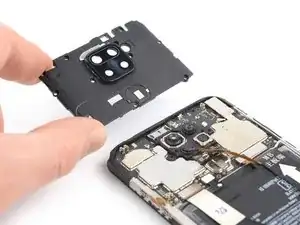
Carefully lift the back cover upwards whilst pressing down the fingerprint reader with a finger.
-
Remove the back cover.
-
-
-
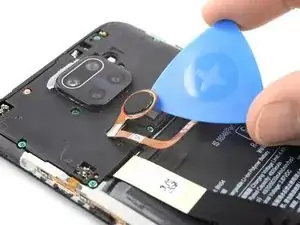
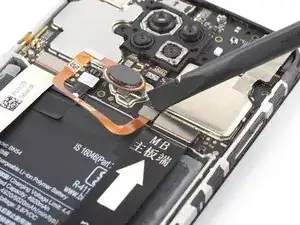
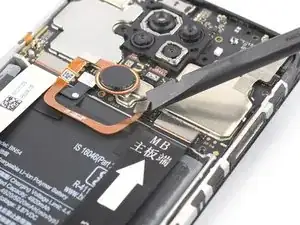
Slide the tip of an opening pick underneath the fingerprint sensor and pry it up to separate it from the motherboard cover.
-
-
-
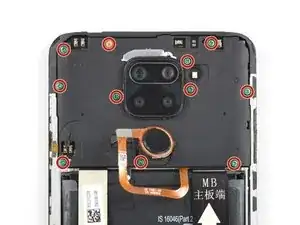
Use a Phillips screwdriver to remove the eleven 3.9 mm-long screws securing the motherboard cover.
-
-
-
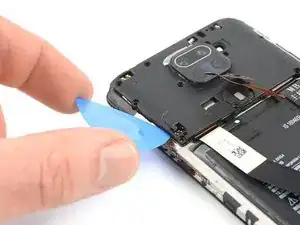
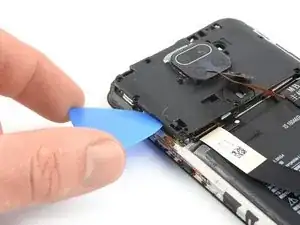
Insert the tip of an opening pick underneath the bottom left edge of the motherboard cover.
-
Pry up the motherboard cover.
-
-
-
Use a spudger to disconnect the fingerprint cable by prying the connector straight up from its socket.
-
Compare your new replacement part to the original part. You may need to transfer remaining components or remove adhesive backings from the new part before you install it.
To reassemble your device, follow these instructions in reverse order.
Take your e-waste to an R2 or e-Stewards certified recycler.
Repair didn’t go as planned? Try some basic troubleshooting, or ask our Answers community for help.
