Einleitung

Use this guide to replace a broken NFC antenna on your Xiaomi Redmi Note 9.

Before you begin this procedure, be sure to have a set of replacement adhesives for both the back cover and the fingerprint reader.

  1. HMDhqOMsaQIWEMXN
    HMDhqOMsaQIWEMXN
    GK43jKJuqrHCBTCd
    Q1pSZvUtfgGZnDYq
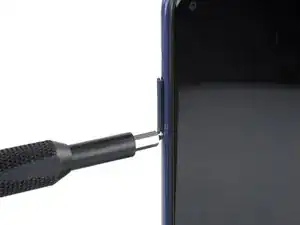
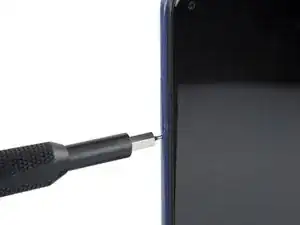
    • Insert a SIM card eject tool, a SIM eject bit, or a straightened paper clip into the hole on the SIM tray located at the left edge of the phone.

    • Press directly into the hole to eject the SIM card tray.

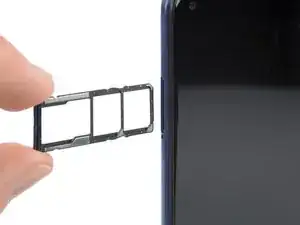
    • Remove the SIM card tray.

  2. ZLc15KDkVDxrxI6V
    • The back cover of the Redmi Note 9 is held in place by plastic clips and adhesive. It might require some force to release the plastic clips.

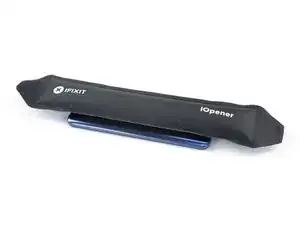
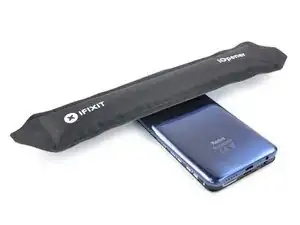
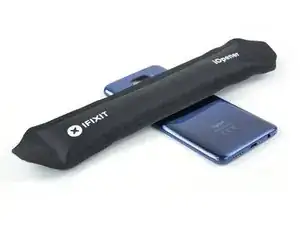
    • Prepare an iOpener and apply it to the back cover for at least two minutes to loosen the adhesive underneath.

    • A hair dryer, heat gun, or hot plate may also be used, but be careful not to overheat the phone—the display and internal battery are both susceptible to heat damage.

  3. TAsrREE2tNbOpRsv
    TAsrREE2tNbOpRsv
    xSajY2eFCbWpdhHP
    ZugbOq51KxZyNFQT
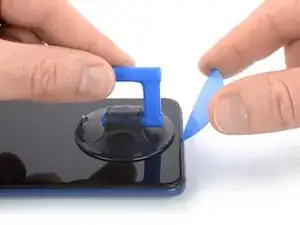
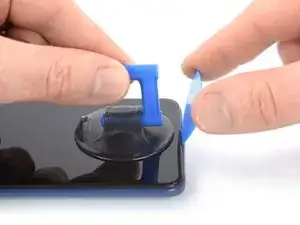
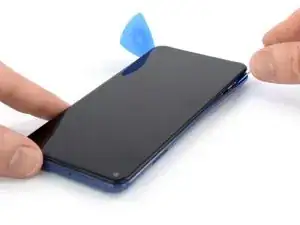
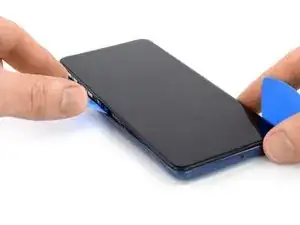
    • Secure a suction handle to the bottom edge of the screen, as close to the edge as possible.

    • If the screen is cracked, the suction handle may not stick. Try lifting it with strong tape, or superglue the suction handle in place and allow it to cure so you can proceed.

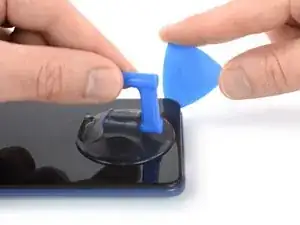
    • Lift the screen and phone assembly with the suction handle to create a small gap between the assembly and the back cover.

    • In case you have trouble creating a gap, apply more heat to further soften the adhesive. Follow the iOpener instructions to avoid overheating.

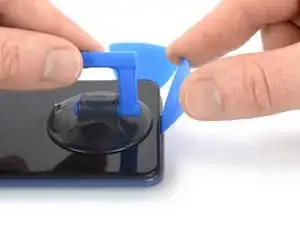
    • Insert an opening pick in a steep angle into the gap you created. This might require some force.

    • Slide the opening pick to the bottom right corner to slice the adhesive and release the plastic clips holding the back cover in place.

  4. sZZwRFH63rW2vdnF
    sZZwRFH63rW2vdnF
    uKWUJ4Mc3DRXIrjT
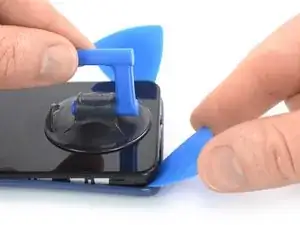
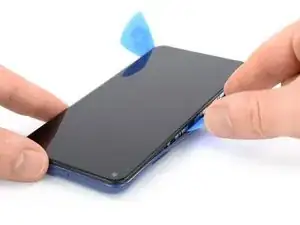
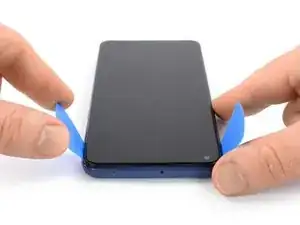
    • Insert a second opening pick in a steep angle at the bottom edge of your phone.

    • Slide the opening pick to the bottom left corner to release the plastic clips and to slice the adhesive.

    • Leave the opening picks in place to prevent the adhesive from resealing.

  5. KZQpoF2dXZiVNb5j
    KZQpoF2dXZiVNb5j
    JAf33vKPSqoNsLDg
    aaJTXafVjBSYkOWP
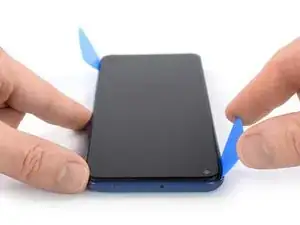
    • If the adhesive becomes hard to cut, it has most likely cooled down. Use your iOpener to reheat it.

    • Slide the bottom left opening pick along the left edge of your phone to release the plastic clips and slice the adhesive.

    • Leave the opening pick in the top left corner to prevent the adhesive from resealing.

  6. OH2MXkLmp2AEHI1a
    OH2MXkLmp2AEHI1a
    aHPCWITmfe2jntMl
    WsNBgkqwDNRSXqNn
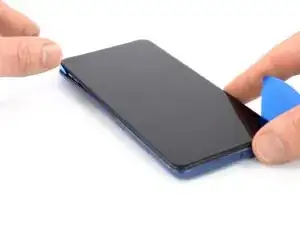
    • Slide the bottom right opening pick along the right edge of your phone to release the plastic clips and slice the adhesive.

    • Leave the opening pick in the top right corner to prevent the adhesive from resealing.

    • Do not try to separate the phone assembly from the back cover all the way yet, the fingerprint reader is still adhered to the back cover.

  7. DiDDwMOHeKg21JMc
    • Prepare an iOpener and apply it to the back cover where the fingerprint reader is located for at least two minutes to loosen the adhesive underneath.

  8. ZqHSgNsMb5SGSaPZ
    ZqHSgNsMb5SGSaPZ
    UDcrIPSa5lEDXZgS
    IKAOAjHRKwymeoSf
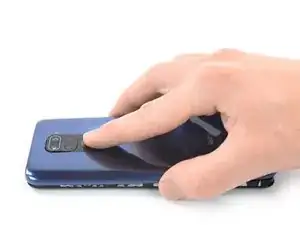
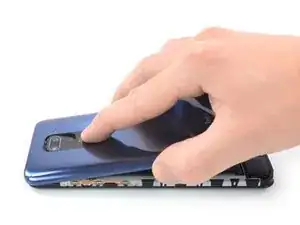
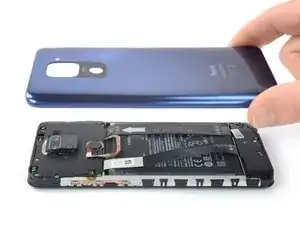
    • Carefully lift the back cover upwards whilst pressing down the fingerprint reader with a finger.

    • The fingerprint reader should separate from the back cover during this procedure. In case the adhesive is too strong, you can reapply a heated iOpener to the fingerprint reader for one to two minutes to further loosen its adhesive.

    • Remove the back cover.

    • Secure a new back cover with pre-cut adhesive or double-sided adhesive tape. Apply the new adhesive into the back cover and not onto the frame of the phone assembly. After installing the back cover, apply strong, steady pressure to your phone for several minutes to help the adhesive form a good bond—a stack of heavy books works well.

  9. kD1O6LUjmYfypOLP
    • Prepare an iOpener and apply it to the back cover where the fingerprint reader was located for at least two minutes to loosen the adhesive underneath the NFC antenna and its protective foil.

  10. PKf1FfHPqLYvEcHI
    PKf1FfHPqLYvEcHI
    o5oUvMPQnXXGepAd
    RKuAATIBn2pAFDFM
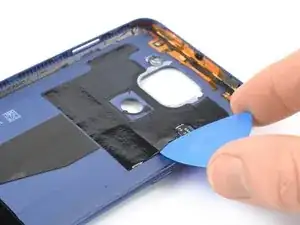
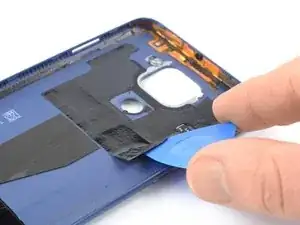
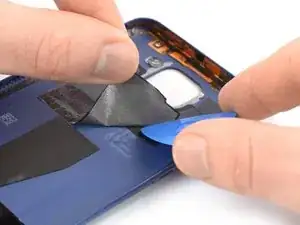
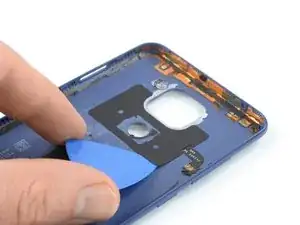
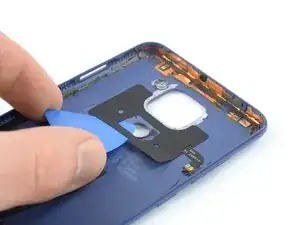
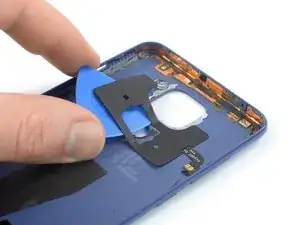
    • Slide the tip of an opening pick underneath the right edge of the graphite foil covering the NFC antenna.

    • Carefully start to separate the graphite foil from the back cover by pulling it upwards and slicing the adhesive with the opening pick.

    • In case you want to reuse the graphite foil and the adhesive becomes hard to peel off, it has most likely cooled down. Use your iOpener to reheat it and to prevent it from tearing.

  11. vgQZBeDQIoZKrMc2
    vgQZBeDQIoZKrMc2
    SXU6TxotTiZvbfNH
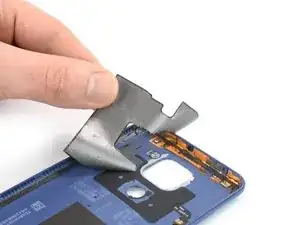
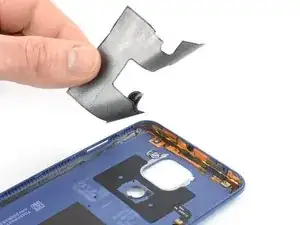
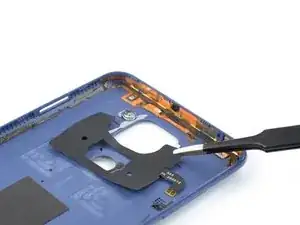
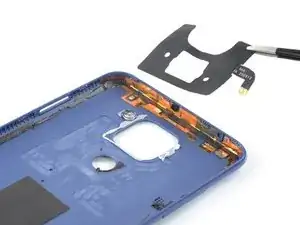
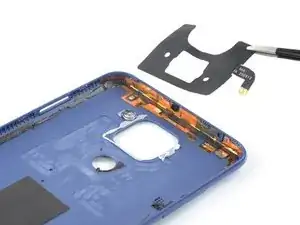
    • Remove the graphite foil.

  12. 2HQwd3mNBP5AwlRU
    2HQwd3mNBP5AwlRU
    cTLrXC51qpjH3cXw
    f466JOhqxSOvFbjG
    • If the adhesive under the NFC antenna appears hard to peel off, it has most likely cooled down. Reapply your iOpener to reheat it and to prevent it from tearing.

    • Repeat the previous procedure you used to remove the protective foil by carefully sliding the tip of an opening pick underneath the NFC antenna and separating it from the back cover.

  13. xDZwpxVcKMN5UGFU
    xDZwpxVcKMN5UGFU
    MqZpuZgGoSsE2YNE
    • Remove the NFC antenna.

    • When placing the old NFC antenna into a new back cover, apply a heated iOpener for about a minute to it. This helps the old adhesive to adhere to the new back cover.

    • Compare your new replacement part to the original part—you may need to transfer other components from your old back cover to your new one.

    • Apply new adhesive where it's necessary after cleaning the relevant areas with isopropyl alcohol (>90%).

    • Secure the new back cover with pre-cut adhesive or double-sided adhesive tape. Apply the new adhesive into the back cover and not onto the frame of the phone assembly. After installing the back cover, apply strong, steady pressure to your phone for several minutes to help the adhesive form a good bond—a stack of heavy books works well.

Abschluss

To reassemble your device, follow these instructions in reverse order.

Take your e-waste to an R2 or e-Stewards certified recycler.

Repair didn’t go as planned? Try some basic troubleshooting, or ask our Answers community for help.
Dominik Schnabelrauch

Mitglied seit: 23/11/16

167866 Reputation

0 Kommentare