Einleitung

The motherboard that houses the micro-usb and HDMI connection may become damaged. This guide will help the user in replacing a corrupt motherboard.

  1. sFcVWZYBHmLqMhZj
    sFcVWZYBHmLqMhZj
    EeNl1hTyAmP4Us4C
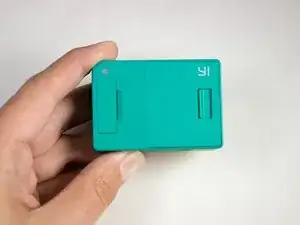
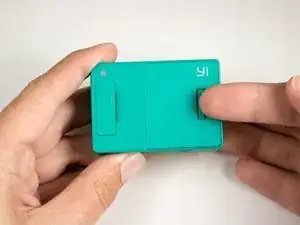
    • Push the battery door switch to the left.

    • Lift the battery door up.

  2. S4S4V1ZpcnPq5tvr
    S4S4V1ZpcnPq5tvr
    Gd3PQA4IyHDT1lJm
    G6eTX6xM2aQOQM6i
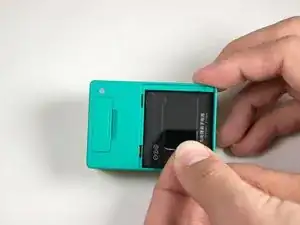
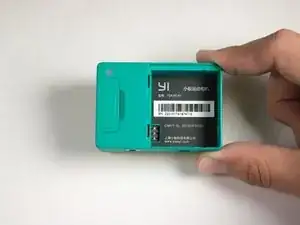
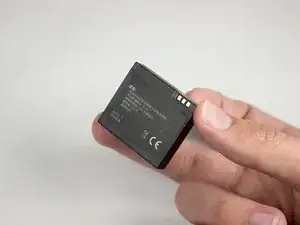
    • Lift the battery tab up.

    • Remove the battery by pulling the removal tab.

  3. OIic3D1eOtPsfhDH
    OIic3D1eOtPsfhDH
    NH5lnA6vNgT3yjpX
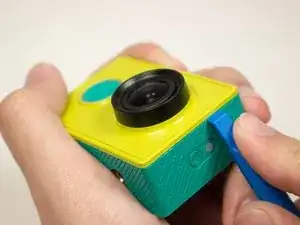
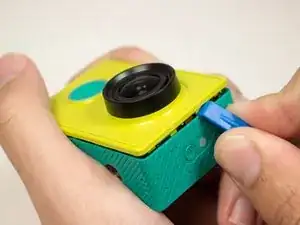
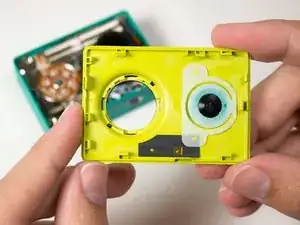
    • Introduce the plastic opening tool into any of the sides of the camera.

    • Pry with the plastic opening tool at the seam between the front and the back panel.

  4. SkYtmrQZORHZ1DTo
    SkYtmrQZORHZ1DTo
    wBATGNQRKRGQqxOI
    WBncT1rLsCTZFadQ
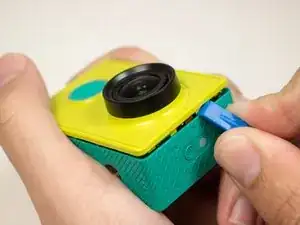
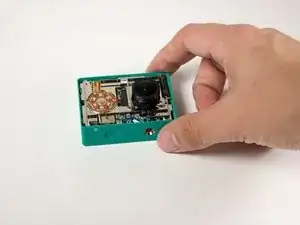
    • Slide prying tool along the seam until front panel is fully separated from the back panel.

  5. A6CgOujCo1bITmSw
    A6CgOujCo1bITmSw
    nc2PjrUOafJsMPXI
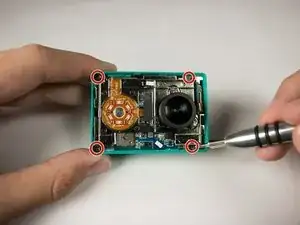
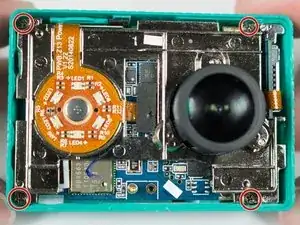
    • Remove the four 3.8 mm Phillips #000 screws located in the outer corners of the motherboard.

  6. NMGIF2pXbDubRcCR
    NMGIF2pXbDubRcCR
    kdw4S3ihxJKYSwGM
    igfehO5FMYrYVxYp
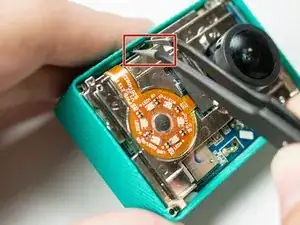
    • Pull on and remove the black spacer located at the top inside of the camera body using the tweezers and set the part aside.

  7. bEvxKlxjO3Y6oAHG
    bEvxKlxjO3Y6oAHG
    NrUTTDDi4gD25lKB
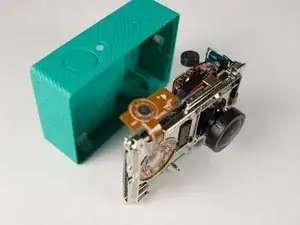
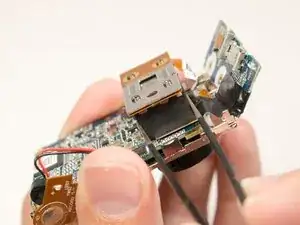
    • Remove the motherboard from from the back case by gently pulling on the lens housing.

    • Back panel remains.

  8. 1XFRgm2YiF6n5DQQ
    1XFRgm2YiF6n5DQQ
    6TUiQfAaDL3vEoyP
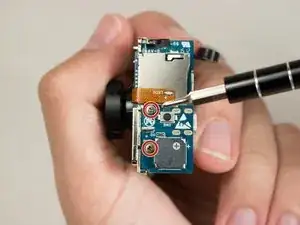
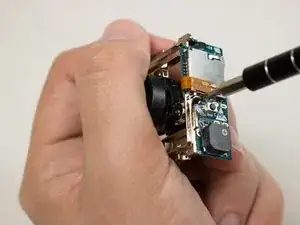
    • Remove the two 3.1 mm Phillips #000 screws securing the motherboard to the chassis.

    • Be sure to support the motherboard, the ribbon cable connection can easily be damaged.

  9. yCWLMBRWLxR33ppn
    yCWLMBRWLxR33ppn
    IBmlQF6URLGnMwcd
    eemgt2E21lp3Pdvv
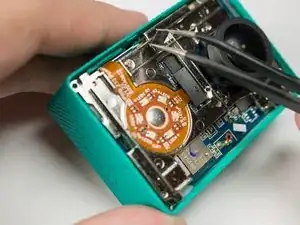
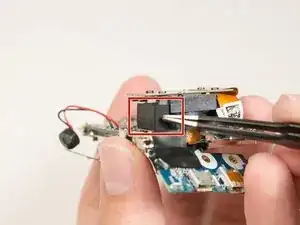
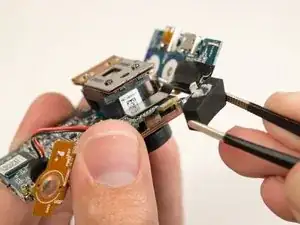
    • Locate the rubber spacer between the image sensor and the ribbon connection for the motherboard.

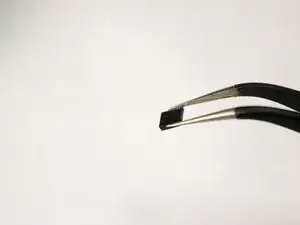
    • Using the tweezers gently remove the spacer block and set aside.

  10. twbDSURKjJ6MKYSQ
    twbDSURKjJ6MKYSQ
    gZuLAqAJMOf4gCwh
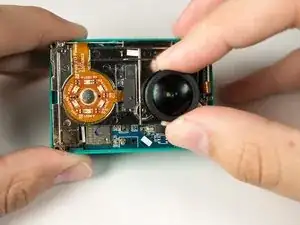
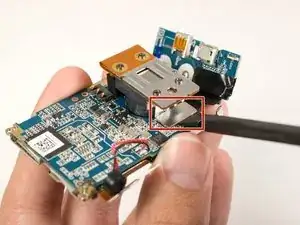
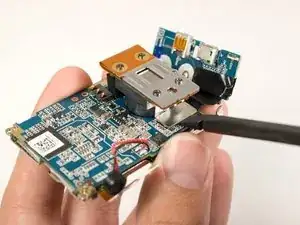
    • Pry gently using the flat end of the black spudger to remove the ribbon connector.

    • Lift the lens assembly up and away from the motherboard.

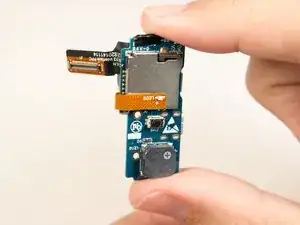
    • Motherboard remains.

Abschluss

To reassemble your device, follow these instructions in reverse order.

William Zipperer

Mitglied seit: 03/09/15

693 Reputation

8 Kommentare

Where you buy motherboard for xiaomi yi ?

diamond1981 -

I wonder where I can buy this part ribbon connector to buy.

viilelaa -

Link for buying it waaaaaaaay cheaper:http://bit.ly/XiaoMiYi1080P

tozilen -
Great guide but useless, there is no spare parts on the market for this camera

Nebojsa Rosic -

IC repair is always possible

AdamA -

Has someone found where to buy spare parts? Or damaged camera?

Toni -

Any idea where I could buy parts for this camera? Has anyone managed to find any parts on the market?

Lothar Krupka -

where is ic power ??

Hafiz Darsy -