Einleitung

  1. uNZsIUOQHPTal5Nj
    uNZsIUOQHPTal5Nj
    qVtqLqoYd5eYLm2u
    cUSriy6dhYHVQFO1
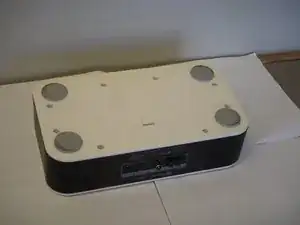
    • Flip the device over so that the batteries are closest to you.

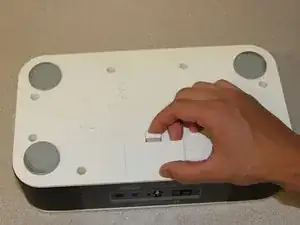
    • Remove the battery lid by pressing the battery cover's tab and pulling it away from the device.

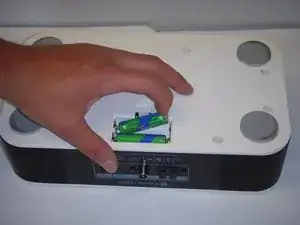
    • Push the battery against the spring and lift it out of the casing.

    • Repeat with the other battery.

  2. WuHRNRGHY21enmuZ
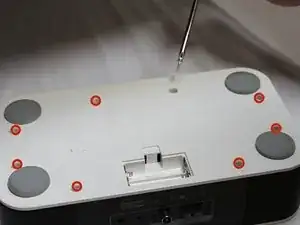
    • Unscrew all eight 12mm Phillips head screws with a Philips #1 screwdriver.

    • The iFixit 26 bit screwdriver kit will not reach the screws. Make sure to use a screwdriver that is thin enough to not get stuck in the screw holes.

  3. KiRFJZ6qs4PPAuoI
    KiRFJZ6qs4PPAuoI
    FeTiALQfLAHCEqqo
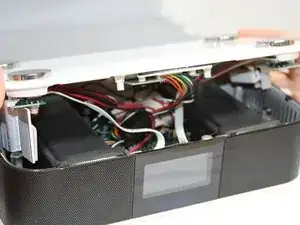
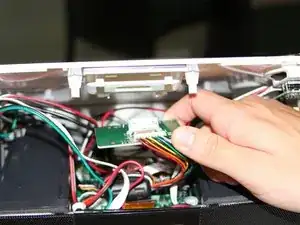
    • Flip the Luna back over so that the buttons are facing upward and the LCD screen is facing you.

    • Gently tilt the lid back 45 degrees so that the inside is exposed.

    • Be mindful of the wires inside of the Luna. It is easy to break a connection if a wire gets caught.

  4. CgYRKPQDGosK4BQC
    CgYRKPQDGosK4BQC
    iR4MQAK2HQUmhOyQ
    PGGgP12FNYSBZeDl
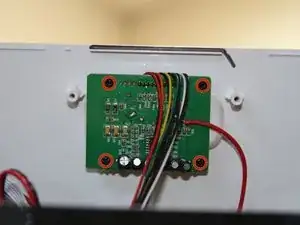
    • Unscrew the four black 7mm screws with the Phillips #1 screw driver that hold the middle circuit board to the top case.

  5. uitC1d3ymKxNIWLS
    uitC1d3ymKxNIWLS
    54JKbLPjLxRt1NJm
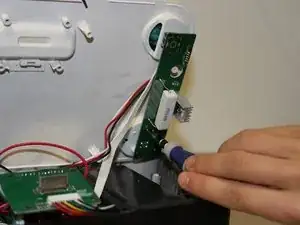
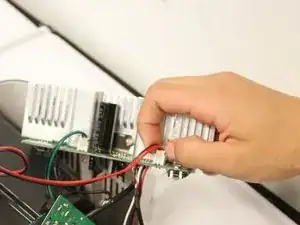
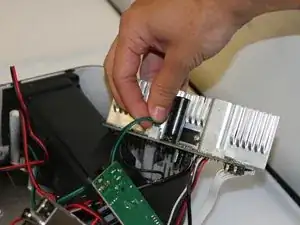
    • Unscrew the three 7 mm black screws using the Philips #1 screwdriver on the back end of the left and right circuit board.

    • Removing the right circuit board first will make it easier to unscrew the left because the heat-sinks on the left circuit board can get in the way of the screwdriver.

  6. eR2uTYccEuNZgwRM
    eR2uTYccEuNZgwRM
    TtKOIobZmnkEoDNQ
    WSnuEa5EnIyJRHof
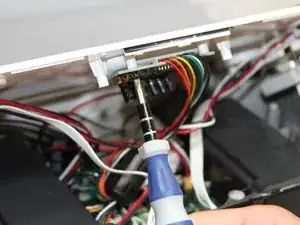
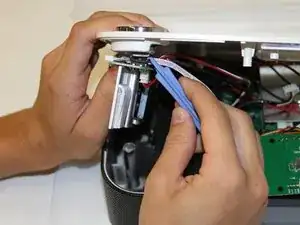
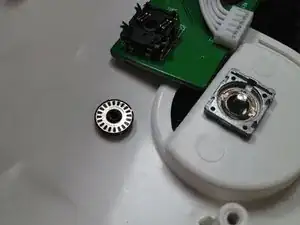
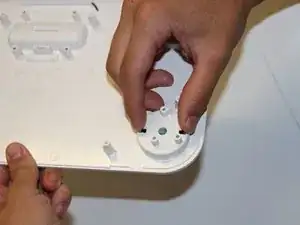
    • Use a plastic opening tool to pry the black connections away from the top casing.

    • Be attentive when you separate the circuit boards from the top, as there is a loose wheel inside.

    I dont know why you would pull the rotary encoder apart when you can just push the silver button knob off the top of the radio by pushing it from below and then unscrew the rotary encoder from the lid afterwards. Much simpler and nothing gets damaged.

    Kristian Dahl Hansen -

  7. qxIOUrsyqCprBDPw
    qxIOUrsyqCprBDPw
    VZ6hWY1EHdcapZeS
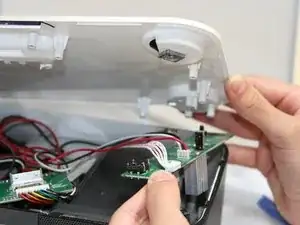
    • Turn the circuit boards over. Remove the two connections on the left side by pulling on the tabs.

    • The glue that holds the connection together will come off when you pull. Pull on the tab with enough force to break the glue without damaging the wires.

  8. iNxXMa1whMRtJfRR
    iNxXMa1whMRtJfRR
    VM1VYDWTPpdqXxKH
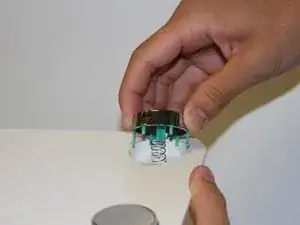
    • Press the green tabs on the underside of the top case together and push them through the plastic casing.

    • Turn the top casing right side up and remove the button and spring.

Abschluss

To reassemble your device, follow these instructions in reverse order.
David Ellison

Mitglied seit: 18/04/13

18 Reputation

0 Kommentare