Einleitung

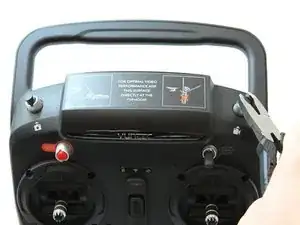
A faulty switch spring can lead to an unresponsive camera button, resulting in your controller not being able to record or take pictures. Cause of this can be dislocated spring, or as simple as the spring snapping over time. Follow these steps to replace the spring for either of the shoulder buttons on the Yuneec ST10 Plus drone controller.

  1. fIRBhoLrZyWLBx2t
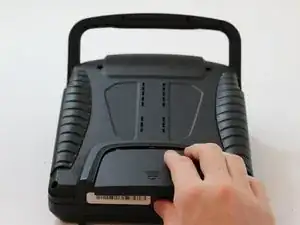
    • Flip the controller upside down to access the battery compartment.

    • Grab the compartment door and pull down.

    How should they remove the battery component door? Make sure to tell how, not just to do something. Also, why is battery capitalized?

    Alex Watkins -

  2. rWTnK1EwZgUroUDG
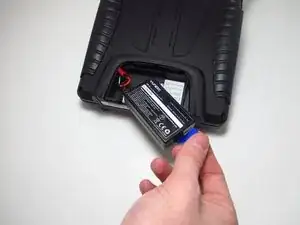
    • Gently lift the blue tab connected to the battery in order to remove the battery from its housing.

  3. Zs1OWOifdDBL3GKV
    Zs1OWOifdDBL3GKV
    TvnooIQsGrftMuvE
    dDPIYvpZmKcxFKPn
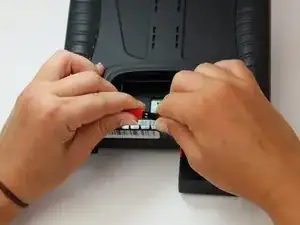
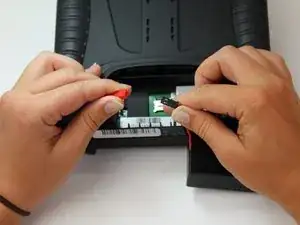
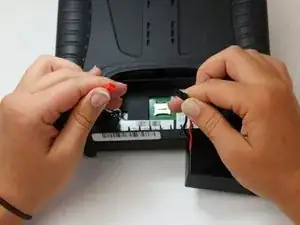
    • To disconnect the battery from the remote, grab the red and black connectors.

    • Pull gently on connectors until they disconnect.

    Make sure to use commas after introductory phrases (e.g., to disconnect the battery from the remote, grab).

    Alex Watkins -

    The action part of the photo is a little obscured. I would retake this picture to have the action more highlighted. Also, add additional pictures to make the flipbook style iFixit prefers.

    Alex Watkins -

  4. yYKGHDo2uHEnsh52
    yYKGHDo2uHEnsh52
    XSJxneGQAJUqORq5
    BTWQOV311MbXK1oP
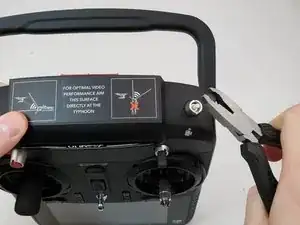
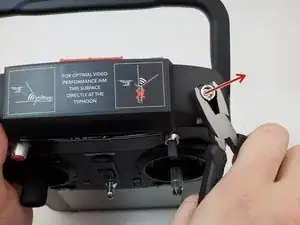
    • Grab ahold of the top of the black cap on the button with the pliers and pull up forcefully.

    Do you have additional pictures to show this action?

    Alex Watkins -

  5. OPF23qJrJbKXXdNl
    OPF23qJrJbKXXdNl
    Gjnx1pqQQNFSsfkI
    • Twist counter clockwise on the silver portion of the device with a pair of pliers.

    What do you mean by silver portion of the device? Aren’t there multiple silver portions? Do you have more pictures?

    Alex Watkins -

  6. yPpnHC6uhAqBtfyH
    yPpnHC6uhAqBtfyH
    2l2H6jKQ4IKBVOJQ
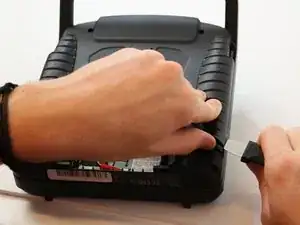
    • Slide the Jimmy underneath the rubber grips and pry upwards.

    • With your free hand grasp the rubber grips and pull upward to remove it.

  7. MsoeFeqjFVFvQQjn
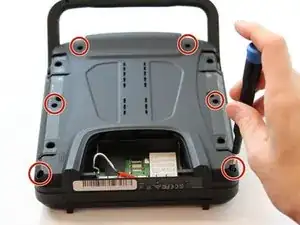
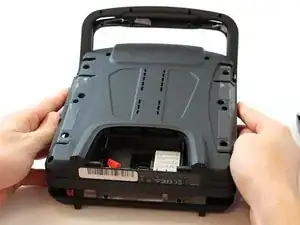
    • Remove the six 1.3 cm screws located on the back panel of the remote using the 5.5mm hex screw bit.

  8. AXoWXjHyULdWwXLR
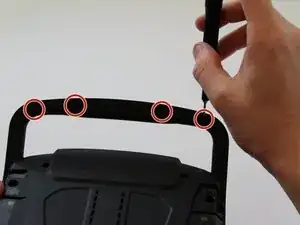
    • Remove the four 6mm screws from the handle using the 4mm hex driver bit.

  9. xYwHnibVVMB2MIIm
    xYwHnibVVMB2MIIm
    gvat65TpyBdkaVUu
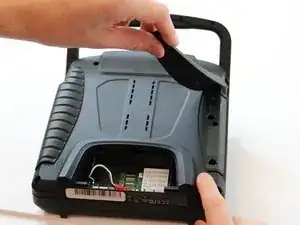
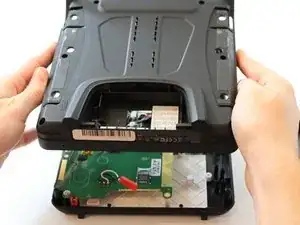
    • Carefully pull up and over on the back panel to remove. Take your time because there are wires connecting the two panels that can easily torn.

  10. kvUACISfnWOCEhuo
    kvUACISfnWOCEhuo
    coOppBESwjHgq3BT
    • Flip your device.

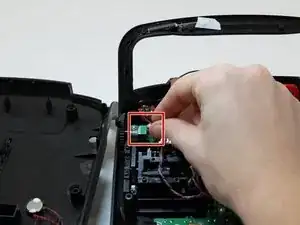
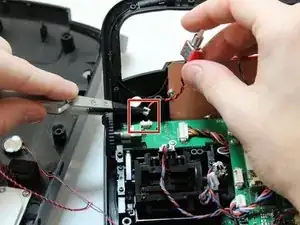
    • Once the silver cover holding the switch in place is removed, remove the switch by grabbing it and pulling back towards you.

    This step is very unclear to me. How should I pull it out? Where is this located on the device?

    Alex Watkins -

  11. qfhXqmtwMKQTLIQL
    qfhXqmtwMKQTLIQL
    11iSjv2a1FA6sZkV
    aAXvrHqyPaGwHPpv
    • Once the switch is removed, disconnect the switch from the circuit board by pulling the cable from the cable connector.

    • The cable will come out by pulling it away from you if the bottom of the controller is oriented closer to you.

    Do you have more pictures? Make sure to match bullets to markup.

    Alex Watkins -

  12. QDQgJZZCEH56I5NZ
    QDQgJZZCEH56I5NZ
    Ol5VYSB6tKe2Ycii
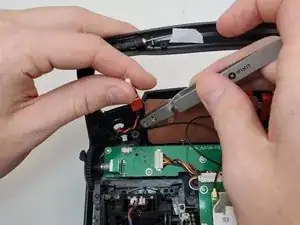
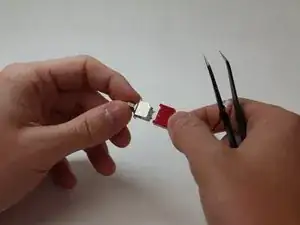
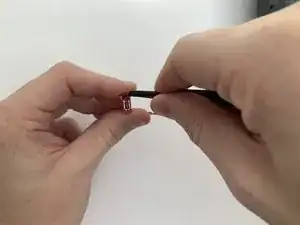
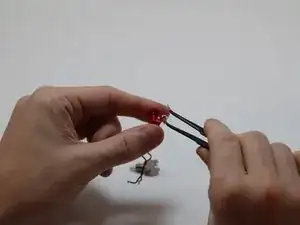
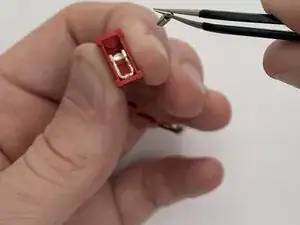
    • Carefully pry up the small metal feet surrounding the red switch connector on both sides using a metal spudger.

    • There are four feet located on the silver portion of the switch.

    These pictures are very dark and hard to see what’s going on. I think you need to zoom in further and indicate how you’re using the tool to pry the feet. Try to retake pictures showing the before and after of prying this element. See below for a good example of a flipbook shot.

    Alex Watkins -

  13. gGjMZmI1fSXiwtva
    gGjMZmI1fSXiwtva
    dimTQ4xKsBqMMyQb
    NHapDDpYykUoyFjB
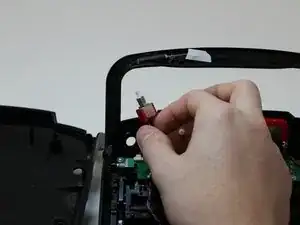
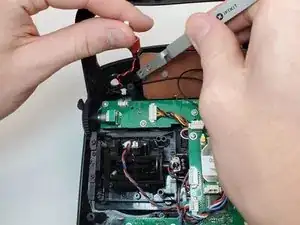
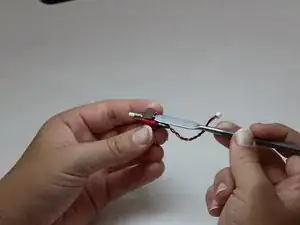
    • Make sure to pull up and out where the spring connects. Do not pull from the middle of the spring or it will snap it.

    • With the angled tweezers pinch the end of the spring with the loop and gently push the spring down and back, then lift up.

    • Pinch the spring with the angled tweezers, bringing it to a vertical position. Then push down on the spring to remove it from the port that it is connected to.

    • Pull the spring away from the housing.

    Check throughout for appropriate capitalization. What do you mean by “move down to the bottom hook”?

    Alex Watkins -

Abschluss

To reassemble your device, follow these instructions in reverse order.
Joshua Collins

Mitglied seit: 27/01/20

577 Reputation

0 Kommentare