Einleitung
Replacing the screen of your device can be a daunting task, but this guide will help you easily and safely replace it. Choosing to do this can be caused by cracking the screen due to dropping the controller, or water damage.
Werkzeuge
-
-
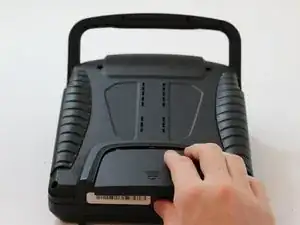
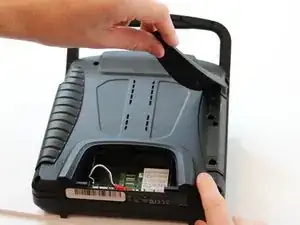
Flip the controller upside down to access the battery compartment.
-
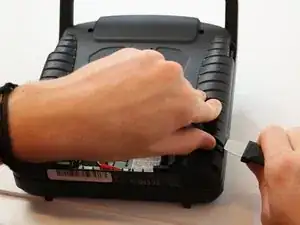
Grab the compartment door and pull down.
-
-
-
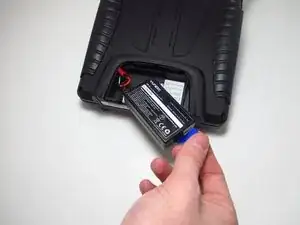
Gently lift the blue tab connected to the battery in order to remove the battery from its housing.
-
-
-
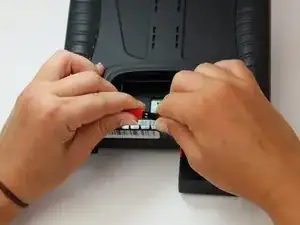
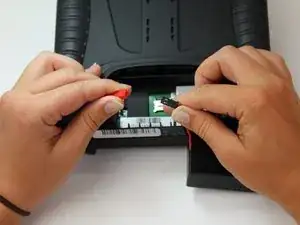
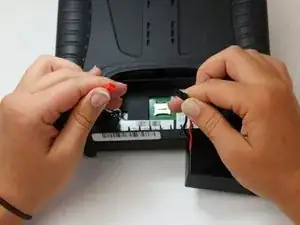
To disconnect the battery from the remote, grab the red and black connectors.
-
Pull gently on connectors until they disconnect.
-
-
-
Slide the Jimmy underneath the rubber grips and pry upwards.
-
With your free hand grasp the rubber grips and pull upward to remove it.
-
-
-
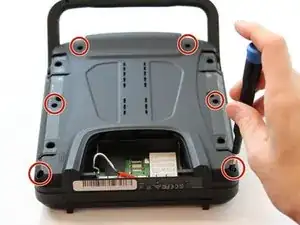
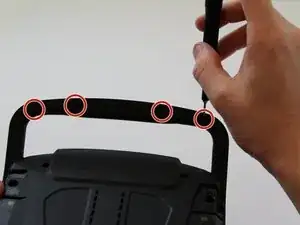
Remove the six 1.3 cm screws located on the back panel of the remote using the 5.5mm hex screw bit.
-
-
-
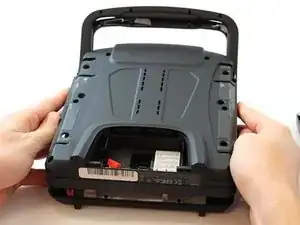
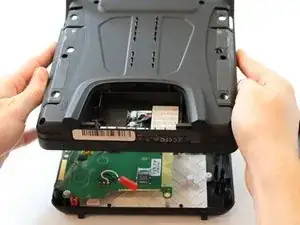
Carefully pull up and over on the back panel to remove. Take your time because there are wires connecting the two panels that can easily be torn.
-
-
-
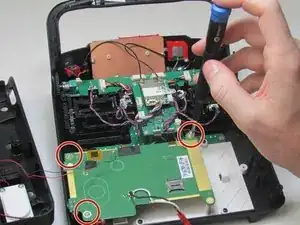
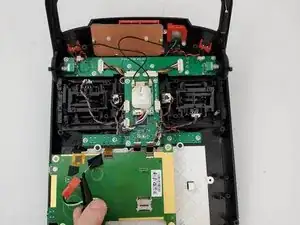
Take a Phillips #0 screwdriver to unscrew the three 5mm screws on the screen circuit board.
-
-
-
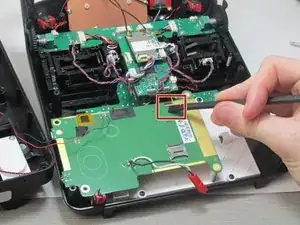
Take the flat end of the spudger and place it under the white lock on the ribbon cable's ZIF connector. Then lift it up on the white lock to allow the ribbon cable to be removed.
-
-
-
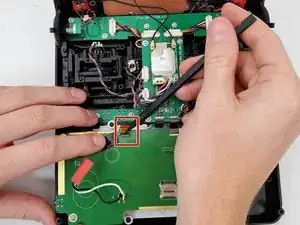
Gently pry up the black tape on the center ribbon connector
-
To unlock, use the spudger's pointed end to place under the lock and lift up.
-
Remove the ribbon cable.
-
-
-
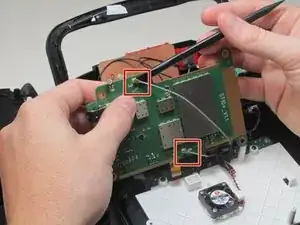
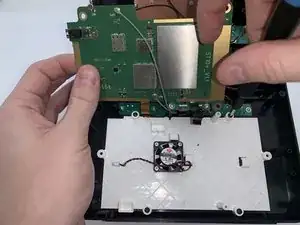
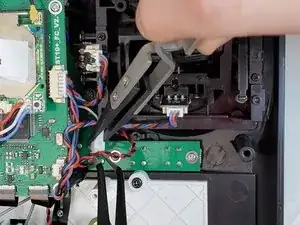
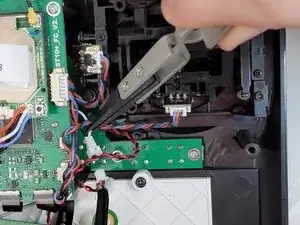
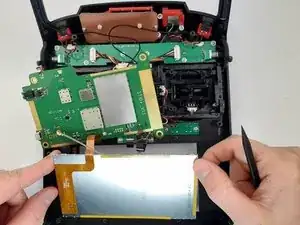
Carefully disconnect the two wires connected underneath the screen motherboard with the plastic spudger.
-
-
-
Using the Phillips #0 screw driver, remove the four 6mm screws holding the screen fan plate on.
-
-
-
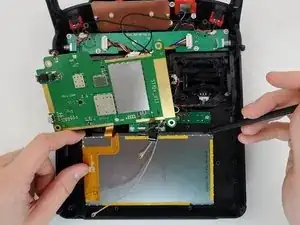
There is a location on the upper right hand corner, where you can use the spudger to gently pry the screen up.
-
Remove the screen.
-
To reassemble your device, follow these instructions in reverse order.
How should they remove the battery component door? Make sure to tell how, not just to do something. Also, why is battery capitalized?
Alex Watkins -