Einleitung

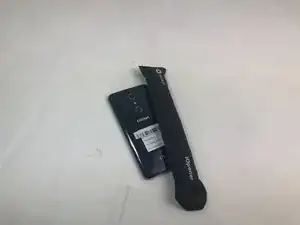
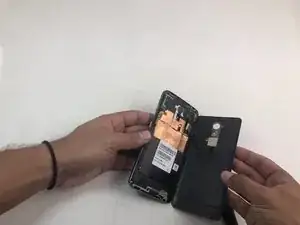
If the battery on your ZTE Blade X Max is faulty—short battery life, failure to power on, powering off before reaching 0%—and you have already been through our troubleshooting guide, then you will have to replace the battery.

This guide requires removing the back of the phone. You will have to use heating products to complete this guide. If you are using the iFixit iOpener, or a heating pad, be sure to follow the instructions for that particular product.

To remove the battery, you will have to heat the phone. Be sure not to overheat the battery. If you do, the battery will swell and be rendered useless.

  1. hhiYyOAAAbS4bo3t
    hhiYyOAAAbS4bo3t
    wdYstviWTLk1tGrN
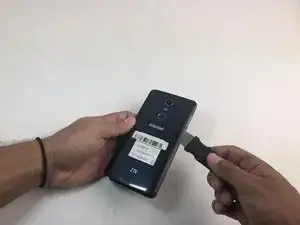
    • Use the iOpener or heating pad to heat around the edges of the phone to melt the adhesive.

    • It will take about ten minutes for the adhesive to be heated enough to remove the backing.

    • You will have to reheat the iOpener or heating pad a few times.

  2. 5HLKcJZEGcAXSEAr
    5HLKcJZEGcAXSEAr
    qKLEFWqHUqBkNmSs
    mNSjrWMUhk1tTBpV
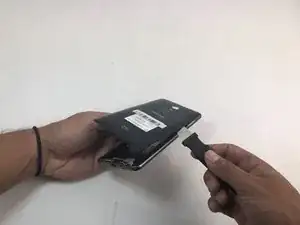
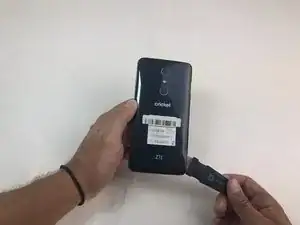
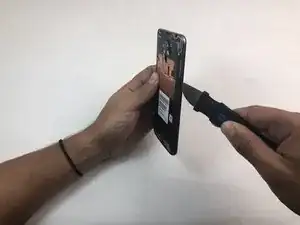
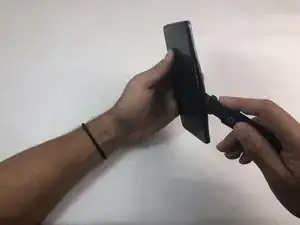
    • Slide the Jimmy along the under backing and lightly push the plastic up.

    • You will hear a snapping sound as you slide the Jimmy along the backing. This is from the closures releasing. There should be seven total closures on either side of the device, and three on the top and bottom.

  3. IOxFKHJYTNSPIdYO
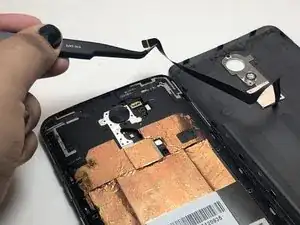
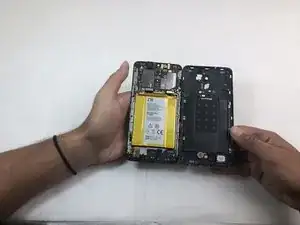
    • Carefully remove the backing from the phone once the closures are released.

    • If you do not open all of the closures on the backing do not attempt to pry it off.

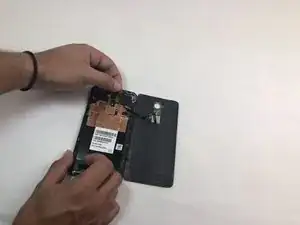
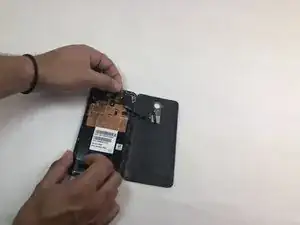
    • Be careful when opening the back of the phone. The fingerprint scanner is connected by a thin film that will tear if pulled too roughly.

  4. GaMya2RZXe4JoYkc
    GaMya2RZXe4JoYkc
    MBHBpnDDejFVCeTh
    RPUJxHDalQNuPjCF
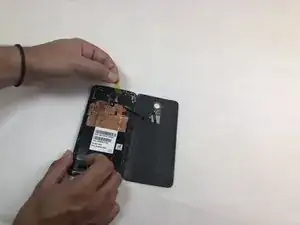
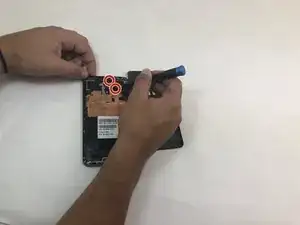
    • Remove the opaque yellow sticker that indicates where the fingerprint scanner is connected to the back of the device.

  5. ZF5S2WxtVPhguoxN
    ZF5S2WxtVPhguoxN
    25alBZY5TUeOnYJG
    XLGySM1nlpNEsPOH
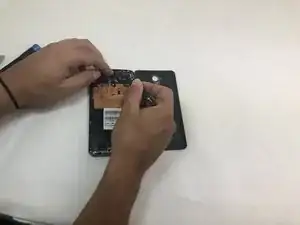
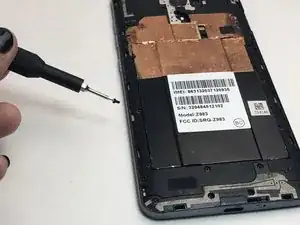
    • Remove the two 1mm Phillips #000 screws on the small panel that was underneath the sticker.

    • Use the tweezers to remove the panel.

    Make the second sentence a second bullet.

    Use the internal markup tools to indicate small components, like screws.

    Sandy Branham -

  6. widtS6o11PSLO3hm
    widtS6o11PSLO3hm
    52GUaYWxjRWX34YS
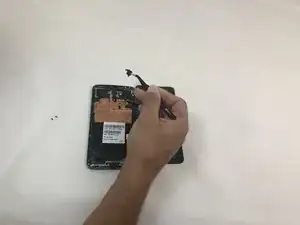
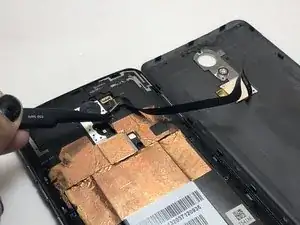
    • Use the tweezers to pull at the base of the film to remove the fingerprint scanner.

  7. g5ECdVd6JJLqMpUr
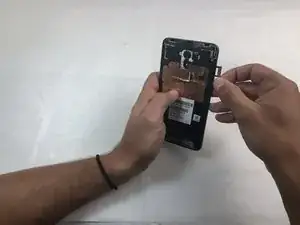
    • Remove the SD and SIM cards by pulling out the card tray from the slot on the right side of the device.

  8. enG2y51hp6gKSFBU
    enG2y51hp6gKSFBU
    QNB5Tf5RxRy5lJhD
    2qdbRXHPDpRoHxPv
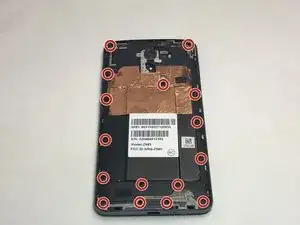
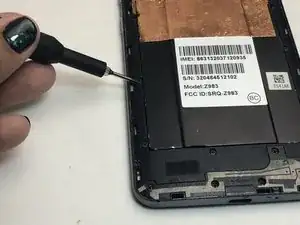
    • Remove the sixteen 1mm Phillips #000 screws from the midframe of the phone.

  9. M6KPmHHD2YHGnYQb
    M6KPmHHD2YHGnYQb
    knjXlcjBafpP4vSO
    lbYhoFRvABJZX1sN
    • Use the Jimmy to remove the midframe from the device.

  10. NeWj6Y3UoBFmWJga
    • Use the iOpener or heating pad to heat the phone. This will loosen the adhesive below the battery.

    • Do not apply the iOpener directly to the battery. Place the iOpener on the opposite side of the phone to indirectly melt the battery's adhesive.

    Removing motherboard is not required to remove the battery!

    Celeste Holmes -

  11. OHoZQjaOqGuOPZfA
    OHoZQjaOqGuOPZfA
    2Rt2oayHGxREA2lM
    LraPeTrUbbViumuR
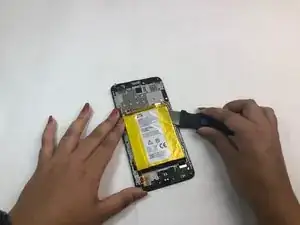
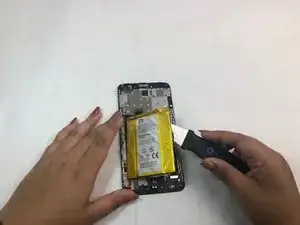
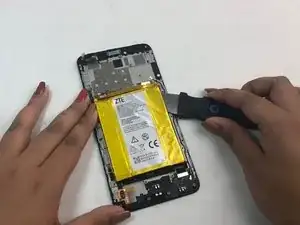
    • Use the spudger to pry the battery out of its slot after it has been thoroughly heated.

    • If the adhesive is still strong, reheat the opposite side of the phone until you can easily remove the battery.

Abschluss

To reassemble your device, follow these instructions in reverse order.
Celeste Holmes

Mitglied seit: 17/09/19

624 Reputation

0 Kommentare