Einleitung
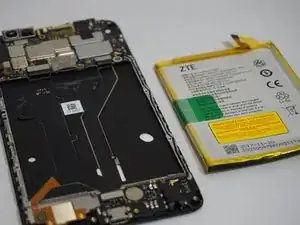
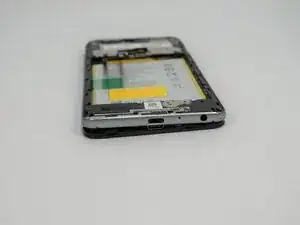
An old battery can lead to increasingly shorter times between charges and reduced phone performance.
Be sure to discharge your battery as much as possible before you attempt this repair. LiPo batteries can catch fire and cause serious injury if damaged.
Removal of the battery may require heat to soften the adhesive holding the battery to the phone chassis. Do not heat the battery if you suspect that the battery has been damaged in any way.
Werkzeuge
Ersatzteile
-
-
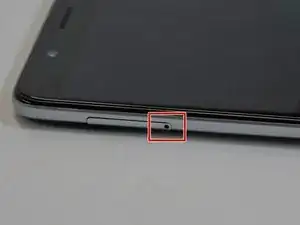
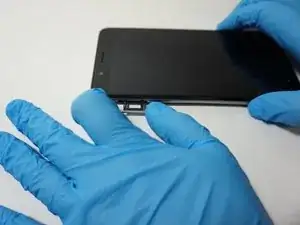
Turn the device on it side with the buttons away from you.
-
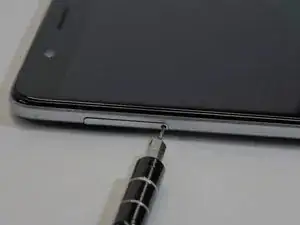
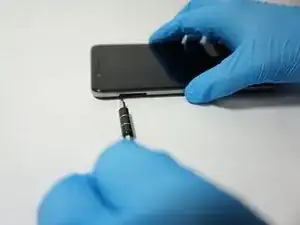
Using the SIM Card Eject Tool, insert the narrow end into the ejection hole.
-
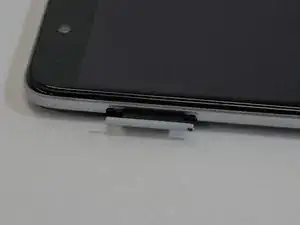
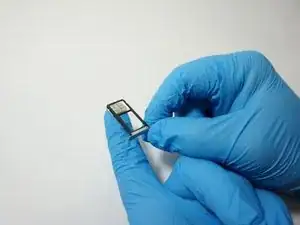
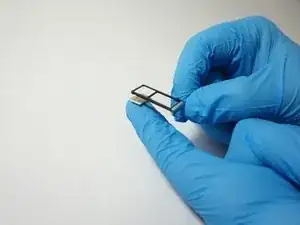
Press firmly into the hole until the SIM card tray pops out far enough to grab with your fingers.
-
-
-
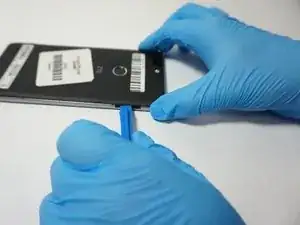
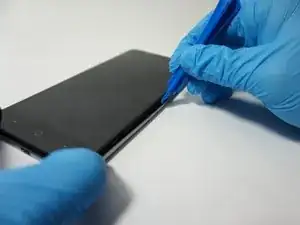
Insert a plastic opening tool into the space where the SIM card tray used to be.
-
Gently pry the back away form the phone frame until you hear and audible click of the back separating.
-
-
-
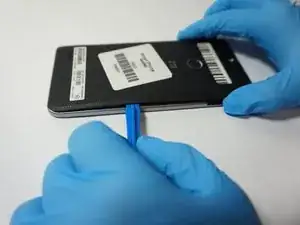
Insert the plastic opening tool into the space you created between the phone back and frame.
-
Slide the plastic opening tool along the outside of the phone, underneath the back, to separate the rest of the clips holding the back onto the frame.
-
-
-
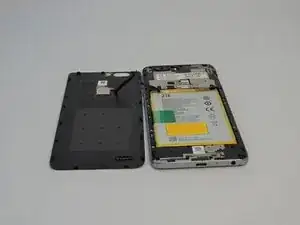
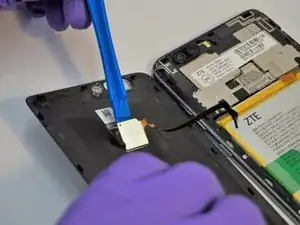
Rotate the back over to the side, being careful not to damage the fingerprint sensor ribbon cable.
-
Use a plastic opening tool to separate the fingerprint sensor from the back of the phone.
-
Set the phone back aside.
-
-
-
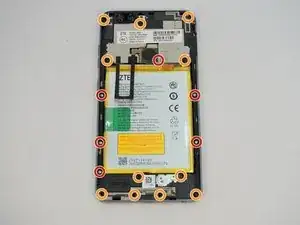
Remove the 6 silver 2.9mm screws from the back of the phone with a JIS #000 bit.
-
Remove the 11 black 3.5mm screws with the same JIS #000 bit.
-
-
-
Turn the phone over, with the screen up.
-
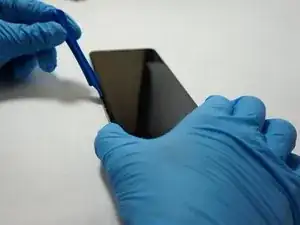
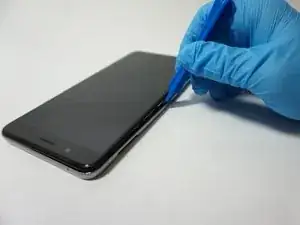
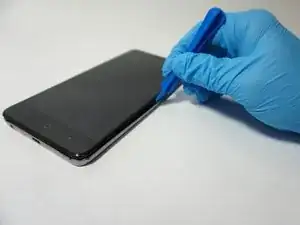
Insert the opening tool between the screen and the silver trim that surrounds it.
-
Run the plastic opening tool around the circumference of the phone to separate the clips of that hold the trim to the frame.
-
-
-
Turn the phone back over, with the screen down.
-
Lift the trim piece off of the phone and set aside.
-
-
-
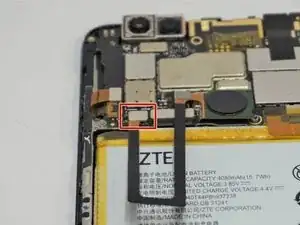
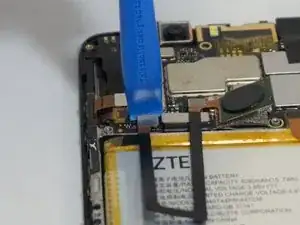
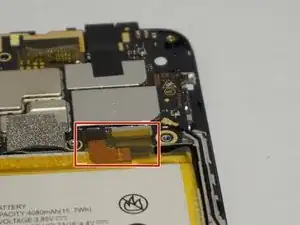
Using a plastic opening tool, separate the fingerprint ribbon connector from the motherboard.
-
-
-
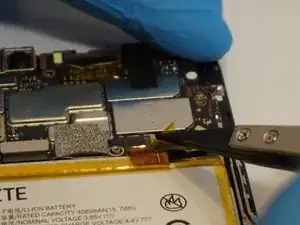
Use a pair of tweezers to carefully pull up on the tape securing the connector.
-
This will undo the connector as well.
-
-
-
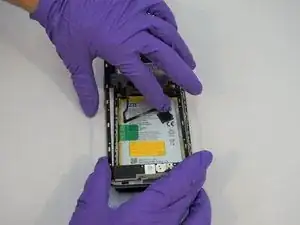
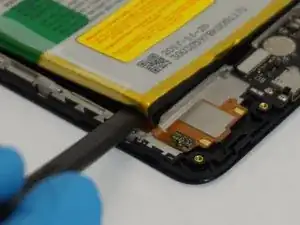
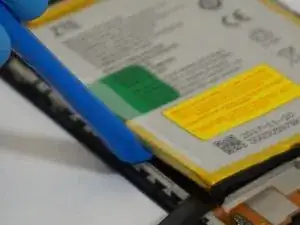
Starting at the bottom left corner of the battery, use the wide end of the spudger as a wedge to get underneath the battery.
-
Insert a plastic opening tool into the space created by the spudger and CAREFULLY begin to pry around the edge of the battery.
-
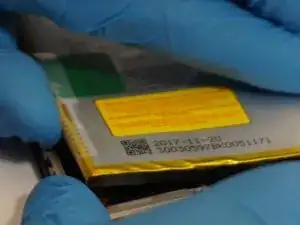
Once the battery is separated for enough from the phone, use your hands to fully remove the battery, using the wide end of the spudger to scrape off adhesive where necessary.
-
To reassemble your device, follow these instructions in reverse order.
2 Kommentare
I want to clarify that in step 4 you don’t want to try to separate the back cover in the actual sim card slot but above it between the back cover and the top of the slot.
I'm not sure what or if it needs too be done I just bought a battery wanted to put in but not sure how to do it myself
