Einleitung
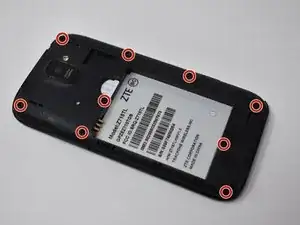
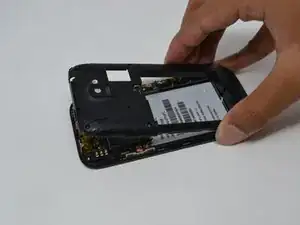
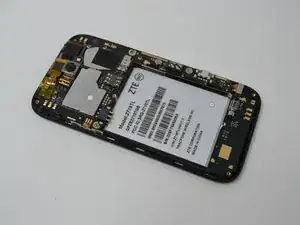
This replacement guide will assist you in replacing the rear-facing camera, step-by-step. You will use this guide when the camera images have become distorted, blurry, dark, or discolored, and you have already taken other measures (clean off the camera lens and updated any appropriate software) to try and get it working.
Werkzeuge
-
-
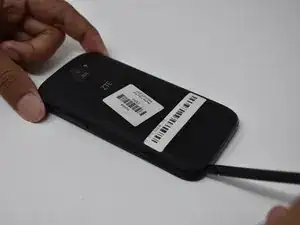
Insert the spudger into the bottom left corner of the phone.
-
Use the spudger to loosen the back cover.
-
-
-
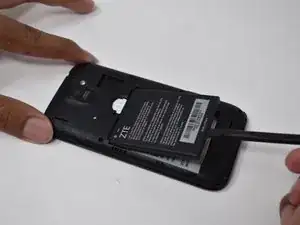
Insert the black spudger near the bottom left of the battery. There will be an opening to easily to remove the battery.
-
Continuing to use tool, prop up the battery and remove it.
-
-
-
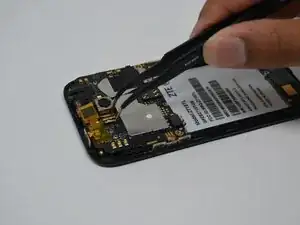
Disconnect the gold component attached to the camera by pulling upwards using the tweezers.
-
Remove the camera using the tweezers by gripping tightly around the camera and pulling upwards.
-
To reassemble your device, follow these instructions in reverse order.
