Einleitung
This guide has step-by-step instructions on how to replace your ZTE Max XL charging port, in order to do this you must first remove the phone's battery. To determine if you need to replace your charging port refer to our Troubleshooting Guide.
Werkzeuge
-
-
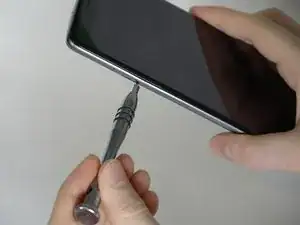
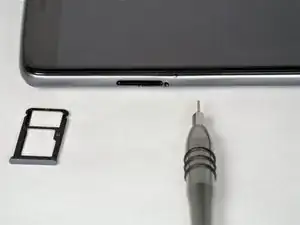
Use the SIM Card Eject Tool to remove the SIM card tray. To do this, insert the key into the hole on the side of the phone near the SIM card tray.
-
-
-
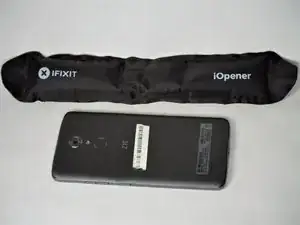
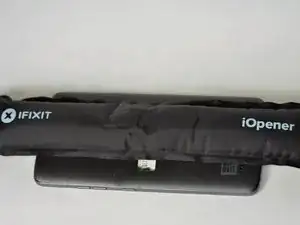
Apply the iOpener to the back of the phone. For instructions on how to use the iOpener, use this guide.
-
-
-
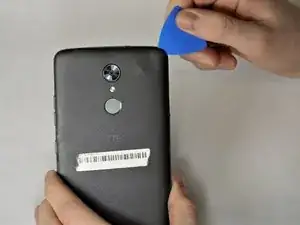
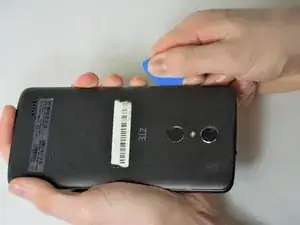
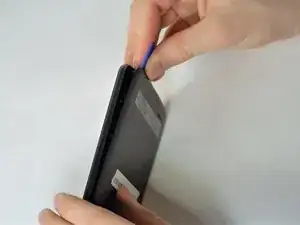
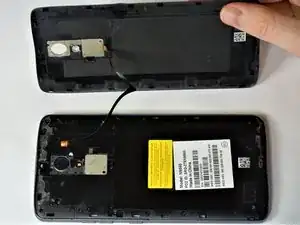
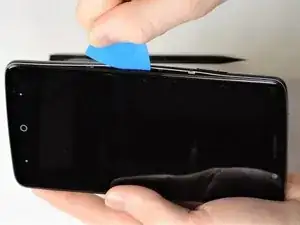
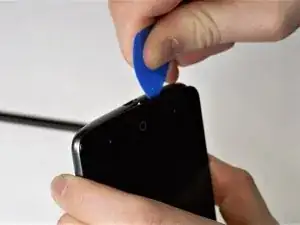
Starting at one corner, wedge the plastic opening pick underneath the plastic backing to start undoing the tabs that connect the backing to the phone. There are 3 tabs on top and bottom, and 6 on each side.
-
-
-
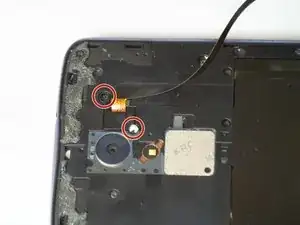
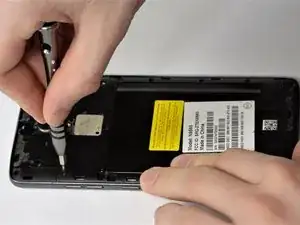
There are two 3.4mm JIS 00 screws that hold the wire in place, one may be under a lock sticker. Remove the screws with the JIS 00 screwdriver.
-
-
-
After removal of the two 3.4mm JIS 00 screws, disconnect the connector that attaches the ribbon wire from the main part of the phone.
-
-
-
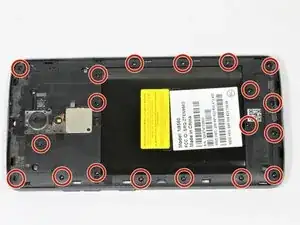
Remove the nineteen 3.4mm JIS 00 screws on the perimeter of the back using the JIS 00 screwdriver.
-
-
-
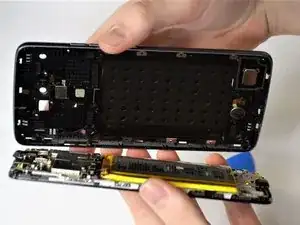
Use a plastic opening pick between the screen and side trim battery cover to remove the screen.
-
-
-
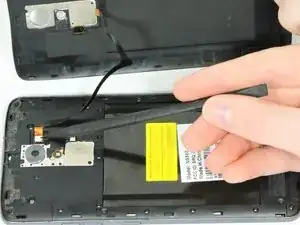
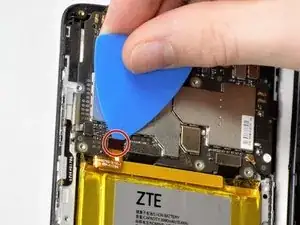
On the top left of the battery, flip the metal clips with a pick and remove the battery ribbon from the shell.
-
-
-
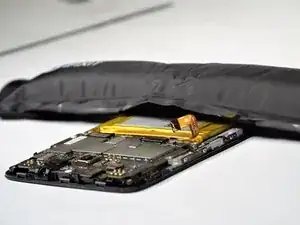
Using the iOpener heating pack, CAREFULLY apply heat to the battery. For instructions of how to use the iOpener, use this guide
-
-
-
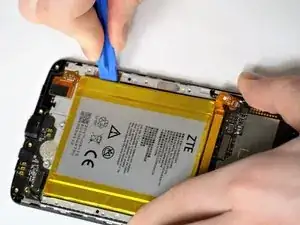
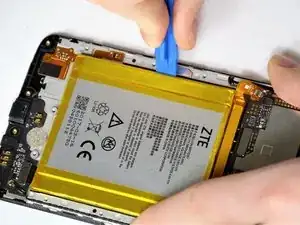
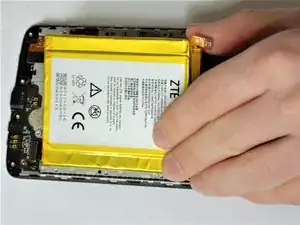
Using the iFixit opening tools carefully pry the edges of the battery away from the casing.
-
-
-
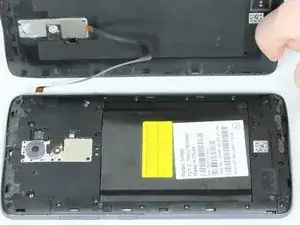
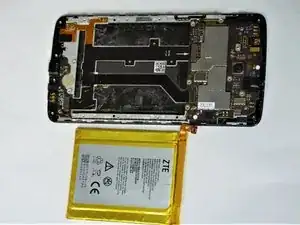
With the battery removed, you can now insert the new battery or replace other parts within your phone.
-
-
-
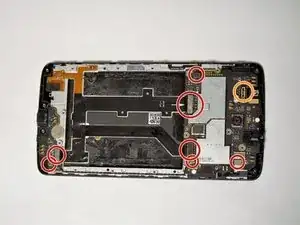
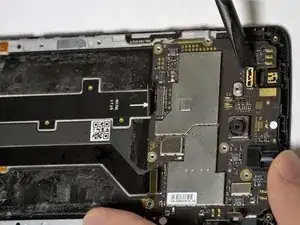
After you take out the battery, remove the 8 black wires using the spudger. Flip the metal connectors to release the wires.
-
One of the tabs will remove the back-facing camera.
-
-
-
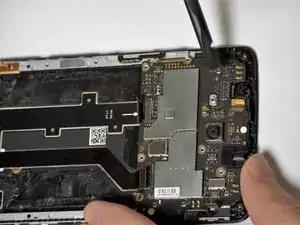
After disconnection of all the metal tabs, insert the spudger underneath the bottom of the phone's circuit board.
-
Gently pry upwards, taking care to not scrape any of the electronics beneath the board.
-
-
-
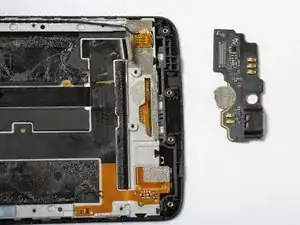
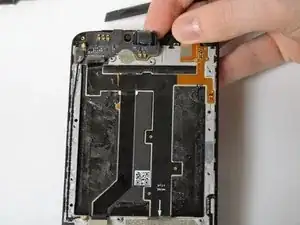
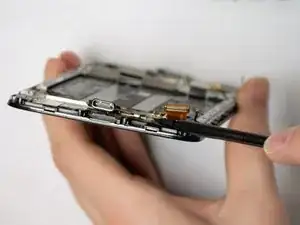
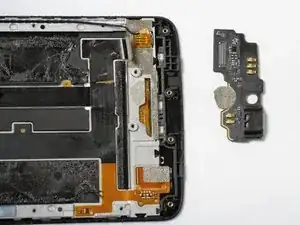
With the bottom circuit board removed, the charging port will be attached to it.
-
To replace your charging port, insert your replacement charging port
-
To reassemble your device, follow these instructions in reverse order.
3 Kommentare
Too much hassle just for the charging port. You can basically just disconnect it’s connection and pop up a new one lol
Rafael B -
I was thinking the same thing but I appreciate that they documented every step as it in the manual I’m sure
For someone who is looking to make this as simple as possible it is important to note that although it is super important to disconnect the battery first, you do not need to remove the battery ruining the adhesive. All you need to do after unplugging the battery is disconnect the flex cable and the black jumper wire and pull out the board, this is of course after you have the phone fully opened up. I’m not saying they did it wrong because I know they did it right and very thorough, if you are new to this and working on your own phone in a hurry, do what I said. Good luck in your repairs!
