Einleitung
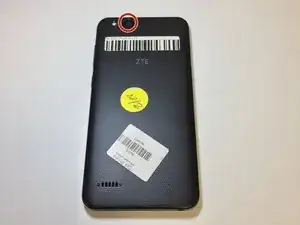
If the camera seems cracked and/or not functioning, this is a quick guide on how to remove the existing camera.
Werkzeuge
-
-
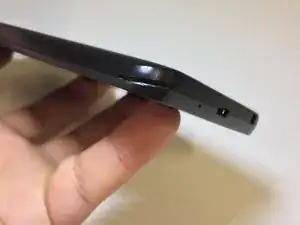
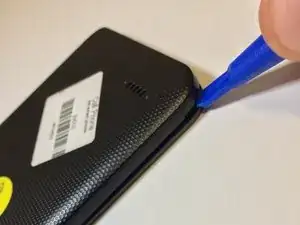
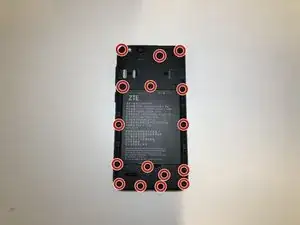
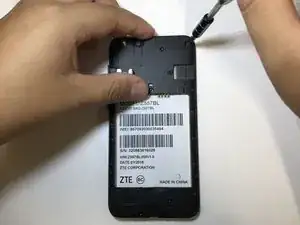
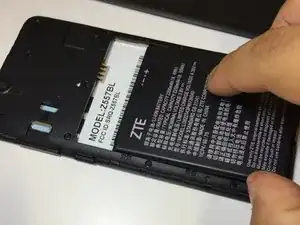
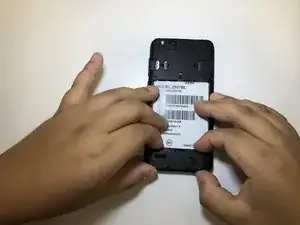
Pry open back cover of the device from the crease at the bottom left corner with an opening tool or fingernail.
-
-
-
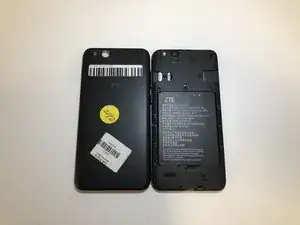
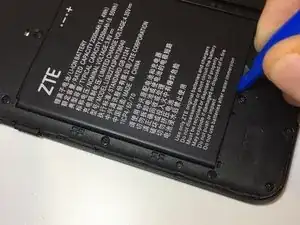
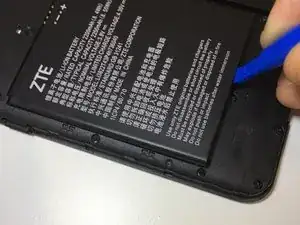
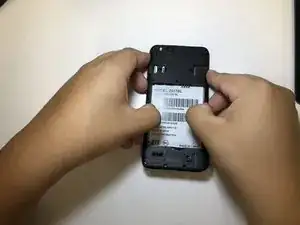
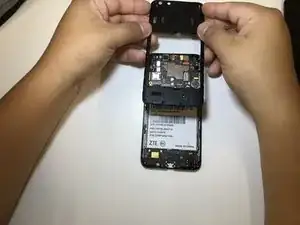
Gently pry open the device body by tugging from the inside out, be sure to pull up and away from device.
-
-
-
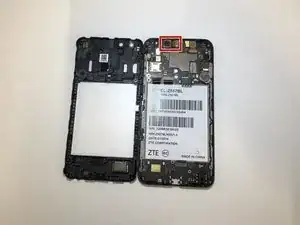
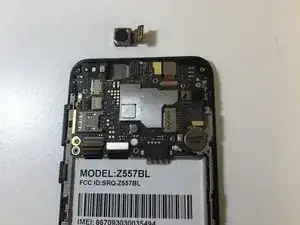
Once body is removed, back-facing camera is placed at the top left corner of device.
-
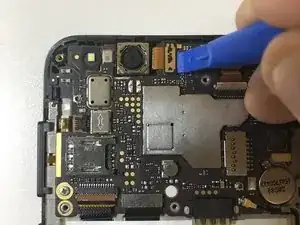
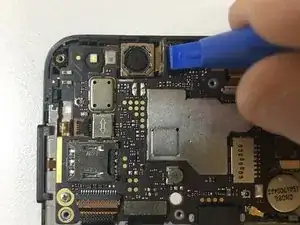
Using an opening tool, pull up the tab of the camera wire ribbon.
-
-
-
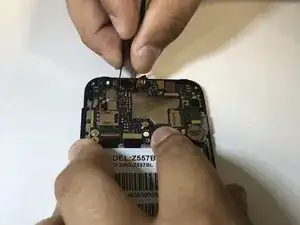
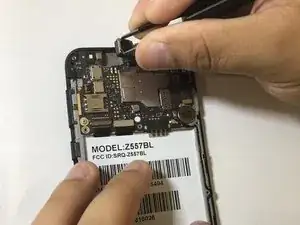
Using the blunt-nose tweezers, tug at the camera gently, switching sides to remove adhesive little by little, pull camera out gently.
-
Abschluss
To reassemble your device, follow these instructions in reverse order.
