Einleitung
Over time, the battery life can run low and stop recharging. This guide will show you how to replace the battery. You will need a plastic opening tool, tweezers, a Phillips #00 screwdriver, a heat gun, and a plastic spudger to complete this guide.
Werkzeuge
-
-
Flip the phone over so that the back panel of the phone is facing up.
-
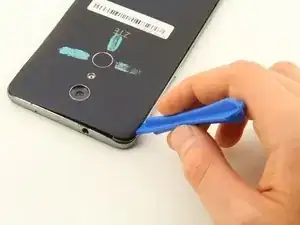
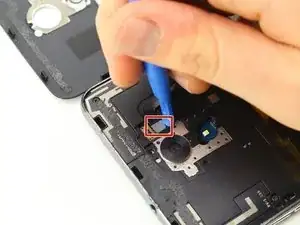
Wedge the plastic opening tool between the black outer panel and the silver side panel.
-
Push down on the plastic opening tool to separate the back panel from the rest of the phone.
-
Continue to do this around all sides of the phone until the back panel has popped all the way off.
-
-
-
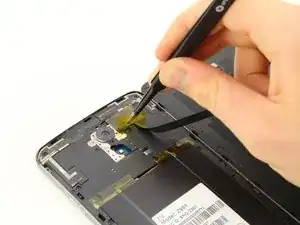
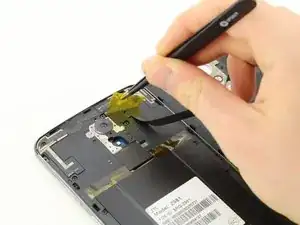
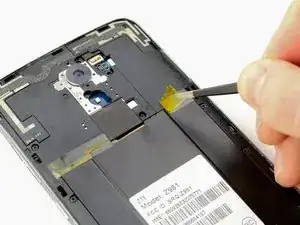
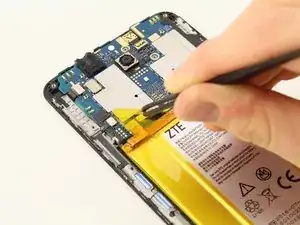
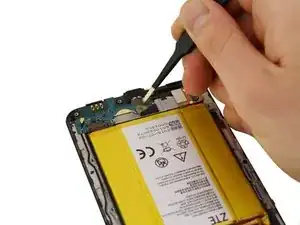
Remove the yellow Kapton tape by using the tweezers to peel it up and away from the device.
-
-
-
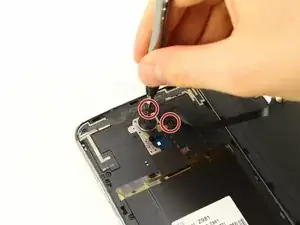
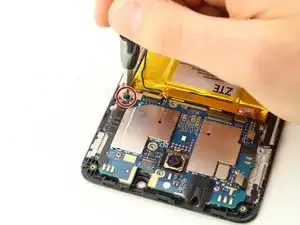
Using the Phillips #00 screwdriver, remove the two 3.0 mm screws located near the top of the phone, next to the rear camera.
-
-
-
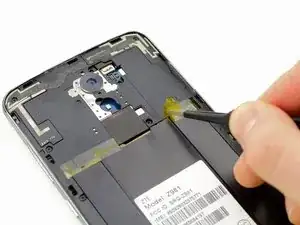
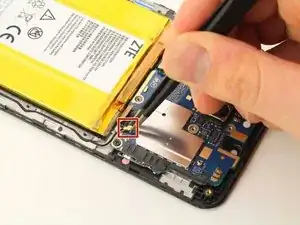
Using the tweezers, peel back the yellow Kapton tape located on the right side of the phone.
-
-
-
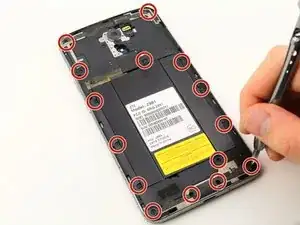
Using the Phillips #00 screwdriver, remove the 15, 3.0 mm rear panel screws located around the perimeter of the phone.
-
-
-
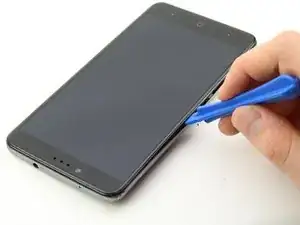
Flip the phone over so that the screen is facing up.
-
Wedge the plastic opening tool between the screen and the rear panel.
-
Push up on the opening tool to separate the panel from the phone.
-
Continue to do this around the entire phone until the rear panel is no longer connected to the device.
-
-
-
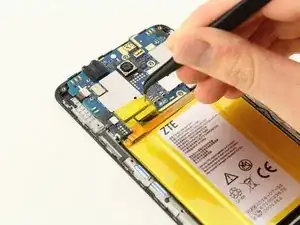
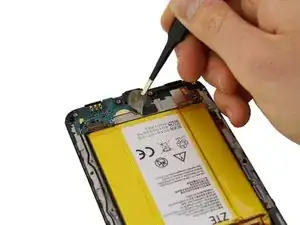
Use tweezers to remove the antenna. The antenna comes up on the right side of the phone, by the battery, and is attached to the motherboard.
-
-
-
Using the #00 Phillips screwdriver, remove the 3.0 mm screw located on the right edge of the phone, above the battery.
-
-
-
Wedge the plastic opening tool underneath the motherboard which is located at the top of the phone.
-
Push down on the plastic opening tool, lifting the motherboard away from the phone.
-
Continue to do this around all sides of the motherboard until it is fully removed from the phone.
-
-
-
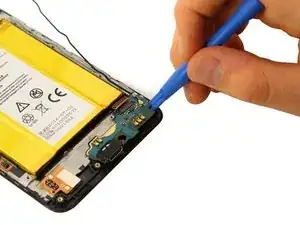
Wedge the plastic opening tool under the charging port board at the bottom of the phone.
-
Push down on the plastic opening tool so the board pulls away from the phone.
-
Continue to do this around the charging port board until it comes all the way off the phone.
-
-
-
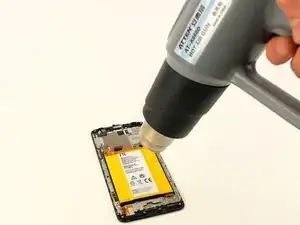
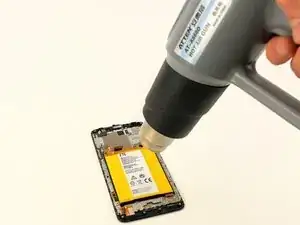
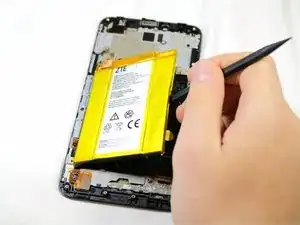
Use a heat gun to heat the adhesive under the battery.
-
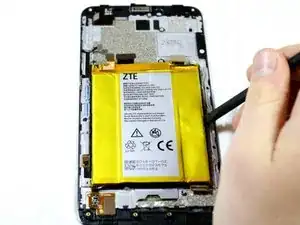
Heat the battery for 1 minute then check if it is pliable. If needed, heat in intervals of 10 seconds until the battery can be removed.
-
To reassemble your device, follow these instructions in reverse order.
14 Kommentare
This is much more difficult than it is depicted; while I’m not an electrician, I’ve acquired skills as a sailor over the past 8 years. Damage to the device is nearly guaranteed. I would NOT recommend trying this operation.
Getitup7 -
Have you actually tried? With the proper tools and care it doesn’t seem that difficult. But then I was a computer tech and repaired laptops. For anyone inexperienced or lacking patience, you’re probably right.
It’s actually pretty easy. I’m guessing your main concern is ESD… You can avoid electrostatic discharge by using the proper tooling and ESD mats.
The instructions were good. Please note the cable under the yellow tape is very thin and not really visible against the backdrop. Mine tore and made camera not function correctly.
Also note, I couldn't remove the last screw off the motherboard. It was too tightly inserted and was stripping by attempts. I turned my phone face down with gorilla glass against a heating pad on a low setting for just a few minutes to warm the adhesive on the battery. Keep the top section with the motherboard off the heating pad. This was the easiest thing to remove. Use a plastic spatula not a metallic one.
