Einleitung

This guide is a prerequisite for removing any components attached to the motherboard.

  1. qrNRvjvV4Cl3kawy
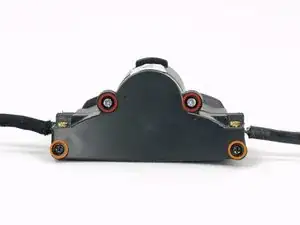
    • Remove the following four screws securing the back cover of the camera housing:

    • two silver 8.5 mm screws,

    • two black 8.8 mm screws.

  2. WUVOgLmFotekqAGr
    WUVOgLmFotekqAGr
    vcyNQlxTuSHknXWp
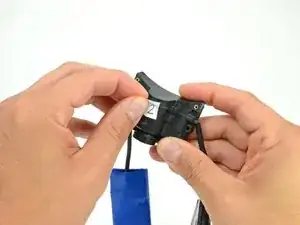
    • Peel the white sticker off the bottom of the camera housing.

  3. saKSjWRVNA2gnVdX
    saKSjWRVNA2gnVdX
    t6vJC2EM111EwYAb
    D2KkUAw6BEagO5iY
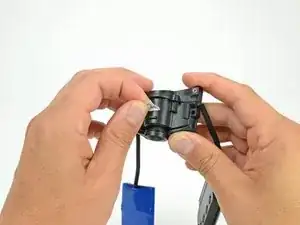
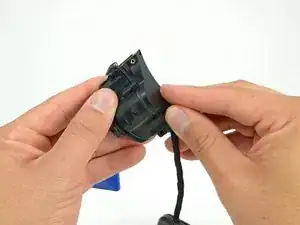
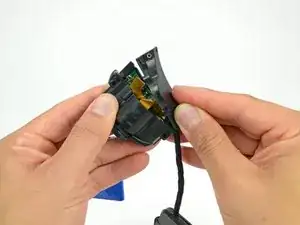
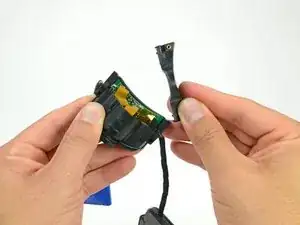
    • Lift the back cover off the camera housing and remove it.

  4. Z6BNcsWbpLiTZcRS
    Z6BNcsWbpLiTZcRS
    NgpFRO3ZO5MM3mfe
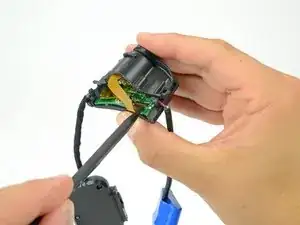
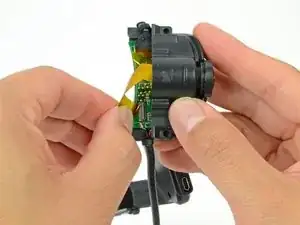
    • Use the tip of a spudger to pry up the retaining flap of the camera sensor cable ZIF connector on the motherboard.

    • Be sure that you are prying up on the hinged flap, not the connector itself.

  5. xcVFGXlUhjZHRGXL
    xcVFGXlUhjZHRGXL
    PfGjjk5DEaccpcch
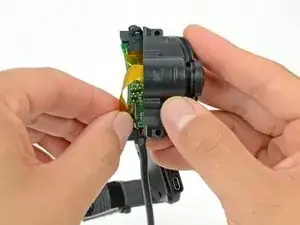
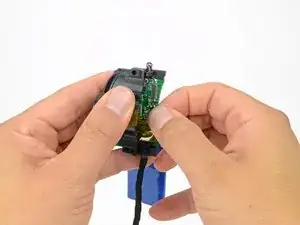
    • Pull the camera sensor ribbon cable straight out of its connector on the motherboard.

  6. fSLuFbnglcOUVNYa
    fSLuFbnglcOUVNYa
    2KYxuL6bHPk5uUWW
    GSO2ivjivYTh3DZx
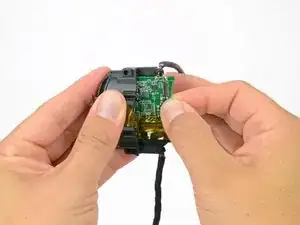
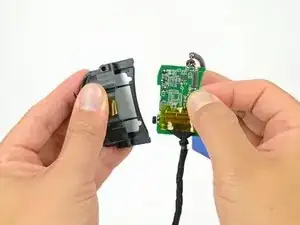
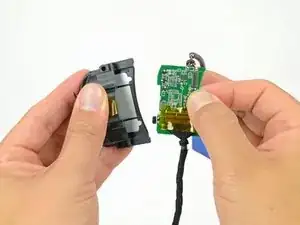
    • Grab the edge of the motherboard and gently slide it out of the camera housing.

    • There may be some resistance due to the foam pad along the bottom of the camera housing.

Abschluss

To reassemble your device, follow these instructions in reverse order.
David Hodson

Mitglied seit: 14/04/10

148365 Reputation

0 Kommentare