Einleitung
Werkzeuge
Ersatzteile
-
-
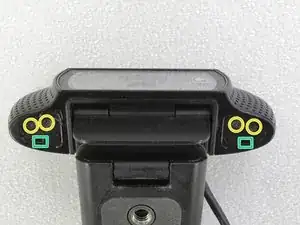
Drehe die vier Kreuzschlitzschrauben heraus.
-
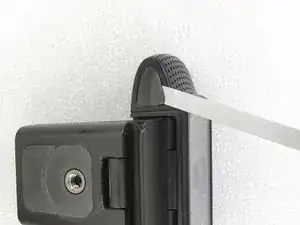
Drücke dann in die Öffnungen hinein, um die Seitenabdeckungen zu entriegeln.
-
-
-
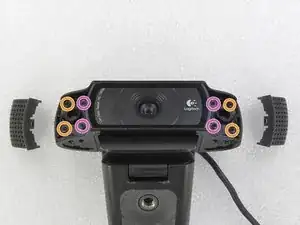
Nimm die seitlichen Abdeckungen ab. Darunter sitzen beidseitig vier Kreuzschlitzschrauben. Entferne sie alle, also insgesamt acht.
-
-
-
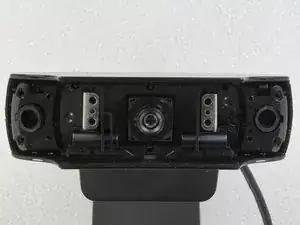
Entferne die durchsichtige Abdeckung des Objektivs.
-
Drehe dann die fünf Kreuzschlitzschrauben aus der Metallhalterung heraus.
-
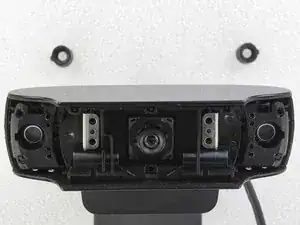
Entferne die Gummidichtungen von den beiden Mikrofonen. (Eine auf jeder Seite).
-
-
-
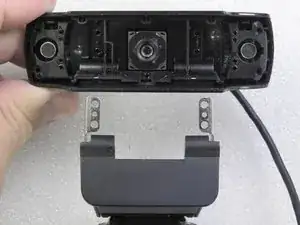
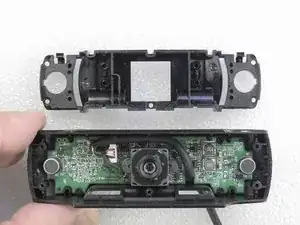
Entferne vorsichtig die Kunststoffplatte.
-
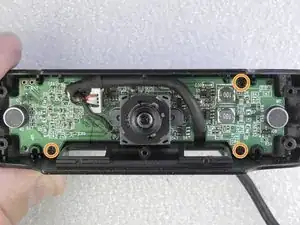
Löse die drei Schrauben, mit denen die Leiterplatte befestigt ist.
-
-
-
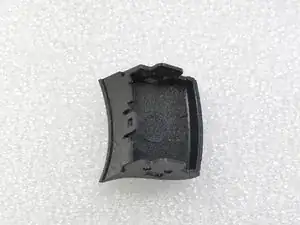
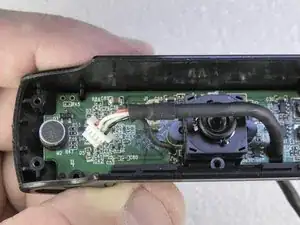
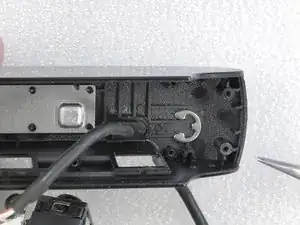
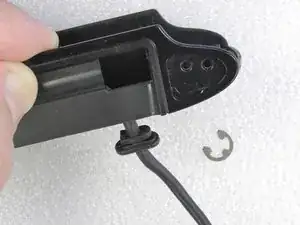
Löse die Klammer, die den Kabelhalter befestigt.
-
Ziehe diese Kabelhalterung aus der Kamera heraus.
-
-
-
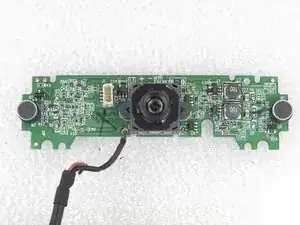
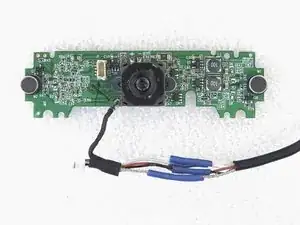
Der Defekt bei dieser Webcam war ein kaputtes Kabel auf der Rückseite der Kamera. Dieses wurde durchgeschnitten, neu verlötet und mit Schrumpfschlauch isoliert.
-
-
-
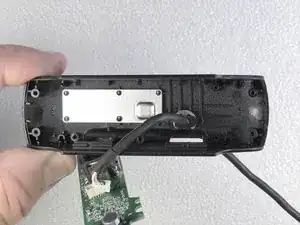
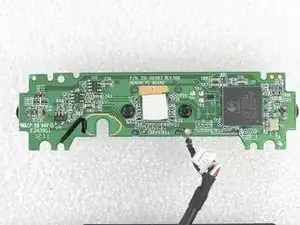
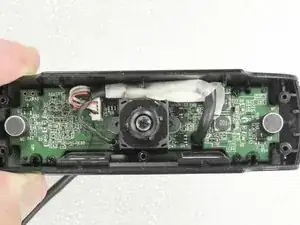
Das wiederhergestellte Kabel ist in der Kamera montiert und mit Klebeband abgedeckt. Kamera getestet: OK!
-
Baue die Kamera in umgekehrter Reihenfolge wieder zusammen.
-


Befolge diese Schritte im umgekehrter Reihenfolge, um das Gerät wieder zusammenzubauen.

28 Kommentare
Excellent! Helped me figure out how to get the base off to mount it to an ikea worklamp as a hacky boom.
Can you post a guide or technique of the process?
Or share some photos? (On meta.ifixit.com)
Cory,
I did not understand your question.
This repair guide contains several photos.
thanks for an excellent guide . I am now more positive that it is something I can perform now. Many thanks
im having trouble releasing the 4 screws on step 3!!! the screw driver keeps slipping and i’ve tried a few and another webcam…
Dojo, Use the correct screw driver. So easy to unscrew.
If you have damaged the screw head, you can use pliers. You will need to replace the damaged screws.
They’re quite tight screws on the ones I’ve worked on . Super, super soft metal too, very easy to strip out.
All of the screws used in this camera for the two side covers and the main cover glass (steps 1 through 3) can be loosened with a Phillips #0 screw driver. I don’t know about the other internal screws as I haven’t gone that far in the process. Mine were not super tight so they came out quite easily.
Don -
If you remove the rubber stickers and don’t see any screws underneath, it’s because there are actually two layers of stickers. The top sticker is the rubber that you can see, and underneath it is a plastic sticker. Sometimes they come away together, sometimes you will need to pry away the plastic sticker after first removing the rubber.
drspod -
Existem dois adesivos em ambos os lados.
Jose Gustavo Abreu Murta -
You can heat the stickers with a lighter , so they come off very easy .
kar bouter -