Einleitung
After many years of good service, my mini printer was not able to print a full picture anymore. Its battery was done, and could not even hold enough charge to go through one full print.
Instead of buying a new one and create e-waste, I chose to replace its battery. It was pretty challenging to find a battery pack that would replace properly the one originally present in the device.
This guide should also work other Zink mini printer like the Canon IVY mini photo printer or the HP sprocket mini photo printer line.
Werkzeuge
Ersatzteile
-
-
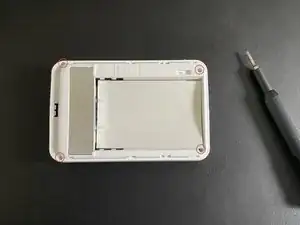
Open the paper trail
-
Get your screw driver with a Philips bit (from your Pro Tech Toolkit for instance) and unscrew the four screws at each corner
-
Unclip lid delicately with the help of a guitar pick or with the Jimmy tool.
-
-
-
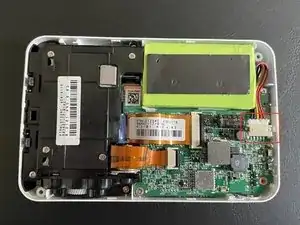
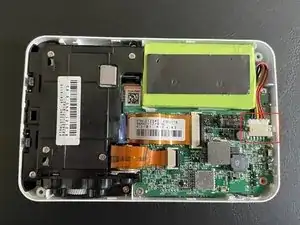
Unplug the battery pack and remove it
-
You can also see the internals of this device directly on the FCC ID website.
-
-
-
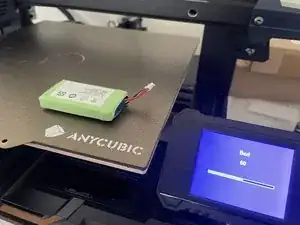
Remove the foam padding from the battery
-
Optional: use a warming element like the bed of your 3D printer or iFixit iOpener
-
Place the foam on your new battery
-
-
-
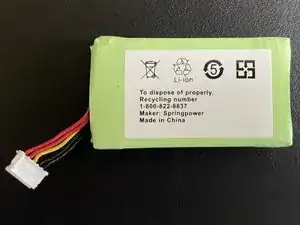
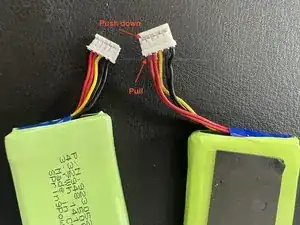
Make sure the connector of your new battery pack is matching the one you remove
-
If it's not matching, for each wrong pin:
-
Push down pin in the cover part of the connector
-
Pull on the pin to extract it from connector
-
Place it back in right spot
-
-
-
Place and plug new battery pack
-
Plug device with USB mini cable and test device is charging
-
If blinking red, unplug immediately and verify polarity of your battery pack
-
If the LED indicator stays red-still for more than 60 seconds, you replaced the battery successfully! 🎉
-
Clip lid back and put back the screws
-
Charge battery fully, until LED turns green, before using.
-
It was really satisfying to be able to avoid throwing away the whole product, and only replace the battery pack. So happy to be able to use this mini printer again!
To recycle the battery, call +1 800-822-8837 or go to call2recycle.org.
