Einleitung
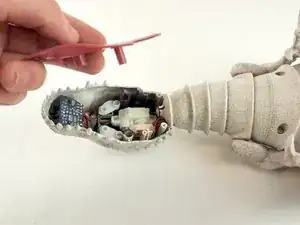
Our predator has lost his ability to fend for himself! To help him get his bite back, lets check out the gears inside his mouth and replace the ones that aren't functional.
Werkzeuge
-
-
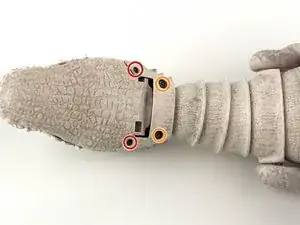
Remove the two (2) 7.5mm phillips screws using Phillips #1 screwdriver from the bottom of the jaw.
-
Remove the two (2) 7.2mm phillips screws using Phillips #0 screwdriver from the bottom of the jaw.
-
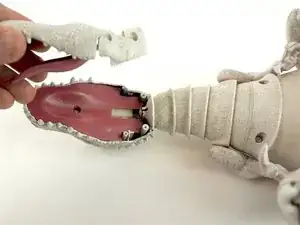
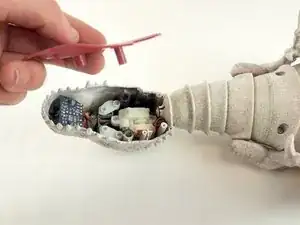
Gently remove the entire bottom jaw piece.
-
-
-
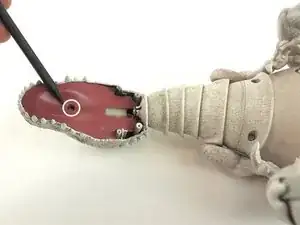
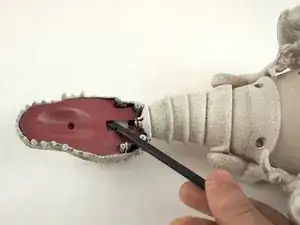
Remove the 7.5mm phillips screw using Phillips #1 screwdriver from the middle of the tongue.
-
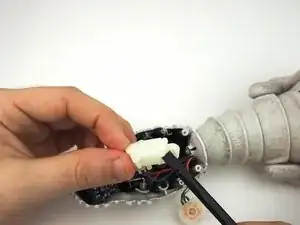
Using a spudger, gently pry the tongue out of the mouth.
-
-
-
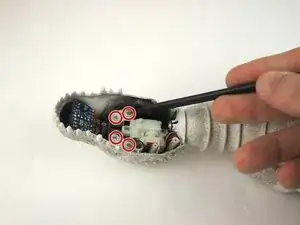
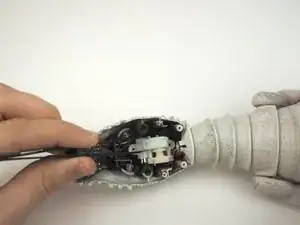
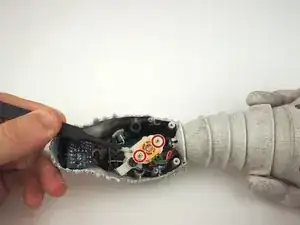
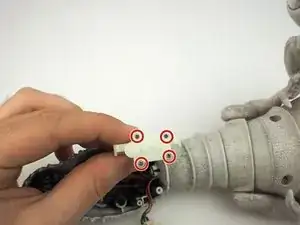
Remove the four (4) 7.5mm phillips screws that are inhibiting your ability to successfully remove the motor inside the mouth.
-
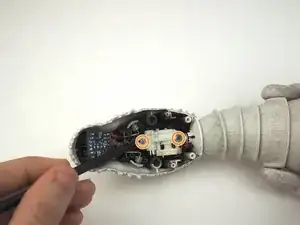
Remove the two (2) 7.2mm phillips screws that fasten the motor to the inside of the mouth.
-
-
-
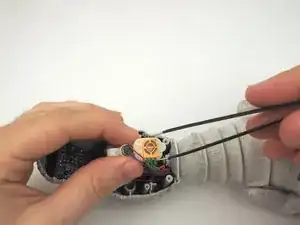
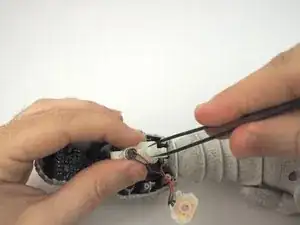
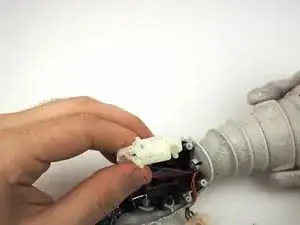
Use a pair of tweezers to remove the motor assembly from the mouth and inspect for any apparent issues.
-
Use a #1 Phillips Screwdriver to remove the two (2) 5.5mm phillips screws to remove the motor from the rest of the assembly.
-
Use tweezers to gently remove the motor from the rest of the assembly.
-
-
-
Use tweezers, inspect the main output gear for the jaw and remove if necessary.
-
Remove the four (4) 4.9mm screws from the other side of the assembly.
-
Use a spudger to gently pry apart the assembly for inspection.
-
-
-
Inspect the gears inside the assembly and replace any gears that have flattened or rounded teeth.
-
To reassemble your device, follow these instructions in reverse order.
