Einleitung
The side brush must be removed before you begin opening bObi Pet. Use a Phillips head screwdriver to uninstall, and keep the brush and screw for future use.
Video tutorial also available: https://www.youtube.com/watch?v=ZNBX-FvP...
Werkzeuge
Ersatzteile
-
-
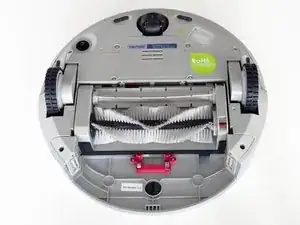
Before we get started, turn bObi Pet OFF and flip her over onto a flat surface.
-
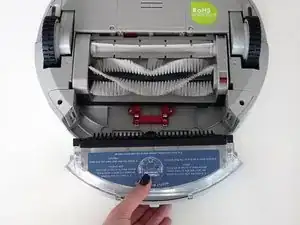
Next, remove bObi Pet's dustbin. Grip the small tab on the back of the bin, and pull to remove.
-
-
-
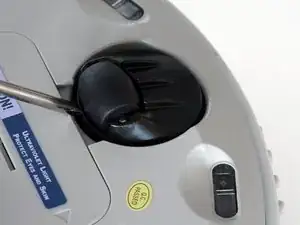
Grip the front wheel and pull straight up, using the screwdriver for leverage.
-
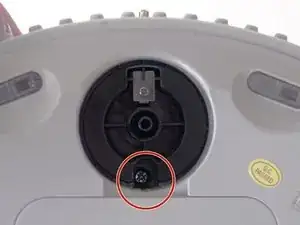
The wheel will pop out and you will see two screws beneath it.
-
There is a larger screw set deeper in the wheel compartment. Use the screwdriver to remove it.
-
-
-
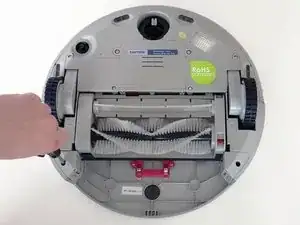
Remove the screws on both sides of bObi Pet’s dustbin. Then, remove the corner pieces that were held down by the screws.
-
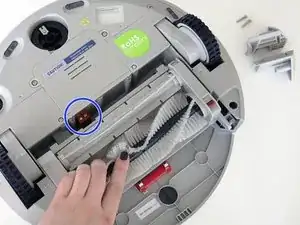
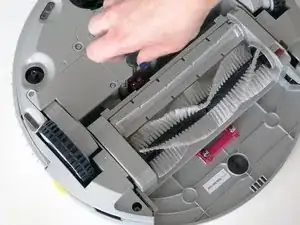
Grip the brush compartment and pull down to reveal two screws on a red fastener.
-
Remove them with the screwdriver.
-
-
-
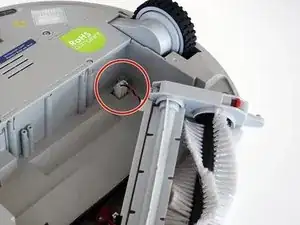
Pull the brush compartment up until the fastener is freed from bObi Pet. Then, detach the brush compartment's circuit plug and set it aside.
-
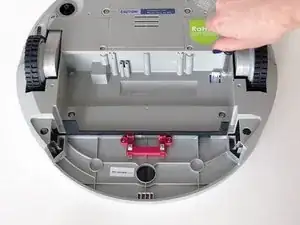
Remove the 4 screws located beneath the brush compartment.
-
-
-
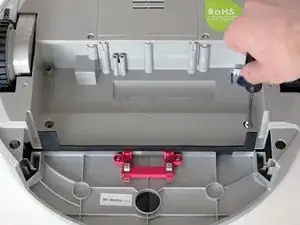
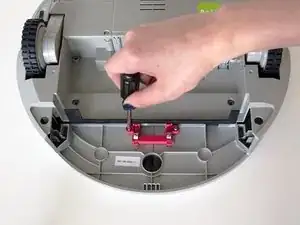
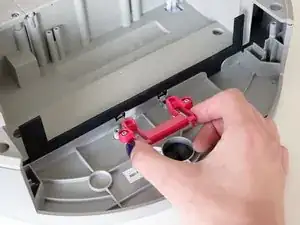
Remove the 2 screws on the dustbin’s red fastener.
-
Remove the fastener and set it aside for reassembly.
-
The cover is no longer secured, so carefully flip bObi Pet onto her wheels.
-
-
-
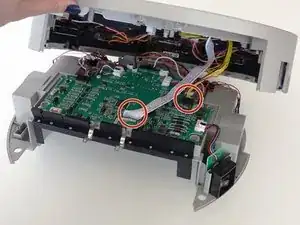
Lift the cover to reveal the main board underneath.
-
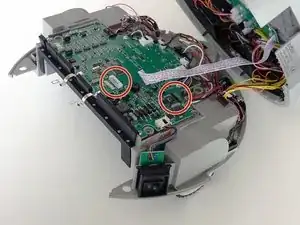
Remove the two circuit plugs connecting the lid to the mainboard.
-
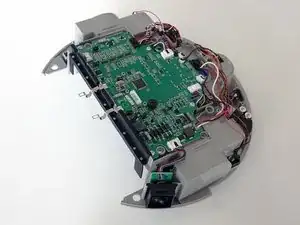
bObi Pet's cover is entirely separated, and you may now access any of her internal parts for replacement.
-
-
-
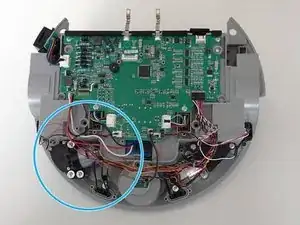
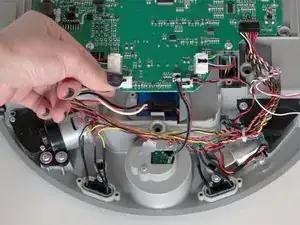
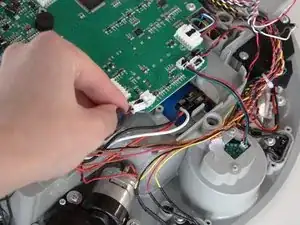
The side brush motor is attached to the right side of the mainboard by one red and black twisted wire.
-
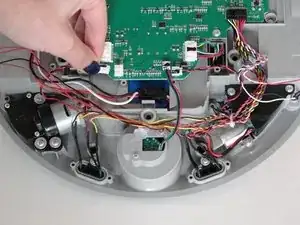
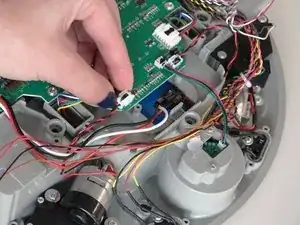
Press the small white tab and pull to unplug it from the mainboard.
-
-
-
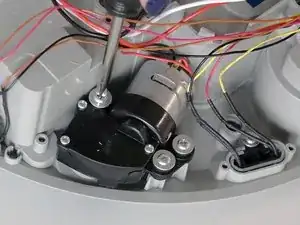
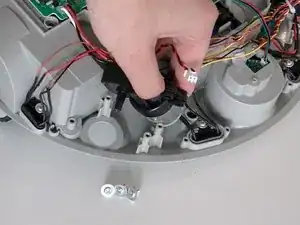
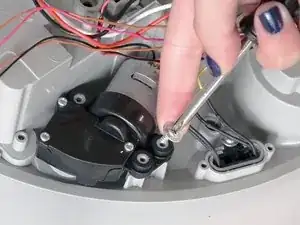
Next remove the 3 screws holding the side brush motor onto bObi Pet.
-
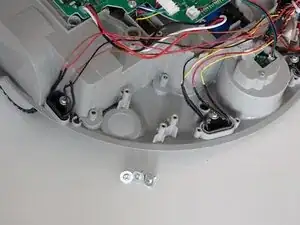
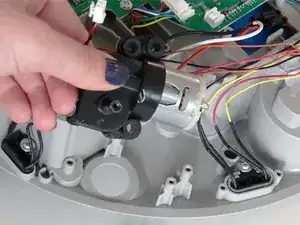
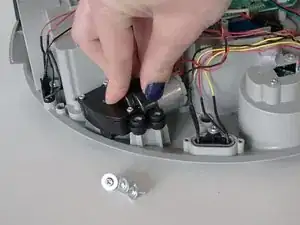
Then lift the motor straight up to remove.
-
-
-
Line up the replacement motor with the screw posts and push it down so it lies flat.
-
Next, reinstall the 3 screws.
-
-
-
Lastly, attach the circuit plug to the mainboard and you’ll be ready to close the cover.
-
See bObi Pet's re-assembly guide to complete this repair: Assemble bObi Pet Post-Repair
-
To reassemble bObi Pet, follow this guide:
