Einleitung

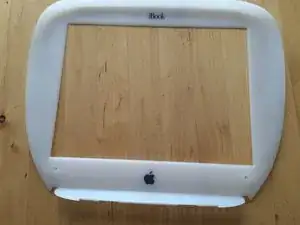
Replacing the bezel covering the Lcd

  1. bTOJKqHVsBUve6Bx
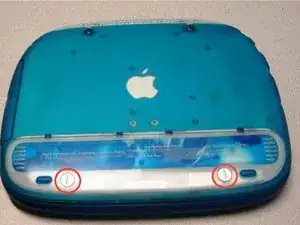
    • Use a coin to unscrew the battery cover, and remove battery.

  2. WVPpyRwjMbWBhqhq
    WVPpyRwjMbWBhqhq
    1FaU2vqlxuy1W5YU
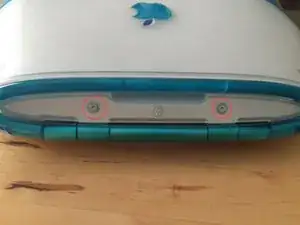
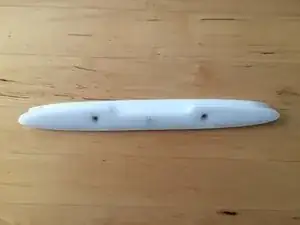
    • Use a t8 Torx driver to unscrew the two screws holding in the back cover, then remove the cover.

  3. LuTKNOwCUTUnoSUV
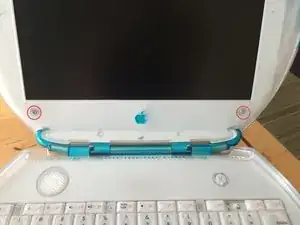
    • Open the screen, and remove the two t8 Torx screws holding the bezel in place.

  4. sgEHwVqENCUJ3QOb
    sgEHwVqENCUJ3QOb
    qdqQUyrbCcsQwfiZ
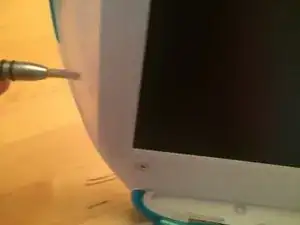
    • Use a flat tip screw driver to unsnap the bezel from its place.

    • When at the top rubberized area, pry the bezel down.

    This step is more complicated than it seems. I lost a bezel because I didn’t realize what I was doing, and I pried to hard breaking it in half.

    There are two sets of plastic “clips” that are holding the bezel to the lid. One on either side of the screen towards the bottom. (The photo for this step shows a screwdriver prying the clips from the one side)

    I went at it with a plastic spudger to pop both sides loose. Basically slid the spudger in and pried it upwards.

    Then… for two of my iBooks, there has been a metallic shield that is attached to the bezel. It’s not exactly meant to be “removed”. This shield though, is also “glued” to the bottom of the lcd. So i carefully worked with the spudger to break that glue seal.

    Once done the bezel slid down on it’s own and was free.

    Just be careful, and go slow. it shouldn’t take much force at any of the steps.

    Ryan -

Abschluss

To reassemble your device, follow these instructions in reverse order.
aidan

Mitglied seit: 27/02/16

101 Reputation

0 Kommentare