Einleitung
This guide will teach you how to correctly remove the battery for this device.
Werkzeuge
Ersatzteile
-
-
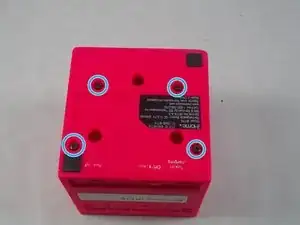
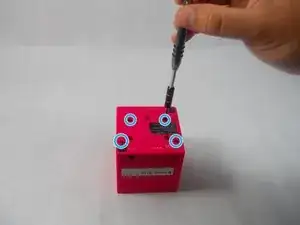
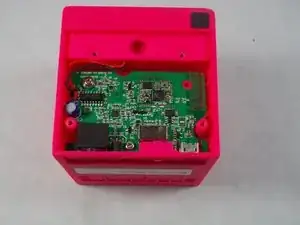
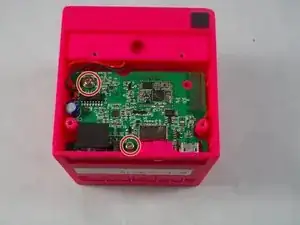
Using the Philips #00 Screwdriver, unscrew and remove the four 9mm black screws on the base plate of the device.
-
-
-
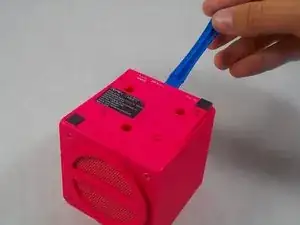
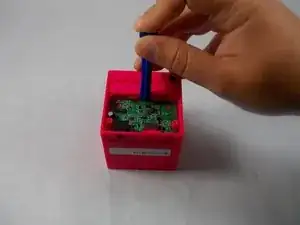
Using the plastic opening tool, insert into the crack between the base plate and the main body of the device
-
Using a lever like motion, push the opening tool down thus lifting the plate
-
-
-
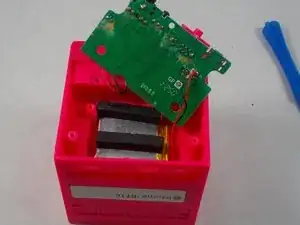
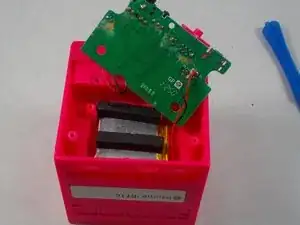
Take the motherboard out of the device, use the Plastic opening tool to ensure the power switch doesn't get stuck.
-
-
-
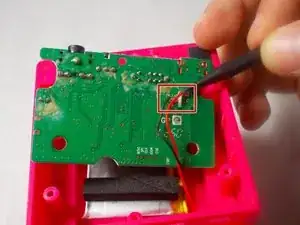
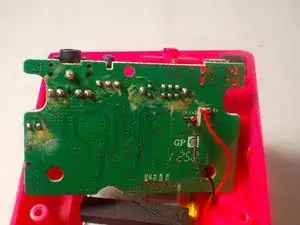
Remove the bad battery by unsoldering the red wire from the B+ solder joint and the black wire from the B-
-
To put it all back together, solder the battery wires to the correct solder joints. Then place the battery back under the motherboard and screw the motherboard back on. After that put the face plate back on, and screw on the face plate
