Einleitung
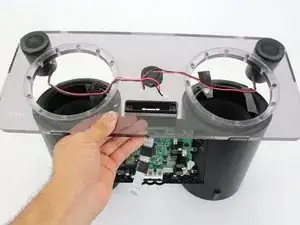
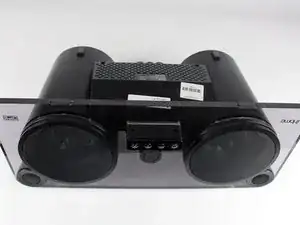
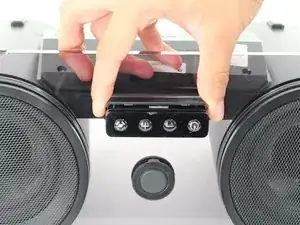
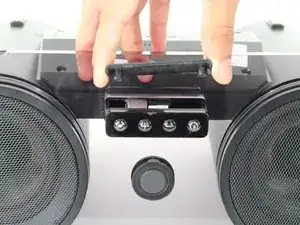
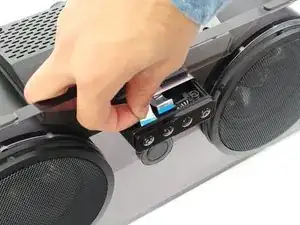
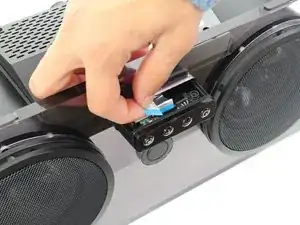
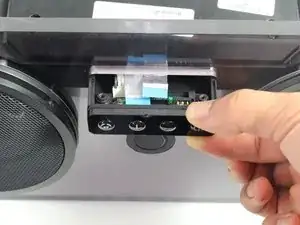
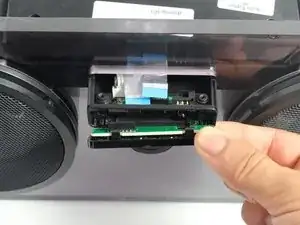
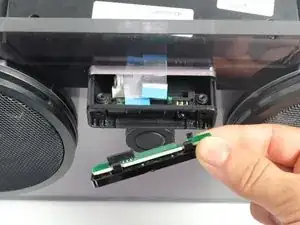
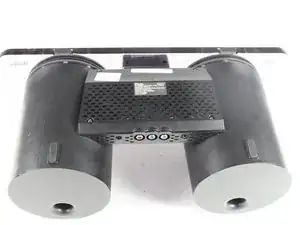
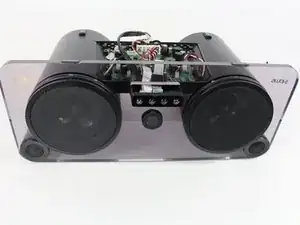
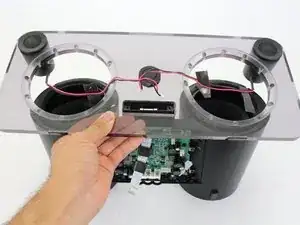
Use this guide to replace your iHome iP1's damaged faceplate and/or damaged or faulty tweeters. The iHome iP1's faceplate and tweeters are connected to each other and cannot be detached from each other, so in order to replace one, the other must also be replaced. Note that replacing the faceplate and tweeters takes the most time to do, compared to the iHome iP1's other components. This is because the faceplate provides most of the structural support to the iHome iP1 and helps connect most of its components to each other.
Werkzeuge
-
-
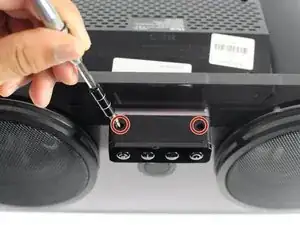
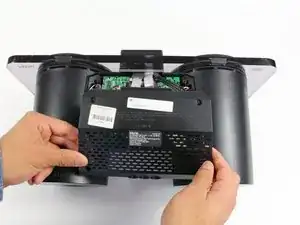
Remove the dock cover by grabbing its sides and pulling it up and away from the faceplate.
-
-
-
Disconnect the silver ribbon cable on the left-hand side by pulling away from the command buttons.
-
-
-
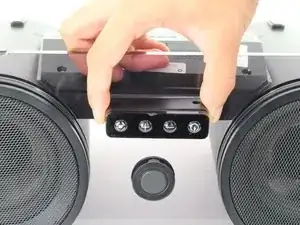
Remove the command buttons by pulling the small black panel containing them downward and away from the faceplate.
-
-
-
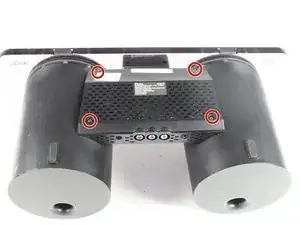
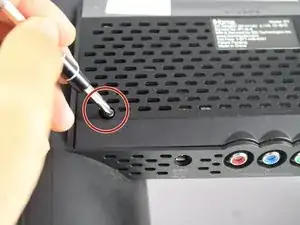
Remove the four 9.5 mm Phillips #2 screws located on each of the four corners of the iHome's back cover.
-
-
-
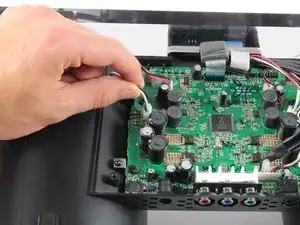
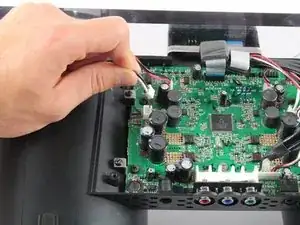
Disconnect the white/black wires from the edges of the motherboard by pulling them away from their connection.
-
-
-
Rotate the iHome so that the speakers are facing you.
-
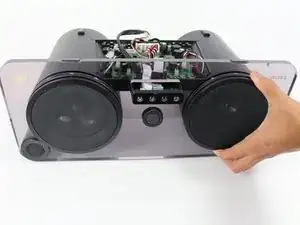
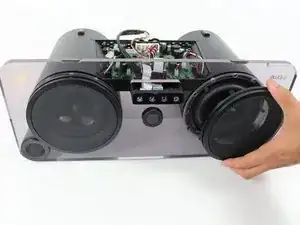
Remove the speaker covers by pulling them off of the faceplate.
-
-
-
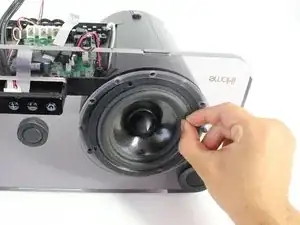
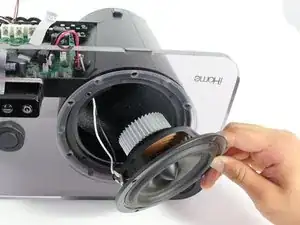
Remove the speaker from the housing by gripping the rubber ring near the edge of the speaker and pulling it away from the faceplate.
-
-
-
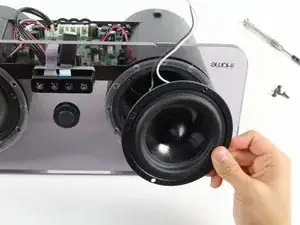
Remove the speaker from the iHome by feeding the black/white wires through the hole on the opposite side of the housing.
-
-
-
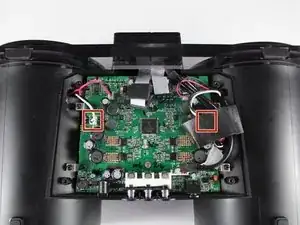
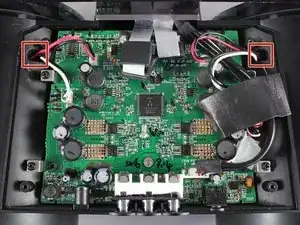
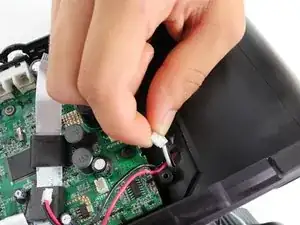
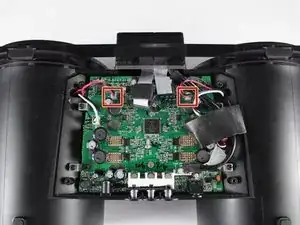
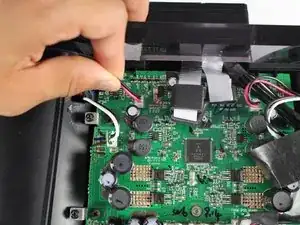
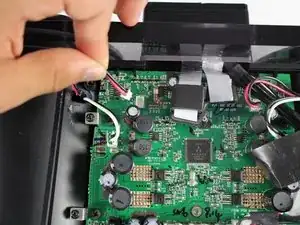
Disconnect the two red/black wire bundles located on the upper corners of the motherboard by pulling them away from their connection.
-
-
-
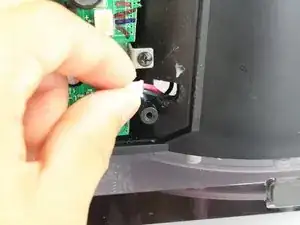
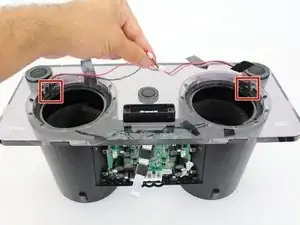
Feed the red/black wires through the hole in the speaker housing through which they stick out of. Do this to each of red/black wires you just disconnected.
-
-
-
Orient the iHome so that the now-removed speakers would be facing you.
-
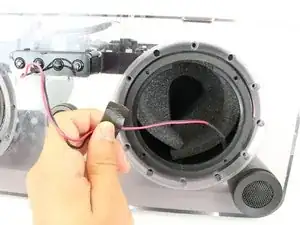
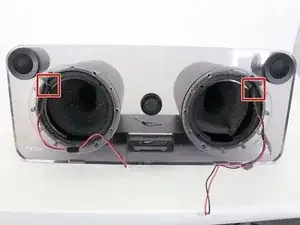
Remove the black foam tape on the inside of the speaker housing that attaches the red/black wires to the speaker housing.
-
Pull the wires out of the speaker housing.
-
-
-
Carefully remove the glue that attaches the red/black wires to the speaker housing adjacent to the tweeters using a metal spudger kit.
-
-
-
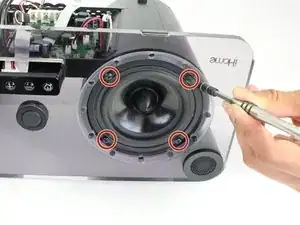
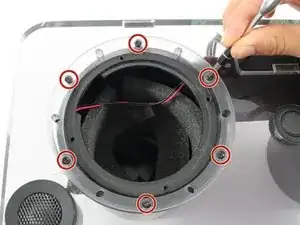
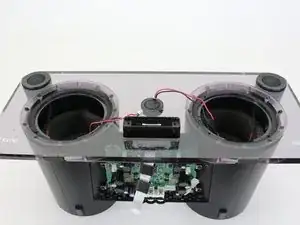
Unscrew the twelve 14.5 mm Phillips #2 screws holding the faceplate to the speaker housing. (There are six screws connecting the faceplate to each speaker.)
-
To reassemble your device, follow these instructions in reverse order.
