Einleitung

  1. OUjX5HuFT2cfryyU
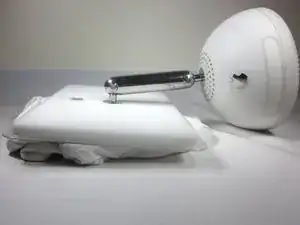
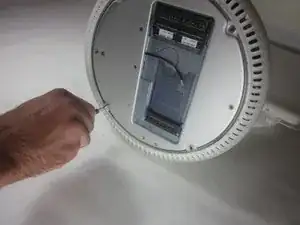
    • Unplug all the cables from the computer, including the power cable. Lay the computer face-down, supporting the neck and base with a soft cloth under the screen.

  2. FfaEvPGVgaNLEnsS
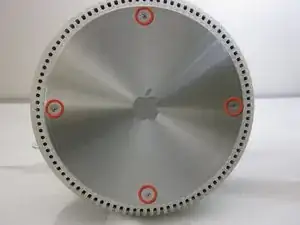
    • Loosen the four Phillips #0 screws.

  3. cPqrwIQjjVBCTxFY
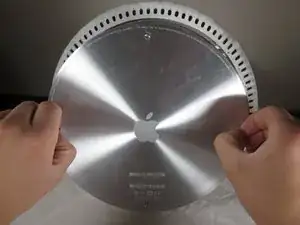
    • Carefully remove the base access panel.

  4. uNyPvDfLqBUrw6DH
    uNyPvDfLqBUrw6DH
    r3AuxS1INr2ABjcd
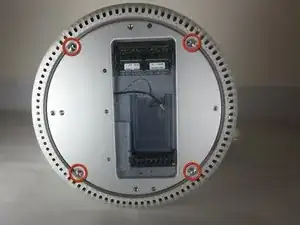
    • Remove the four 25mm T-15 screws.

  5. EHMSy4KmMMoS6VUj
    EHMSy4KmMMoS6VUj
    3kjS3QkLCpJyEYoh
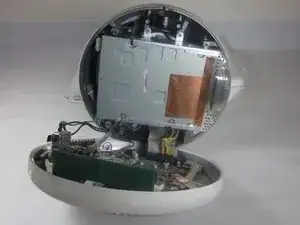
    • Open the housing plate.

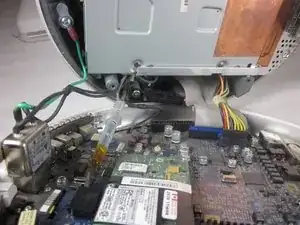
    • Be gentle with the wires still connected to the logic board so as not to ruin the cables.

    • A fixed plug connector between the logic board and upper unit will cause some resistance. Pull gently but firmly.

  6. GmXhCdsR4BeuXHTZ
    GmXhCdsR4BeuXHTZ
    VVNJfTWDACCH2N1O
    puAKFiYNsvyv4vSy
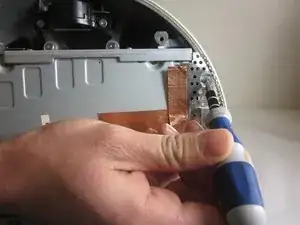
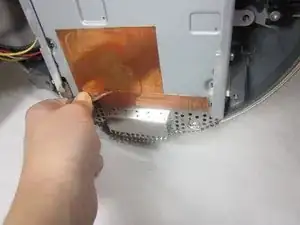
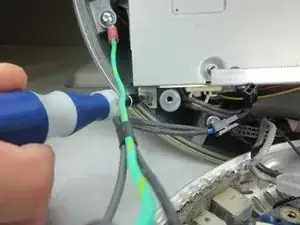
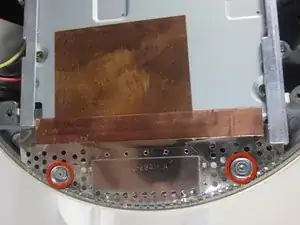
    • Remove the 2 torx 10mm screws on the EMI shield

    • Carefully remove shield and copper tape

  7. bGXIU6x6R61RAn6W
    bGXIU6x6R61RAn6W
    ZsOLMBGSIHJbPIqa
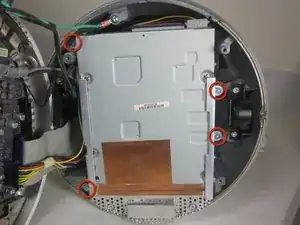
    • Remove the 4 10mm torx screws attatched to the drive carrier.

    • The drive carrier includes optical drive and hard drive.

  8. AQ5SUXWPHSgZORGg
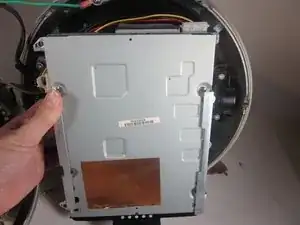
    • Grasp the carrier with both hands on each side.

    • Remove the carrier by lifting up and out.

    • Pull gently but firmly. The carrier is meant to fit snugly.

  9. Nlm3DcR1RXeuWMby
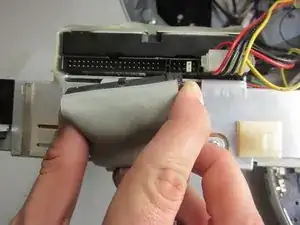
    • Flip the removed carrier to the right and pull out power cables.

Abschluss

To reassemble your device, follow these instructions in reverse order.

Courtney

Mitglied seit: 06/10/11

1068 Reputation

2 Kommentare

What two screws in step 6

David Hunter -

We need a "action" shot; we need to show an actual screwdriver unscrewing the screw.
David Hunter -