Einleitung
Remove your display to access most major components on your iMac.
Werkzeuge
Ersatzteile
-
-
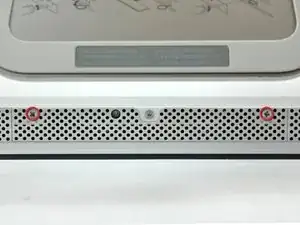
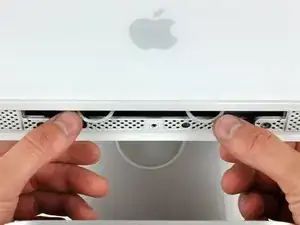
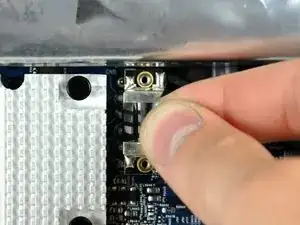
Use your thumbs to press both RAM arms in past the front bezel for enough clearance to lift it off the rear case.
-
-
-
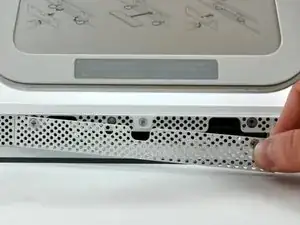
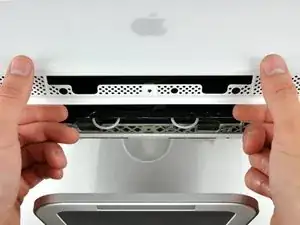
While holding the RAM arms in with your thumbs, lift the lower edge of the front bezel enough to clear the rear case.
-
-
-
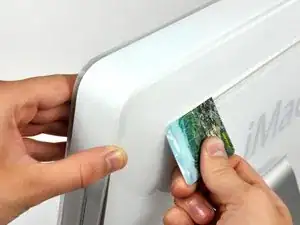
Insert a plastic card up into the corner of the air vent slot at the top of the rear case.
-
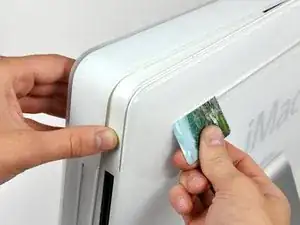
Push the card toward the top of the iMac to release the front bezel latch.
-
Pull the front bezel away from the rear case.
-
Repeat this process for the other side of the front bezel.
-
-
-
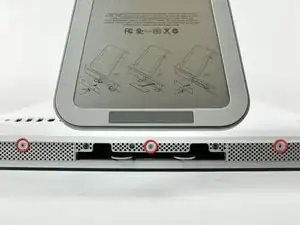
Lay your iMac stand-side down on a table.
-
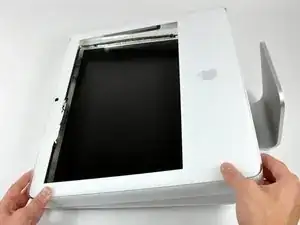
Lift the front bezel from its lower edge and rotate it away from the rest of your iMac, minding the RAM arms that may get caught.
-
Lay the front bezel above the rest of the iMac.
-
-
-
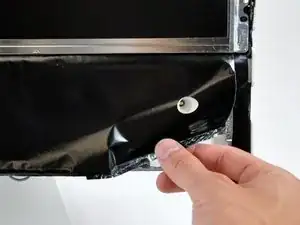
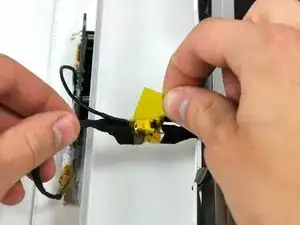
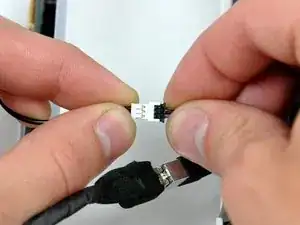
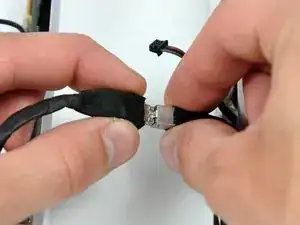
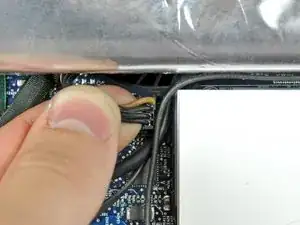
If necessary, remove the piece of kapton tape wrapped around the microphone and camera cables.
-
-
-
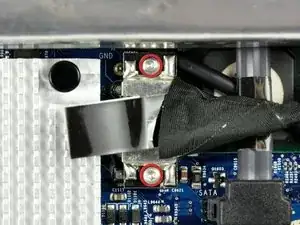
Remove the two 5 mm T6 Torx screws securing the display data cable to the logic board.
-
Using its attached black tab, pull the display data cable connector up off the logic board.
-
-
-
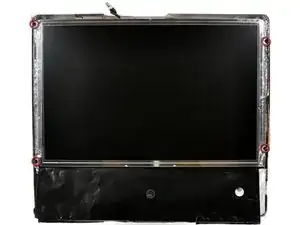
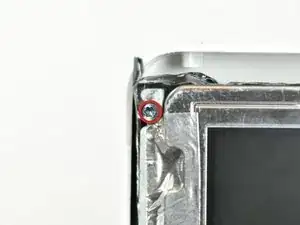
Remove the four recessed coarse-thread 7.5 mm T10 Torx screws securing the display to the rear case.
-
-
-
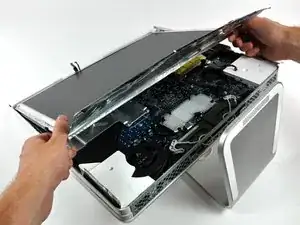
Lift the display from its lower edge and pull it toward yourself to peel it off the EMI shield attached to its top edge.
-
To reassemble your device, follow these instructions in reverse order.
